Printing Basics 145
• Loading Print Media in the Paper Tray
1 First print the even pages (rear sides).
For a six page document, rear sides are printed in the order of page 6, page 4, then page 2.
When printing of the even pages is complete, the (Ready) LED lights and the LCD panel
shows the following:
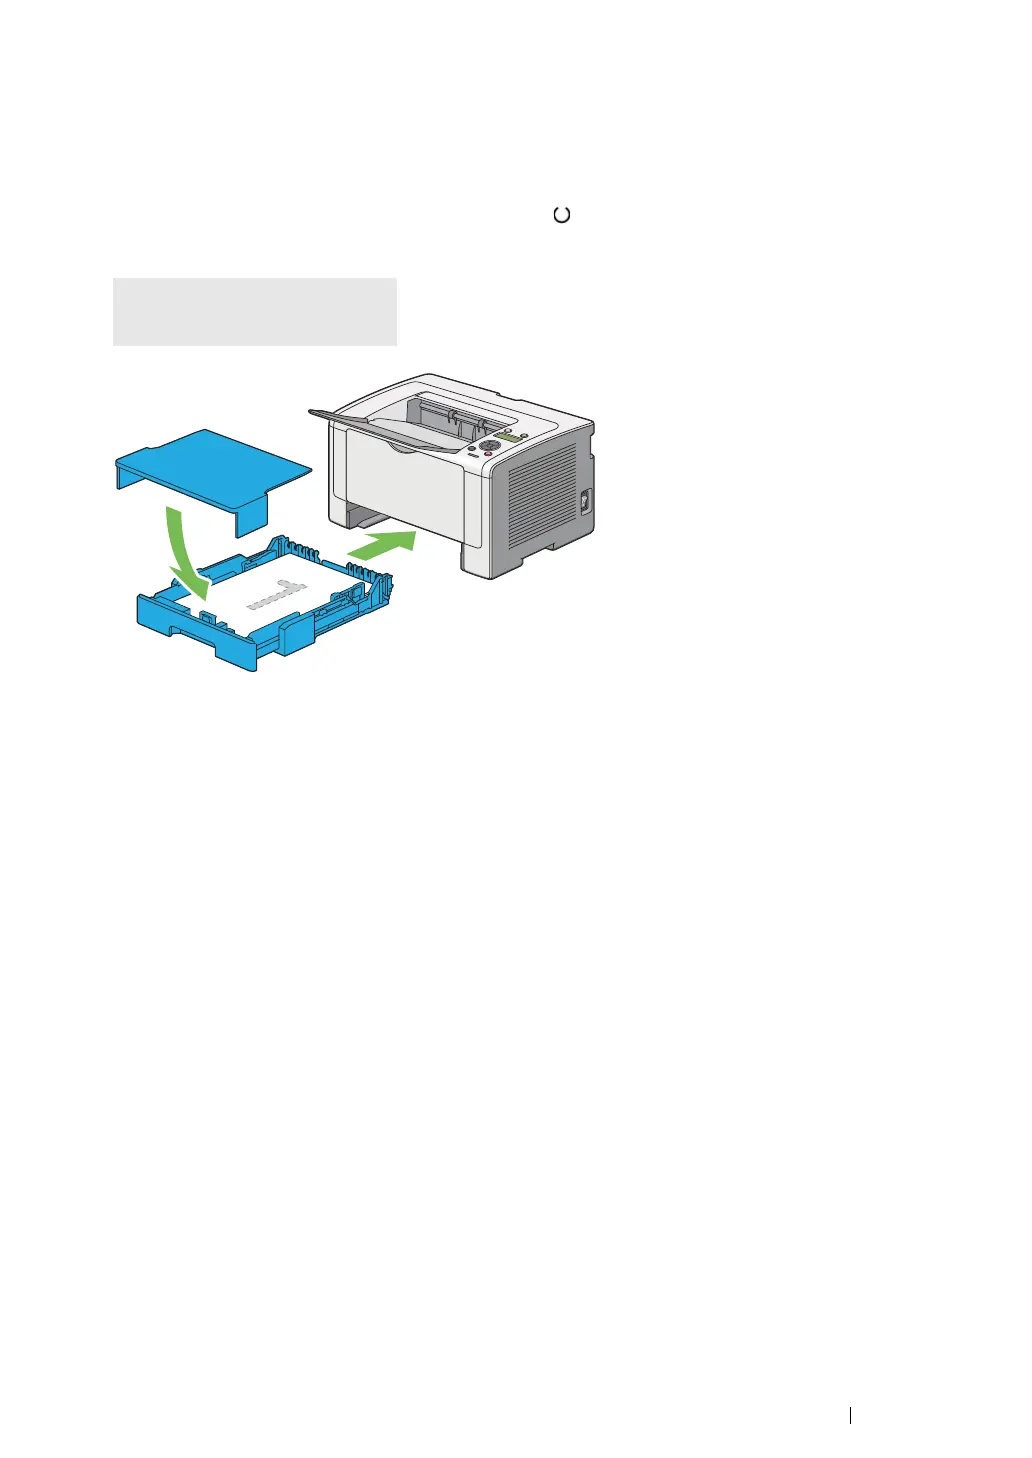
2 After the even pages are printed, pull out the paper tray and remove the paper tray cover.
See also:
• "Loading Print Media in the Paper Tray" on page 145
3 Remove the paper stack from the center output tray and load it into the paper tray with the blank
surface facing up.
NOTE:
• Warped or curled prints can cause paper jams. Straighten them before setting them.
Insert Output
and Press OK

 Loading...


