8-1
8. INSTALLATION
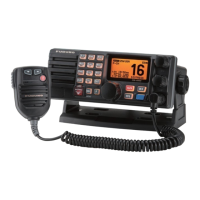
8.1 Transceiver Unit
The transceiver unit can be mounted on a desktop or overhead, or flush mounted in a
panel. Choose a mounting location considering the points mentioned below.
• Follow the compass safety distance shown in the safety Instructions to avoid any
interference to the compass from the speaker magnet in the transceiver.
• Select a location which provides easy access to the front panel controls.
• The location has space for installation of a microphone hanger.
• Choose a mounting location that is at least 1 m away from the radio's antenna.
• CAUTION: The heatsink can get hot enough to cause a burn injury. Select a
location where it cannot be easily touched.
Note: To insure the radio does not affect the compass and the radio's performance is
not affected by the antenna location, temporarily locate the radio in the desired loca-
tion and:
a) Examine the compass to see if the radio interferes with the compass.
b) Connect the antenna and transmit. Check to ensure the radio is operating correctly
by requesting a radio check.
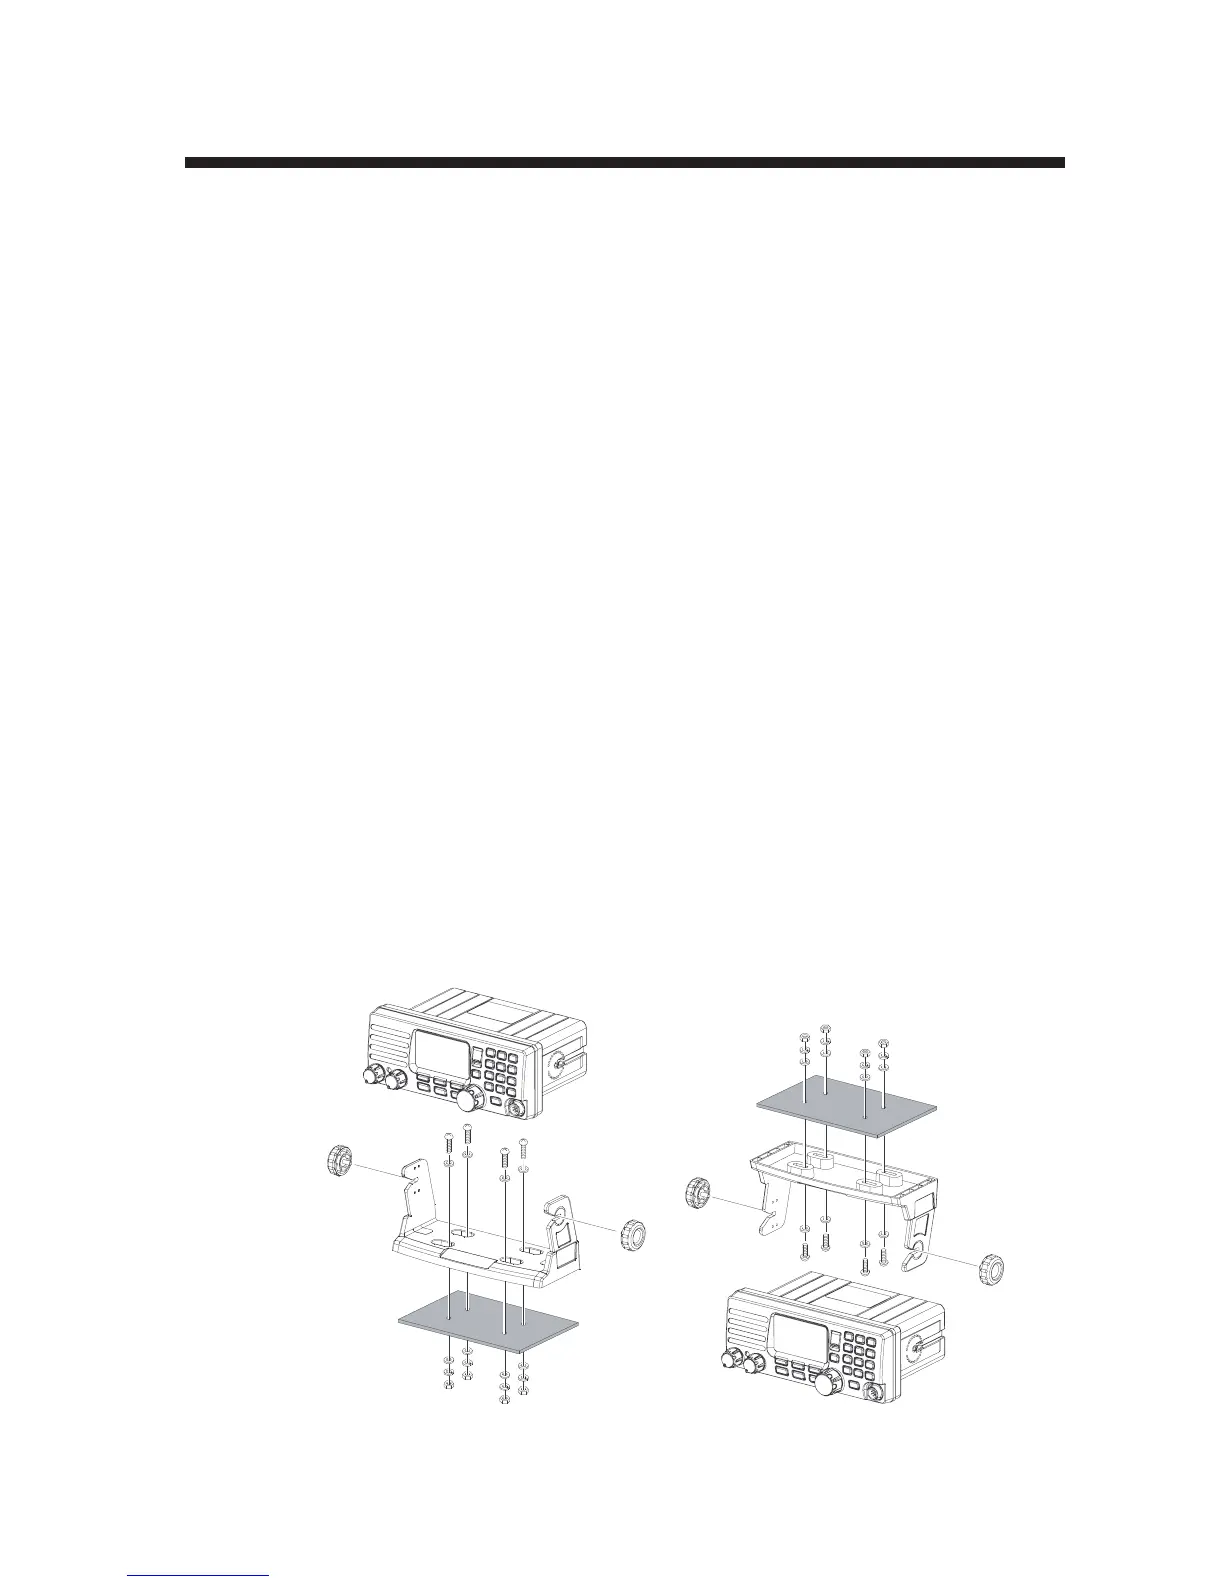
8.1.1 Desktop or overhead mount
The supplied mounting bracket permits desktop or overhead mounting.
Use a 5 mm bit to drill the holes to a surface that is more than 10 mm thick and can
support the unit’s weight (1.5 kg). Fasten the bracket with the supplied screws, spring
washers, flat washers, and nuts.
Desktop mounting Overhead mounting
 Loading...