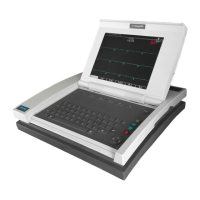
Field replaceable units: Disassembly guidelines
2000966-542D Dash 3000/4000/5000 7-7
Disassembly guidelines
WARNINGS
REPAIR TO THE FRU LEVEL — Field repairs are
recommended to the field replaceable unit (FRU) only.
Attempting a field repair on a PCB or a factory sealed
component or assembly could jeopardize the safe and
effective operation of the patient monitor.
DAS ASSEMBLY — Do not open the DAS assembly as
this breaks the isolation barrier which may result in
patient death or serious injury. The DAS assembly is a
field replaceable unit only. There are NO field repairs or
adjustments for the DAS assembly.
BATTERY EXPLOSION HAZARD — When removing
the GCX plate and the footpad from the bottom of the
patient monitor, clearly identify the screws to ensure the
same screws are used to replace both the footpad and the
GCX plate. Do not re-assemble the footpad without the
GCX plate. Screws that are too long will penetrate into
the battery case and cause the battery to leak or to
explode.
NOTE
GE recommends that you assemble the patient monitor using the
new fasteners (screws, washers, etc.) provided in the FRU Kits. Some
fasteners, like the screws with a thread locking coating, are not
intended to be re-used more than three times.
Tools required
A standard set of hand tools is required for disassembly and assembly.
Before disassembly
Before you disassemble the patient monitor, you should always do the
following tasks.
1. Remove AC power.
2. Remove both batteries.
3. Provide appropriate electrostatic discharge protection to prevent
damaging the patient monitor.
4. Be aware that the nonspecific disassembly instructions apply to all
patient monitors supported by this service manual. Disassembly for
specific models of the patient monitor are identified when required.
 Loading...