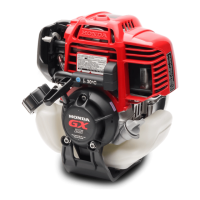
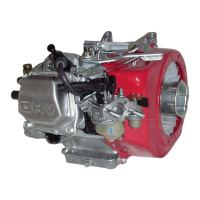
CONTROL BASE ASSY.
ASSEMBLY:
Install the control lever washer by
aligning the cutout of the control
lever washer with the claw of the
control base.
(If equipped)
CIRCLIP (5 mm)
(If equipped)
SCREW (4 x 6 mm)
(If equipped)
WIRE HOLDER
CONTROL LEVER WASHER
(If equipped)
(If equipped)
SCREW (5 x 25 mm)
STOPPER COLLAR
ASSEMBLY:
Note the installation direction.
ASSEMBLY:
After tightening the nut fully,
loosen it 1–1/2 turns.
SELF-LOCK NUT (6 mm)
CLAW
(If equipped)
CIRCLIP (5 mm)
CONTROL ADJUST
SPRING
(If equipped)
LEVER SPRING
CONTROL LEVER
SPACER
SCREW (4 x 6 mm)
(If equipped)
WIRE HOLDER
INSTALLATION:
Install with the short end of
the spring toward the
control base.
Hook the cable return
spring to the hole of the
control lever.
CABLE RETURN SPRING
CONTROL BASE
SCREW
(GX270H: 5 x 28 mm,
GX390H1: 5 x 32 mm)
CONTROL LEVER
(If equipped)
ASSEMBLY:
Adjust the maximum
speed (page 7-8).
 Loading...