 Loading...
Do you have a question about the Huawei 2288H V5 and is the answer not in the manual?
| Form Factor | 2U rack server |
|---|---|
| Processor | Intel Xeon Scalable processors |
| Max Processors | 2 |
| Memory | 24 DDR4 DIMM slots |
| Storage | Supports 25 x 2.5-inch drives |
| RAID Support | RAID levels 0, 1, 5, 6, 10, 50, 60 |
| Network | 2 x GE ports |
| Expansion Slots | Multiple PCIe slots |
| Power Supply | 800W/1200W |
| Operating System Support | Windows Server, Red Hat Enterprise Linux, SUSE Linux Enterprise Server, VMware |
Describes the server's appearance, functions, structure, and parameters for installation and troubleshooting.
Identifies target readers including technical support engineers and enterprise administrators.
Explains the meaning of symbols used in the document for hazard and note indications.
Details components on the front panel of servers with different drive configurations.
Illustrates and lists components located on the rear panel of the server.
Identifies drive slot numbering and indicators for different server configurations.
Provides methods for powering on the server using front panel, iBMC WebUI, or iBMC CLI.
Details procedures for powering off the server to standby or forcibly.
Guides on removing power cables from AC and DC PSUs for replacement.
Specifies space, airflow, temperature, and humidity requirements for server installation.
Provides instructions for installing the server onto L-shaped, adjustable, and holding guide rails.
Details the process of initial server configuration, including IP settings and password changes.
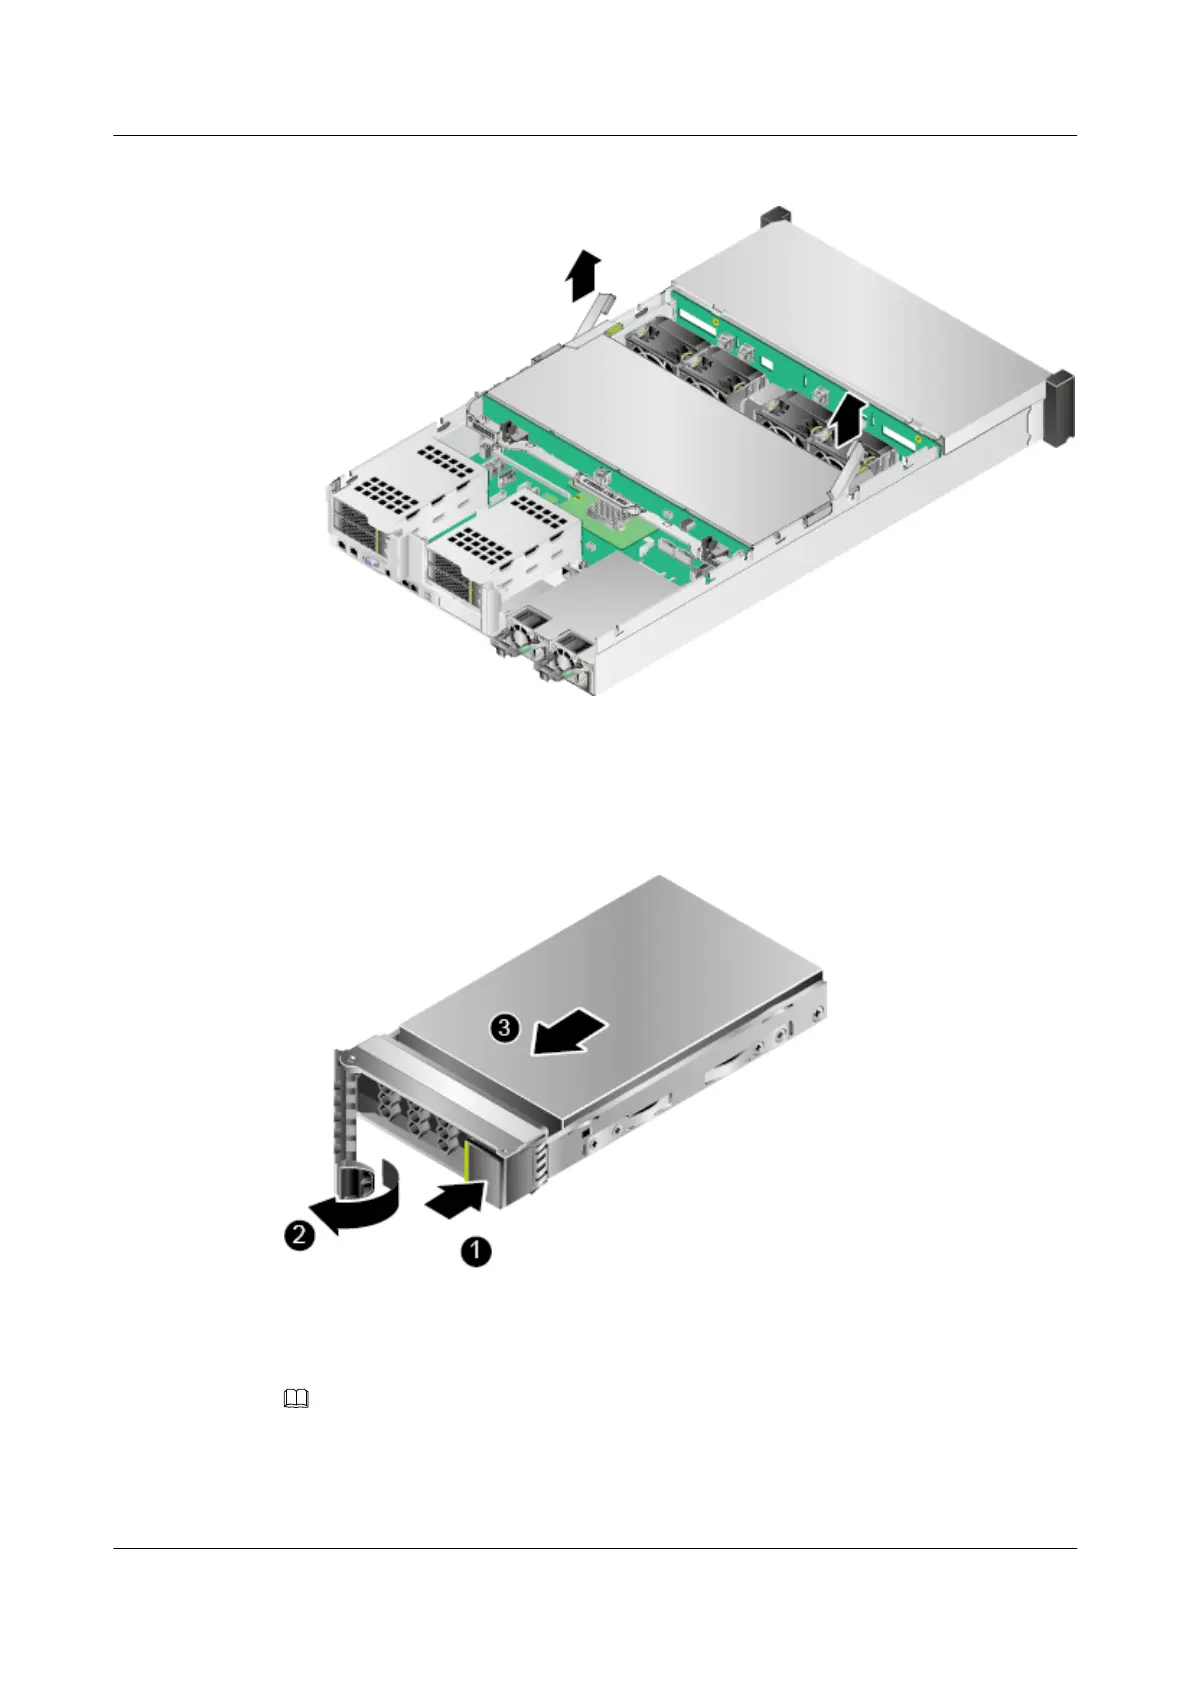
Provides procedures for removing and installing SAS/SATA and NVMe SSD drives.
Details the steps for installing a CPU, including thermal paste application.
Explains DIMM compatibility, subsystem architecture, ranks, and installation rules.
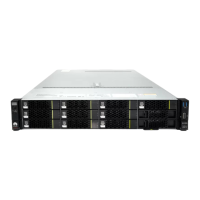
Illustrates internal cabling for DVD drive, USB, VGA, mounting ears, drive backplanes, and SAS signals.
Details internal cabling for mounting ears, drive backplanes, and SAS signals for specific drive configurations.
Explains the basic software loaded to hardware, its functions, and development basis.
Describes Huawei's intelligent management system for remote server management.
Details how to query the iBMC management network port IP address via BIOS or iBMC CLI.
Guides on accessing the Remote Console via iBMC WebUI for server management.
Explains how to log in to the iBMC Command Line Interface (CLI) over SSH or serial port.
Provides information on accessing technical support websites, platforms, and communities.
Lists software tools for routine maintenance, including uMate, InfoCollect, and ServiceCD.
Presents a logical structure diagram of the 2288H V5 server's hardware components.
Provides a comprehensive list of acronyms and abbreviations used throughout the document.