172 Powermax125 Service Manual 808070
9 – Power Supply Component Replacement
Replacing the power supply cover
Remove the power supply cover
1. Disconnect the power and gas supply. (See Disconnect the power and gas supply on page 166.)
2. Remove the 16 screws from the sides and top of the power supply cover.
3. Lift the cover off the power supply.
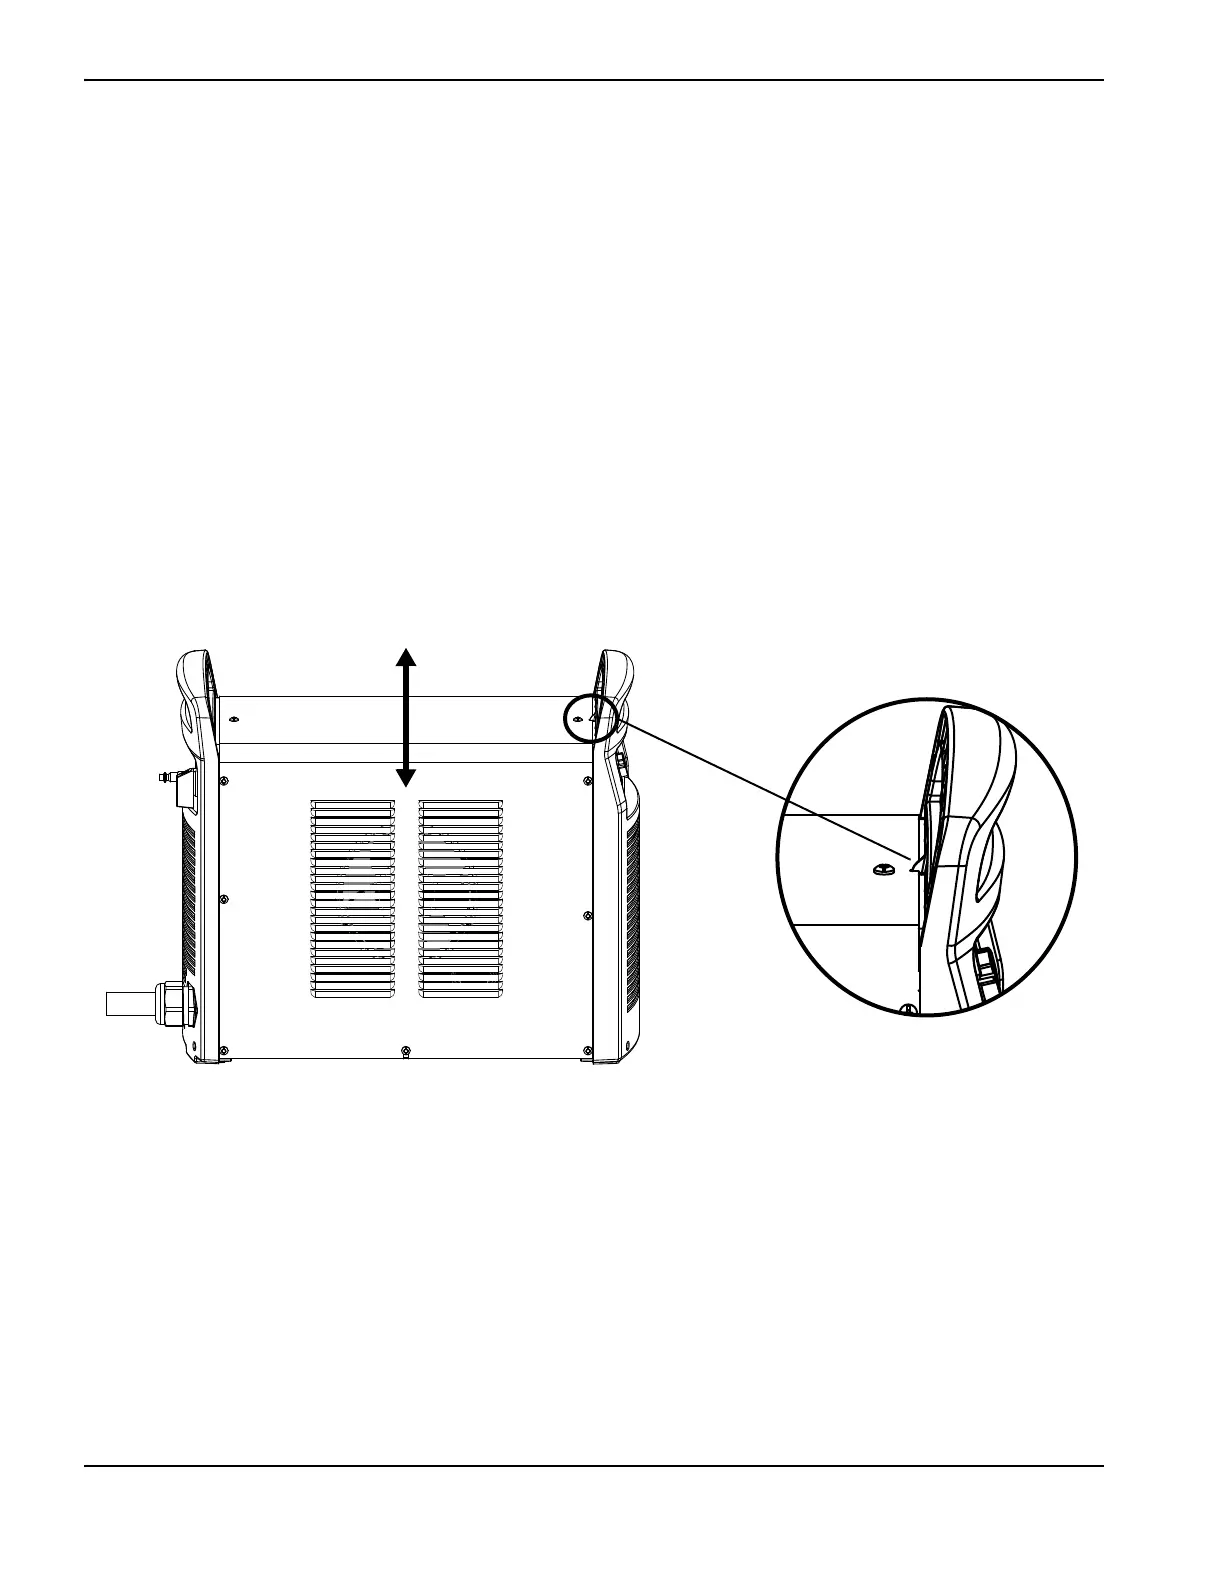
Figure 39
Install the power supply cover
1. Place the cover over the power supply, aligning the slot in the top of the cover with the plastic tab in the front panel.
The slot and tab ensure that the vent in the side of the cover is over the fan. (See Figure 39.)
2. Tighten the 16 screws in the sides and top of the cover to 23 kg-cm (20 inch-pounds).
3. Reconnect the power and gas supply.
Kit number Description
428115 Kit: Powermax125 CSA power supply cover with labels
428116 Kit: Powermax125 CE power supply cover with labels
428247 Kit: Powermax125 CCC power supply cover with labels

 Loading...


