280 Powermax125 Service Manual 808070
10 – Torch Component Replacement
Replacing the cap-sensor switch
1. Complete the following procedures:
a. See Disconnect the power, gas supply, and torch on page 266.
b. Remove all components from the torch. See Remove the handle on page 269.
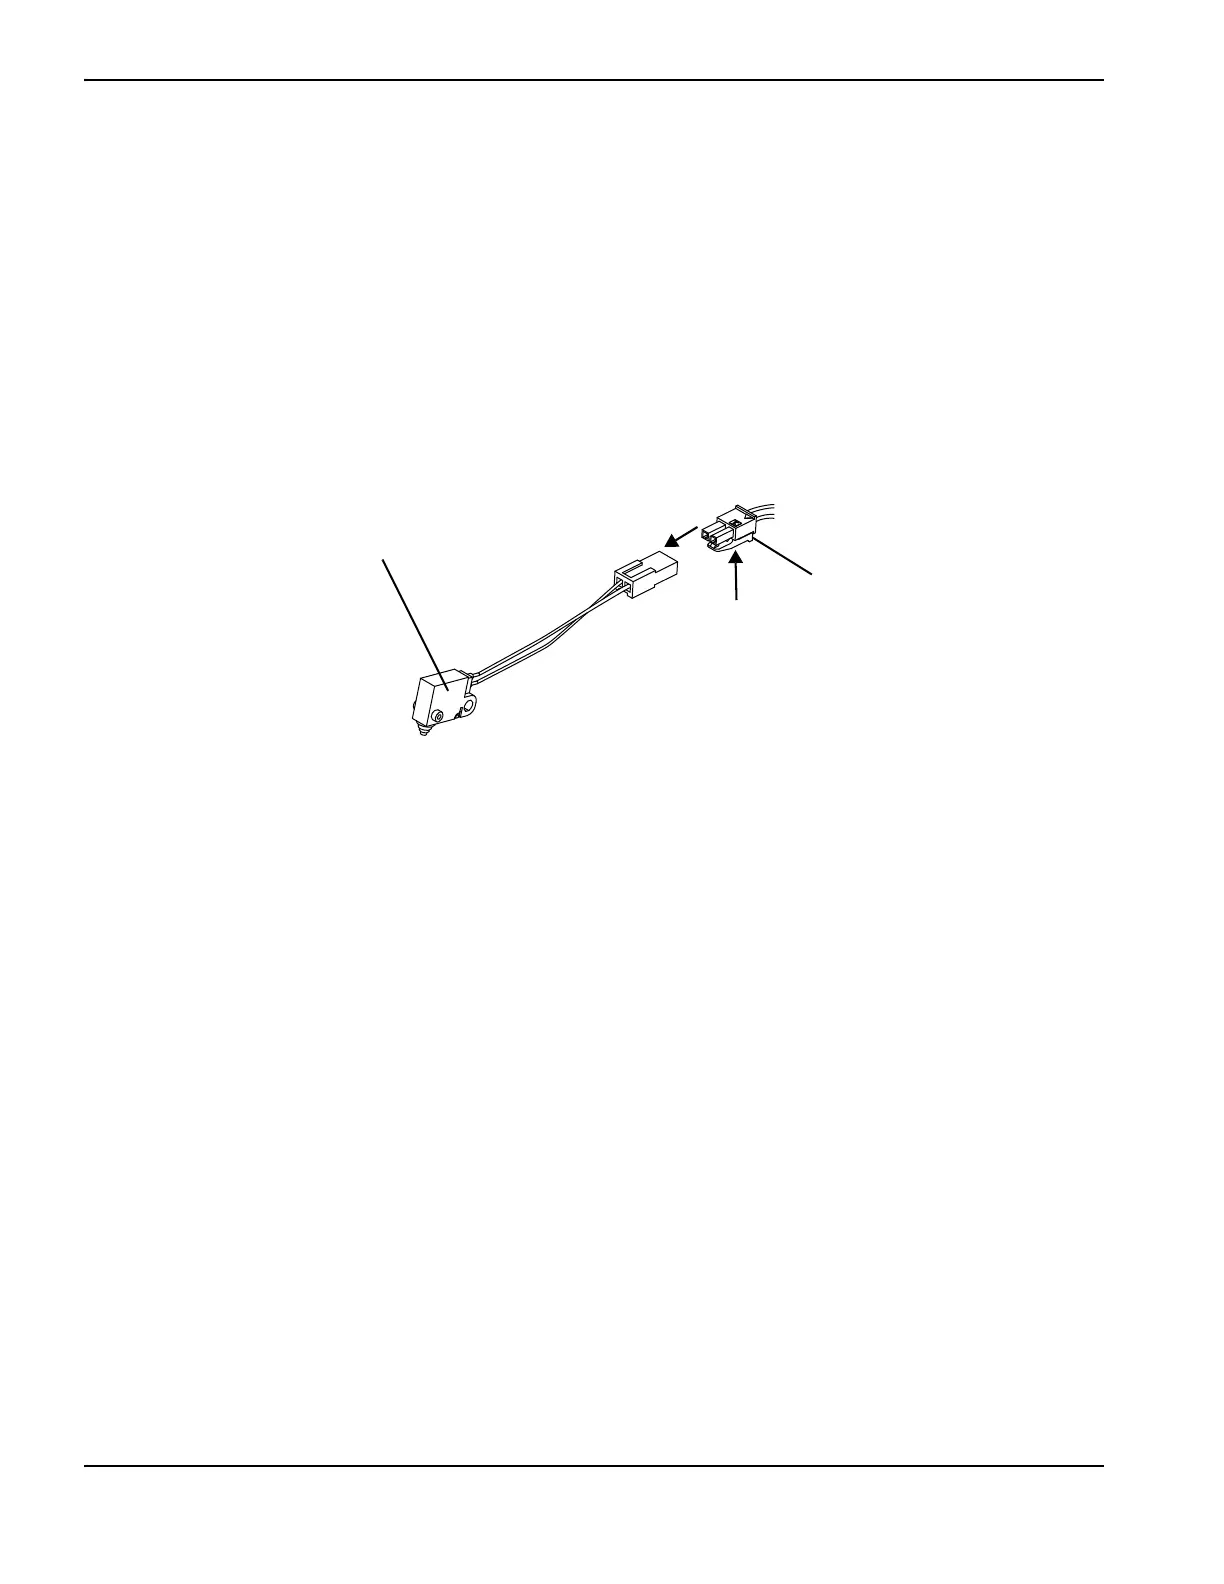
2. Disconnect the cap-sensor switch by pressing the tab on the connector and pulling the connector apart.
Figure 137
3. Connect the new cap-sensor switch to the torch lead by pushing the mating plug on the torch lead wires into the
socket.
4. Complete the following procedures:
a. Install all of the components that you removed. See Install the handle on page 272.
b. Reconnect the torch and gas supply, and turn ON (I) the power.
Kit Description
228719 Kit: Duramax and Duramax Hyamp hand torch cap-sensor switch replacement

 Loading...


