276 Powermax125 Service Manual 808070
10 – Torch Component Replacement
Replacing the torch body
1. Complete the following procedures:
a. See Disconnect the power, gas supply, and torch on page 266.
b. Remove all components from the torch. See Remove the handle on page 269.
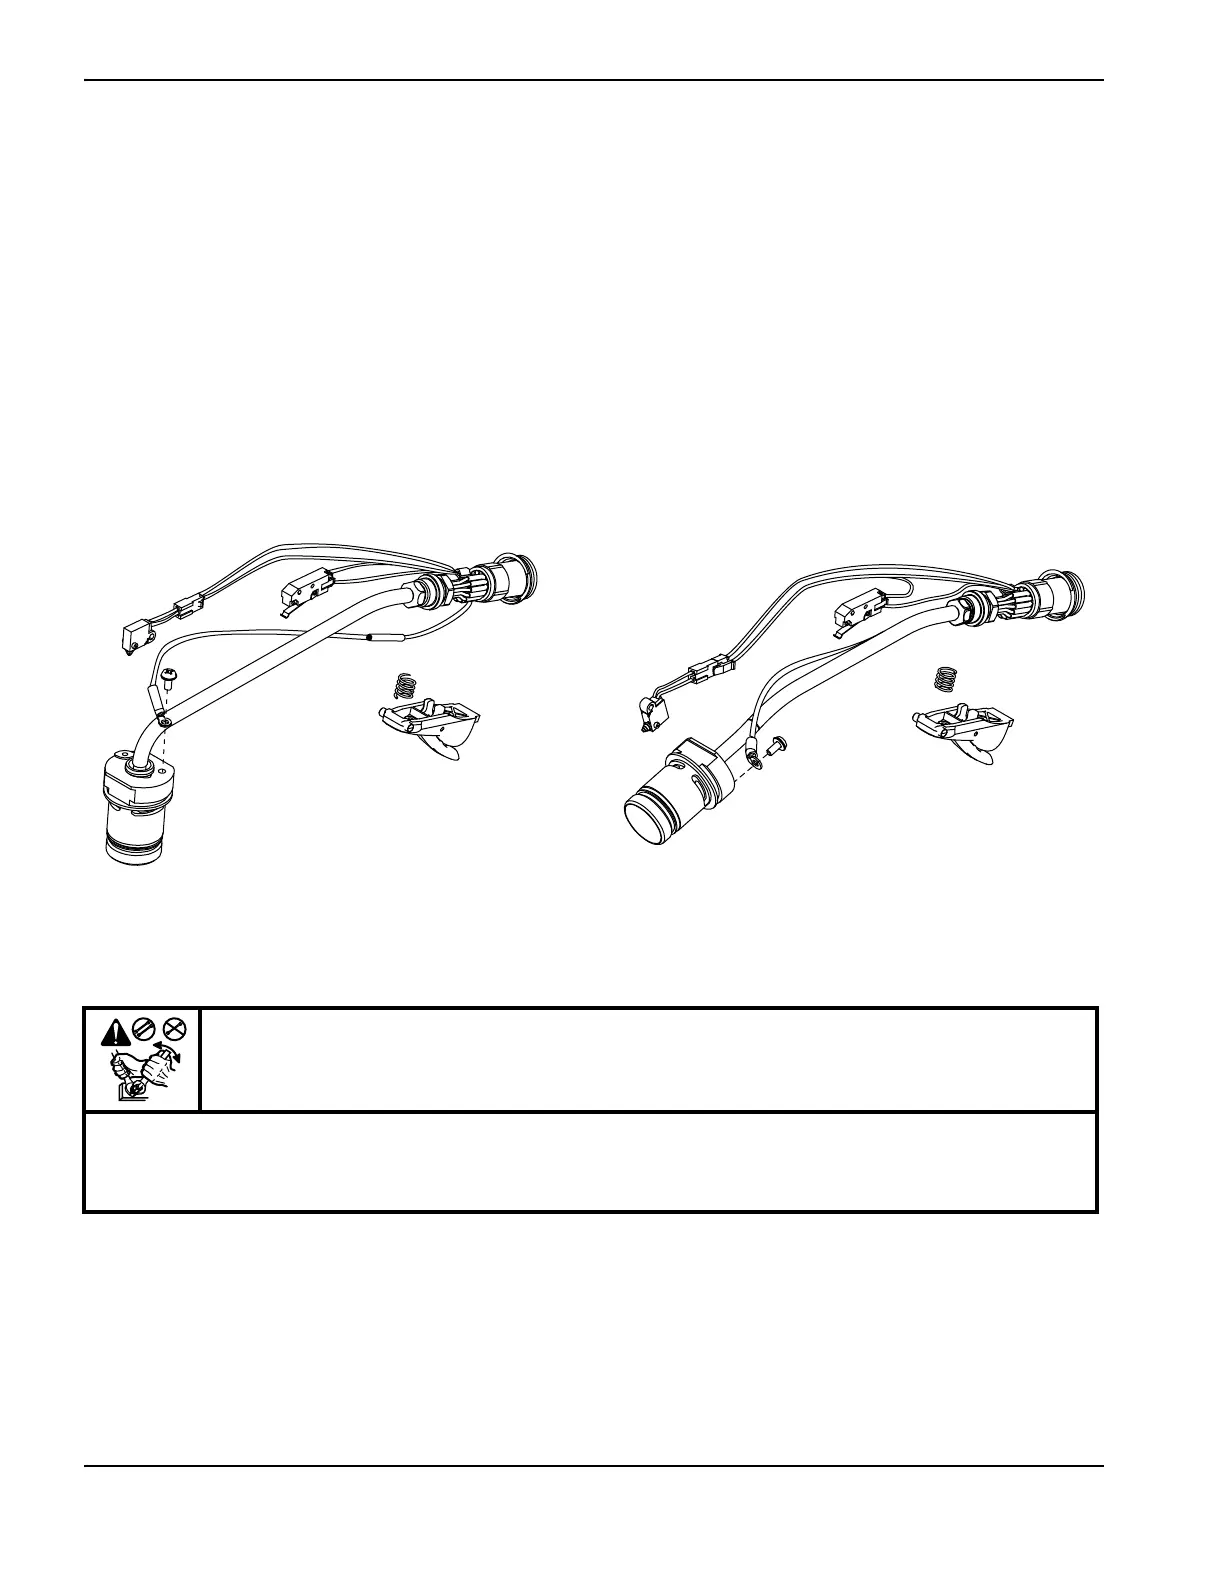
2. Remove the pilot terminal screw.
Figure 132
3. Use a 3/8-inch and 1/2-inch wrench together (or 2 adjustable wrenches) to loosen the gas fitting that secures the
torch body to the torch lead.
Kit Description
428157 Kit: Duramax Hyamp 15° hand torch main body replacement
428158 Kit: Duramax Hyamp 85° hand torch main body replacement
CAUTION!
Always use 2 wrenches to properly loosen and tighten the hex nuts and bolts mentioned in these
procedures. A strong thread sealant is used to assemble the torch, and loosening the nuts incorrectly
can damage the threads.

 Loading...


