Powermax125 Service Manual 808070 269
10 – Torch Component Replacement
Replacing the handle
Remove the handle
Many repairs require the removal of the handle and other components. Several other procedures in this section reference
this procedure. To replace the handle, you need to remove all of the internal components from the handle.
1. Turn OFF (O) the power, disconnect the gas supply, and disconnect the torch.
2. Remove the consumables from the torch.
3. Place the torch on a flat surface with the left handle facing up.
The left side of the handle is the side with the screws.
It may be helpful to clamp the lead in place to keep it from moving.
4. Remove the screws from the left handle.
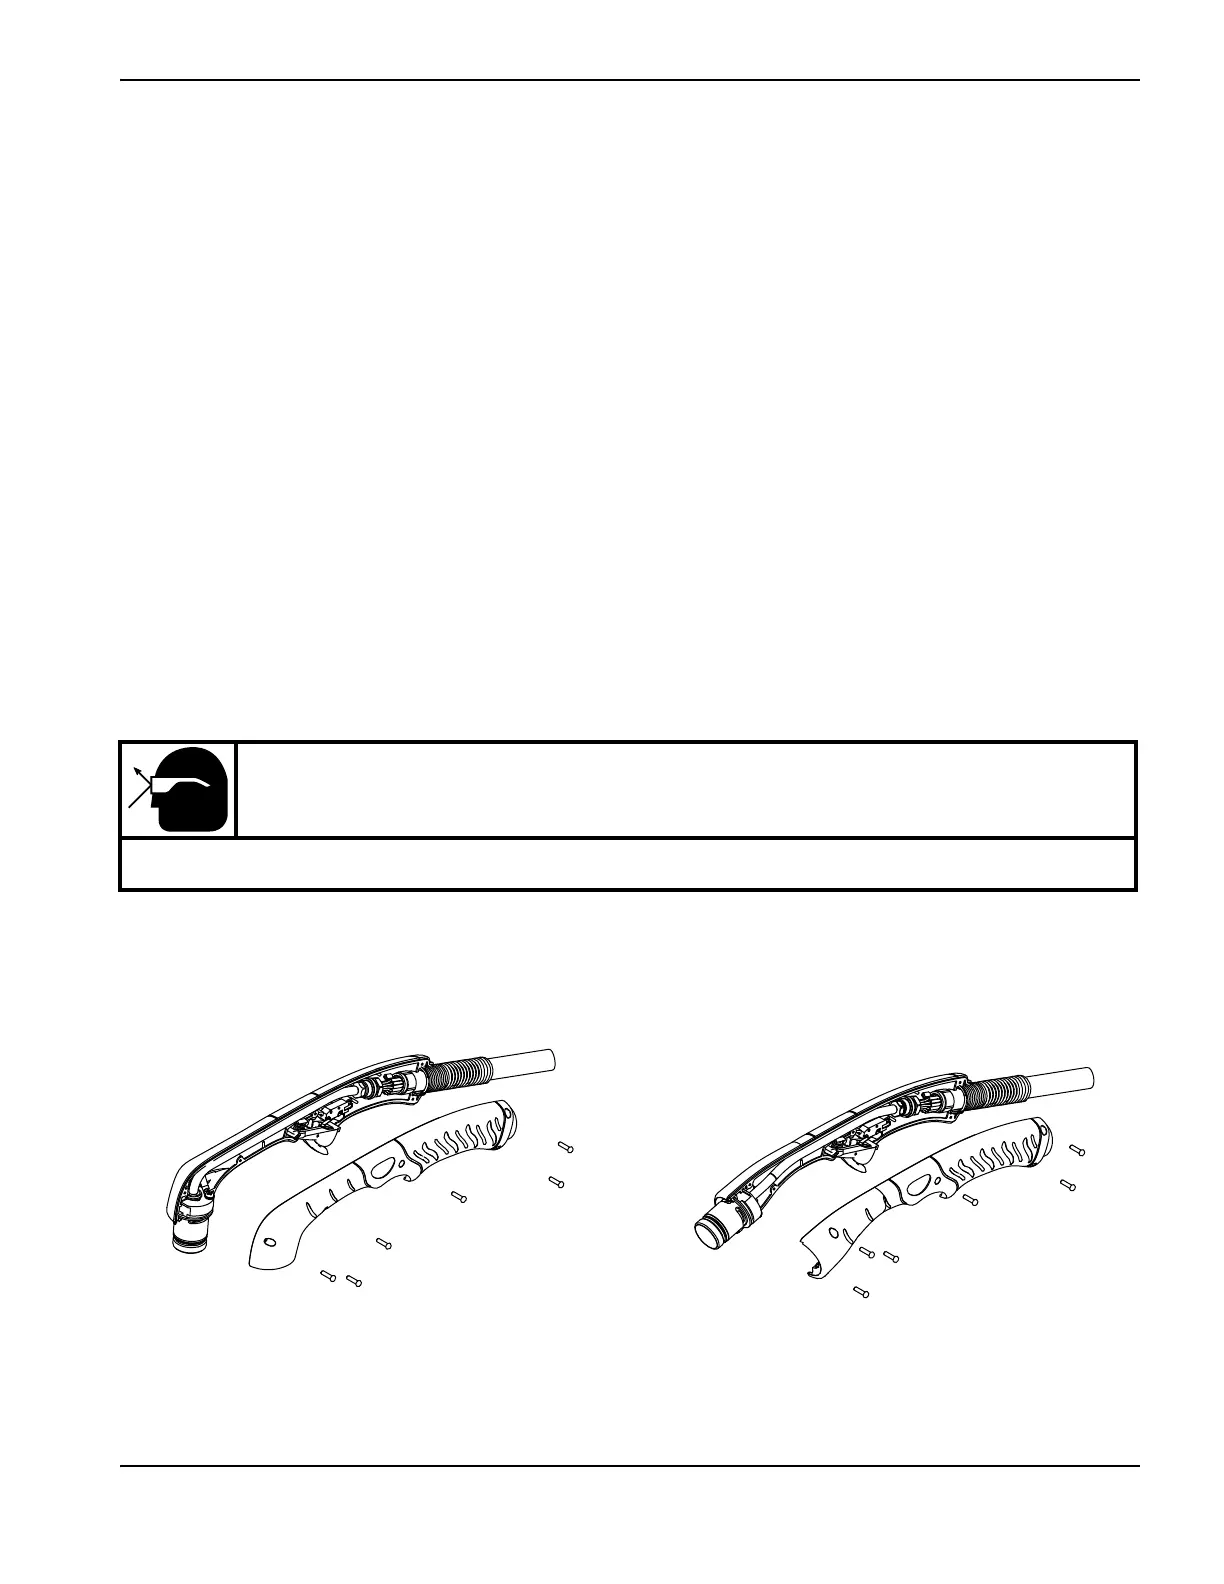
5. Being careful to keep the trigger spring from launching out of the handle, lift the left side of the handle away from the
torch.
Figure 121
For the 15° hand torch, carefully lift up the right end of the handle. Insert a blade
screwdriver between the handles on the left end. Gently twist the screwdriver to pry up
the handle. (See Figure 122.)
Kit Description
428154 Kit: Duramax Hyamp 15° torch handle replacement
428155 Kit: Duramax Hyamp 85° torch handle replacement
CAUTION!
Wear eye protection, as the trigger spring can launch out of the handle.

 Loading...


