Powermax125 Service Manual 808070 285
10 – Torch Component Replacement
Replacing the mounting sleeve
Remove the mounting sleeve
Many repairs require you to remove the mounting sleeve of the machine torch. Several other procedures in this section
reference this procedure.
1. Turn OFF (O) the power, disconnect the gas supply, and disconnect the torch.
2. Remove the consumables.
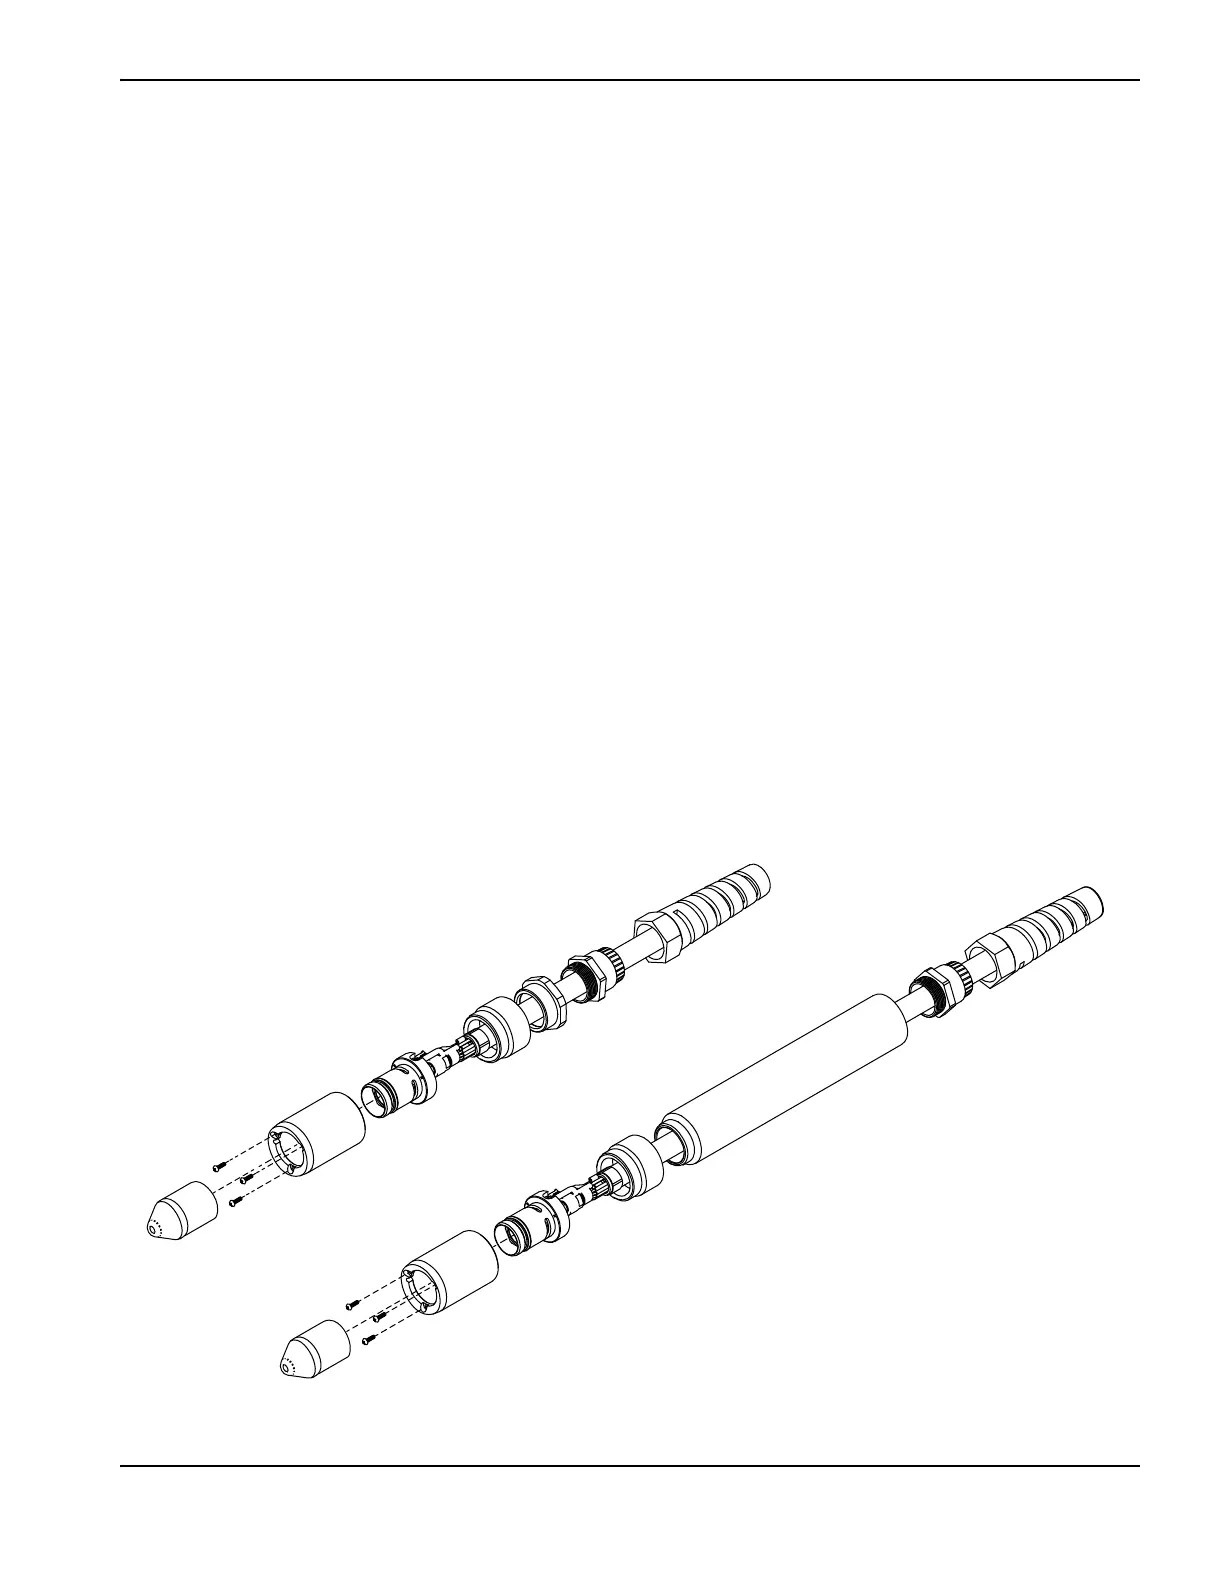
3. Unscrew the strain relief nut from the strain relief, and slide the strain relief nut back along the torch lead.
4. Unscrew the strain relief from the positioning sleeve (full-length only) or adapter (mini only) and slide the nut back
along the torch lead. (See Figure 143 on page 285.)
5. Unscrew the positioning sleeve (full-length only) or adapter (mini only) from the coupler.
6. Unscrew the coupler from the mounting sleeve.
7. Remove the screws from the front face of the mounting sleeve and set them aside.
8. Slide the mounting sleeve off of the torch body.
Figure 143
Kit Description
428145 Kit: Duramax Hyamp 180° machine torch mounting sleeve

 Loading...


