6.
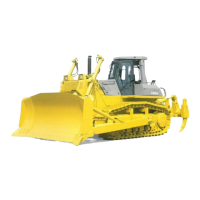
On
“Position Details” screen, select “Layer:” (name of layer
to use) and “Point description:” (explanation of point).
• When you select “<new description>” as “Point de-
scription:”, you can set the point description by using
the alphanumeric keyboard.
• If you cannot change the layer on “Position Details”
screen, disable the Topo survey function. For detail,
see “PERFORM TOPOGRAPHIC SURVEYS”.
7.
Press “Ok”.
The screen returns to the “Position Check” screen.
8.
Press “Cancel”.
The screen returns to the main window.
NAVIGATE POINTS
You can select a navigation/survey point and navigate the machine to that point.
As a navigation/survey point, you can select a point of any layer in the project file.
METHOD FOR NAVIGATING TO POINTS
You can navigate to points by using the pop-up menu as well.
When using the pop-up menu, see “METHOD FOR NAVIGATING TO POINTS (POP-UP MENU)”.
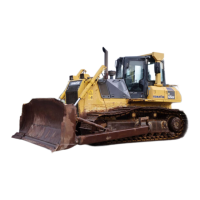
1.
On the main window, press “iB logo key” and display the
main menu.
2.
On “Tools” menu, press “Navigate...” and select.
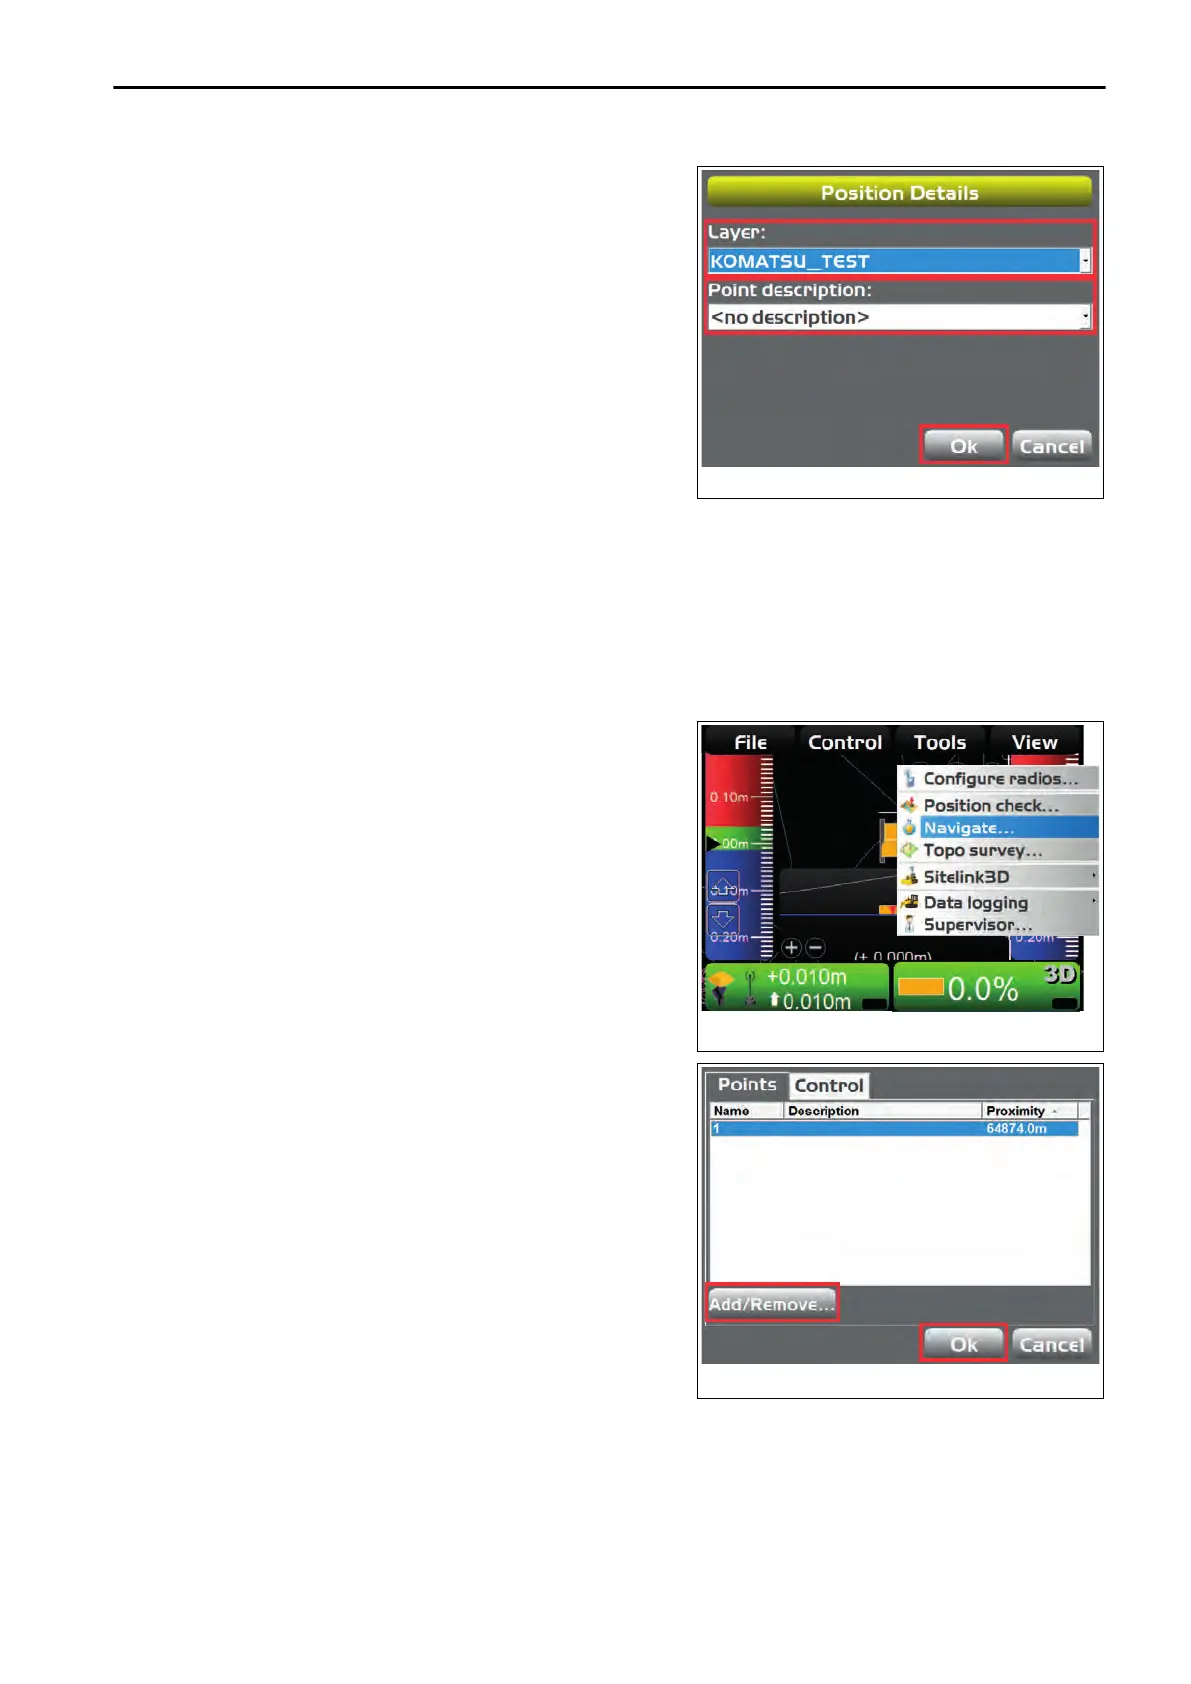
3.
Press “Add/Remove...”.
The point is added/deleted to/from the list.
4.
Select a point
5.
Press “Ok”.
HANDLE CONTROL BOX TOOLS MENU
4-45
 Loading...