Chapter 5 Disassembly and Assembly
5-14
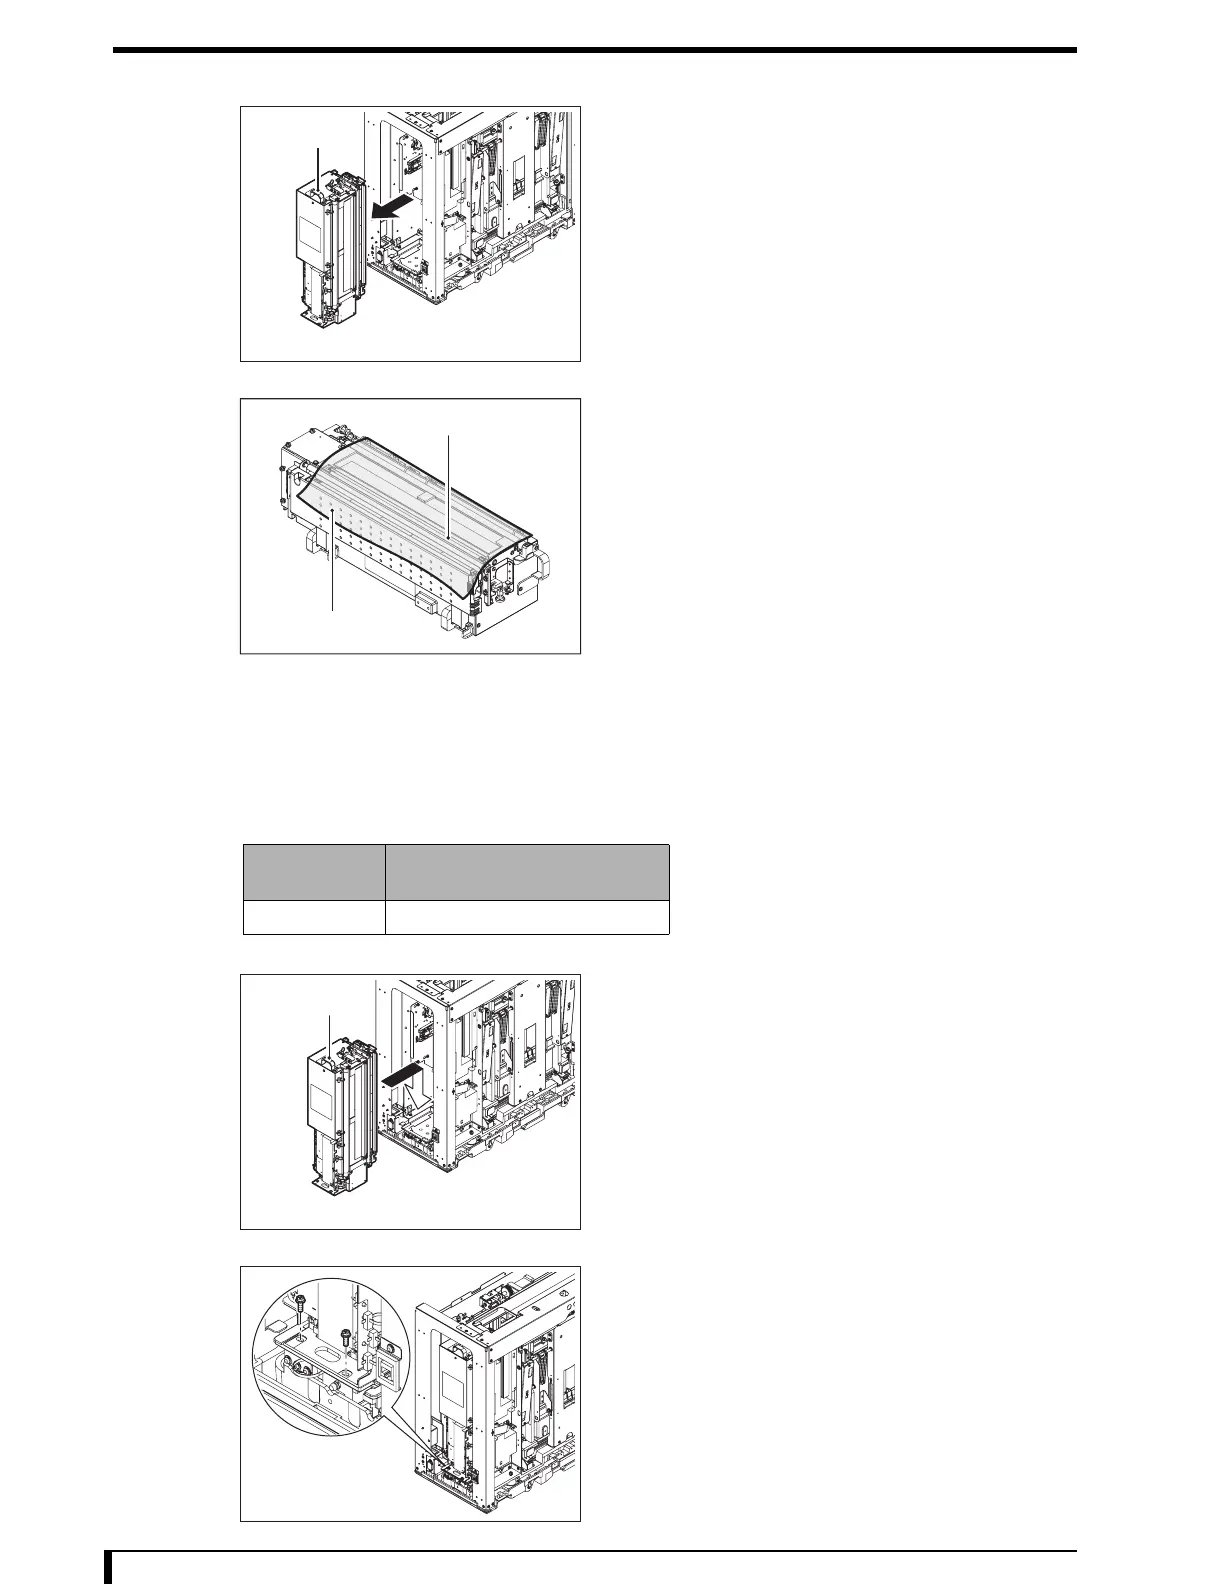
12 Remove the optical unit, holding the knob on top
of the optical unit with the bottom surface.
Place the removed optical unit in a level and stable
place.
If you are going to lay it down, turn up the light
condensing unit and cover it with a vinyl sheet in order
to screen out dust on it.
Now, you have finished with the procedures to remove the optical unit.
Installation Procedures
Work outline
Listed below are the number of people and the rough standard of work hours required for performing the
works described in this section.
1 Move the holding plate on the subscan unit to the
second front back side to fix it using a simple
fixing lock.
2 Place the optical unit on the holding plate.
3 Temporarily fix the setscrews on the second front
back side.
•
2 hex/Phillips-head screws (M4 x 12)
Knob
Second Front Back Side
Light Condensing Unit
Vinyl sheet
Personnel
Number
Work Hours (steps 1 to 18)
1
Knob
Second Front Back Side
Second Front Back Side

 Loading...