EasyManuals Logo
Home>KYMCO>Scooter>DINK 200i

KYMCO DINK 200i Service Manual

KYMCO DINK 200i
400 pages
To Next Page IconTo Next Page
To Previous Page IconTo Previous Page
Page #152 background imageLoading...
Page #152 background image
8. DRIVE AND DRIVEN PULLEYS/
KICK STARTER
8-8
DINK 200i/125
DRIVE PULLEY, DRIVE BELT
AND DRIVEN PULLEY
REMOVAL
Remove the left crankcase cover (refer to the
“LEFT CRANKCASE COVER section in this
chapter).
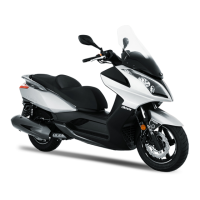
Use the special tool to hold the drive pulley,
then remove the nut and ratchet.
Special tool:
Universal holder A120E00017
Remove the drive pulley face.
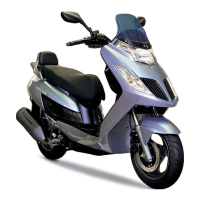
Hold the clutch outer with the universal
holder and remove the clutch outer nut.
Special tool:
Universal Holder A120E00017
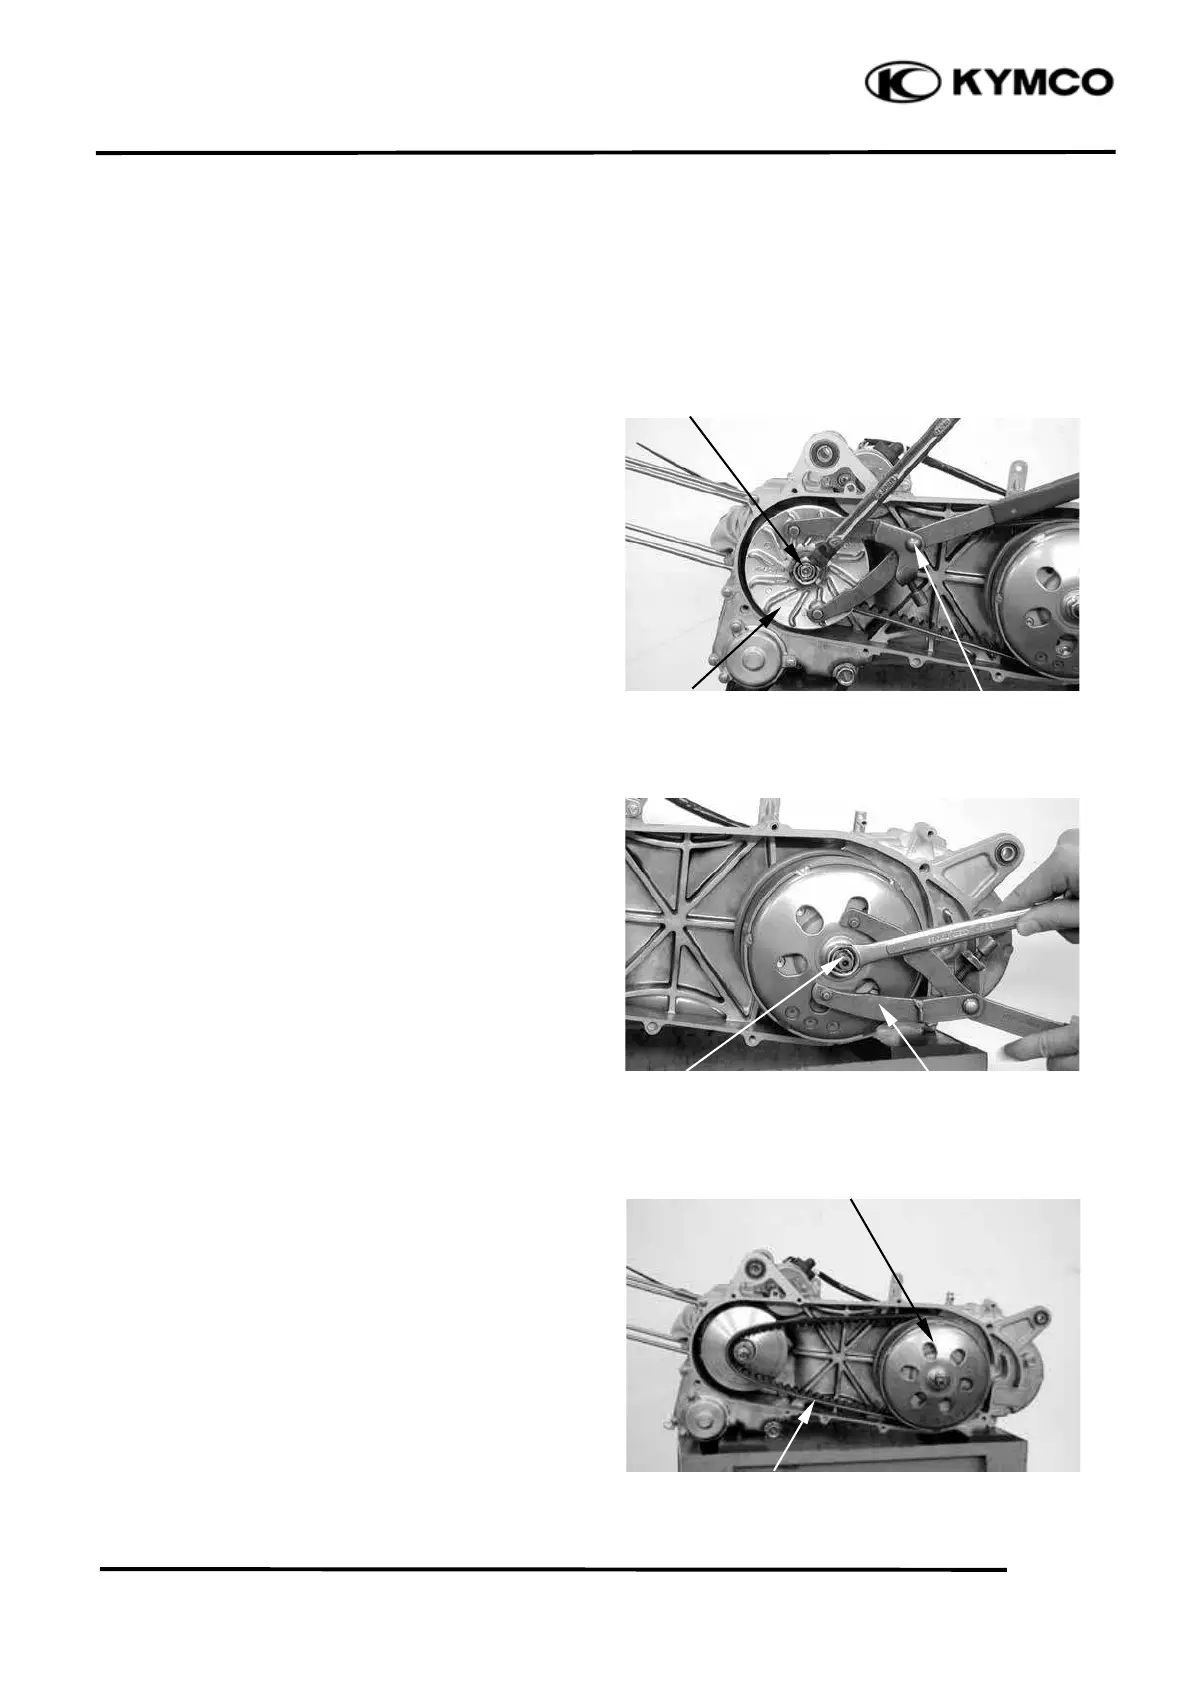
Remove the clutch outer, driven pulley
assembly and drive belt together.
Drive Pulley Face
Univ
ersal Holde
r
Clutch Outer/Driven Pulley Assembly
Drive Bel
t
N
ut/Ratche
t
Nu
t
Universal Holde
r

Table of Contents

Questions and Answers:

Question and Answer IconNeed help?

Do you have a question about the KYMCO DINK 200i and is the answer not in the manual?

KYMCO DINK 200i Specifications

General IconGeneral
BrandKYMCO
ModelDINK 200i
CategoryScooter
LanguageEnglish

Related product manuals