2 - 18 MC1000 with Windows CE 5.0 Integrator Guide
UConnect
UConnect software enables automatic synchronization of every mobile computer inserted in the Four-Slot USB
cradle.
Installing UConnect
To install UConnect via the .CAB file:
1. Download the UConnect .CAB file from the Support Central website, http://www.zebra.com/support, to the host
computer.
2. Copy the file from the host computer to the mobile computer. See Downloading Files Using ActiveSync on
page 5-3.
3. On the mobile computer, navigate to the .CAB file and run the file.
4. Follow the screen prompts to install.
With this method, the .CAB file does not install the .cpy and .reg files.
Once installed, UConnect launches automatically upon mobile computer startup. Each mobile computer must first
form an ActiveSync partnership with a host computer for UConnect to successfully manage synchronization.
Configuring UConnect
To customize default settings for UConnect, create a .reg file that overrides UConnect’s initial default settings.
Refer to UConnect.reg, included with UConnect, for information on setting custom hard reset and default settings.
To customize UConnect temporarily (until the next hard reset):
1. Switch to the UConnect application.
2. Using the keypad, navigate to Settings.
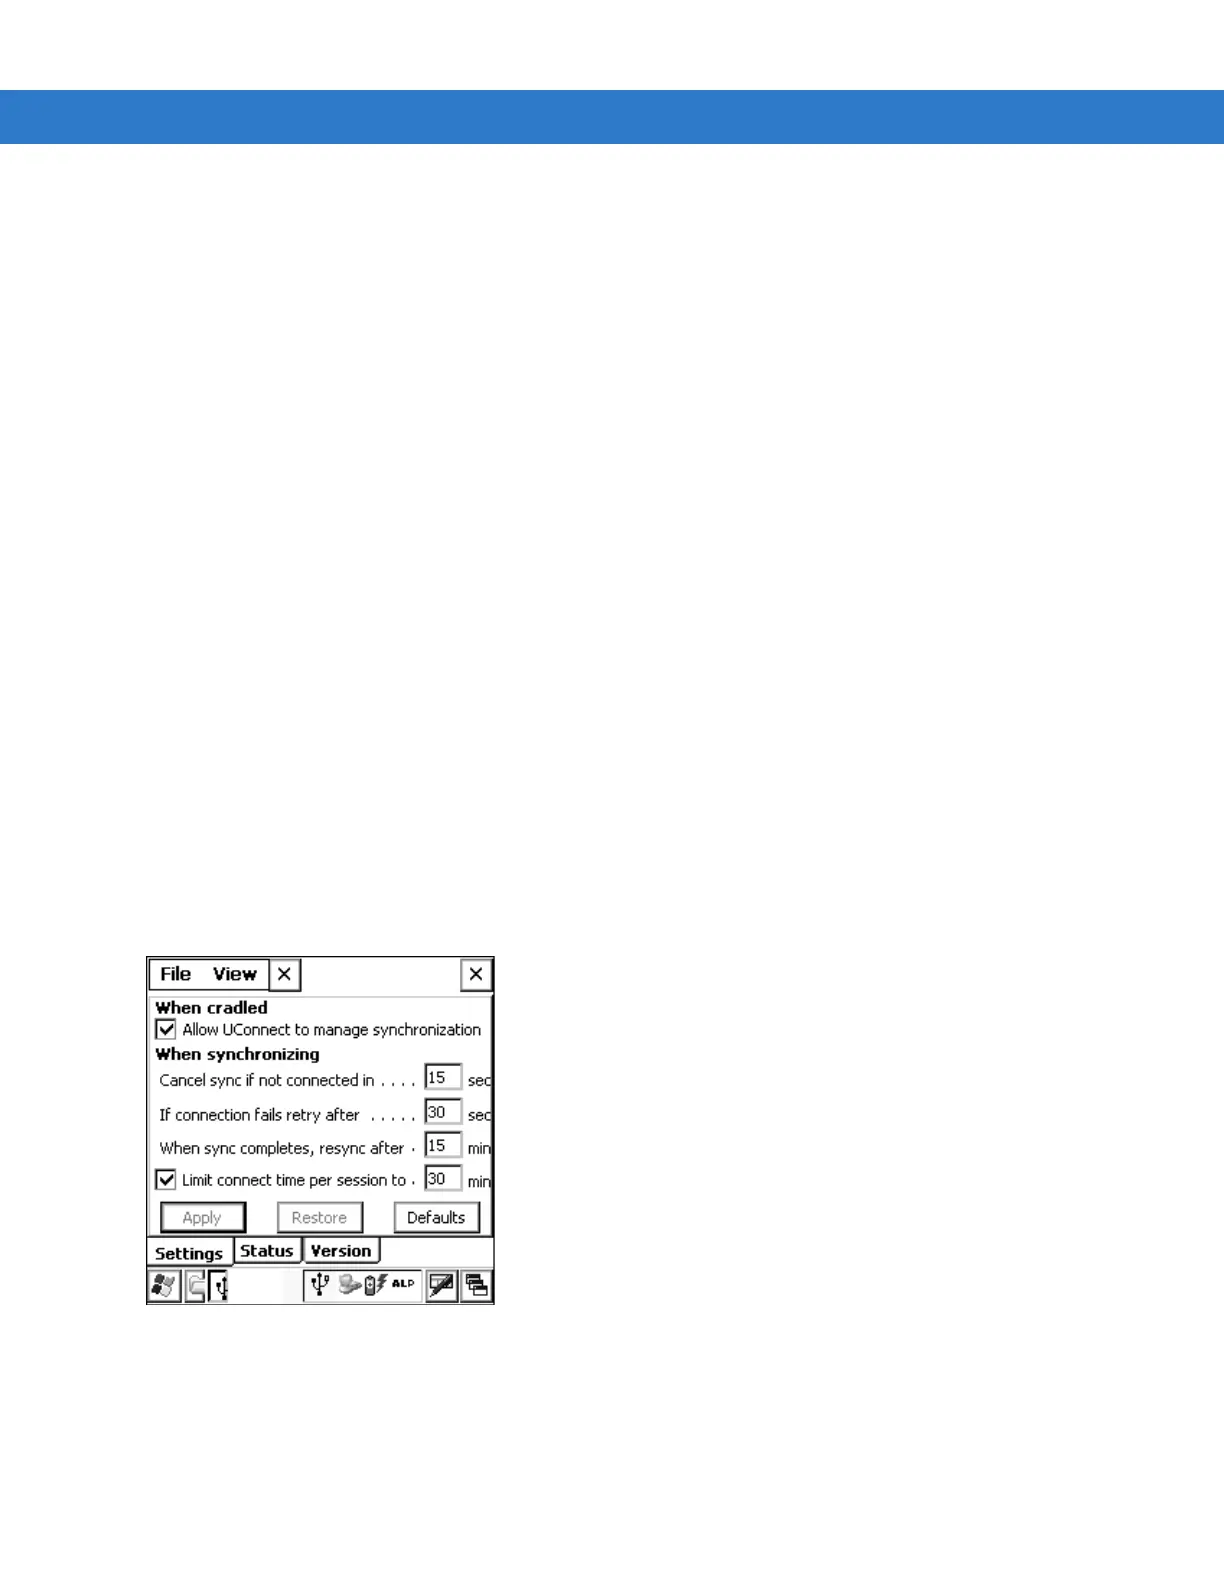
Figure 2-19 UConnect Settings Window
3. Select the Allow UConnect to manage synchronization check box to allow UConnect to control docking events
and schedule synchronization sessions. UConnect launches ActiveSync when a mobile computer is inserted in
the cradle to synchronize the mobile computer and the host computer. If another inserted mobile computer is
synchronizing, UConnect reschedules synchronization based on the connection retry interval setting.
 Loading...