VI Maintenance Menu
2 Testing Electrical Component Operations
- 60 -
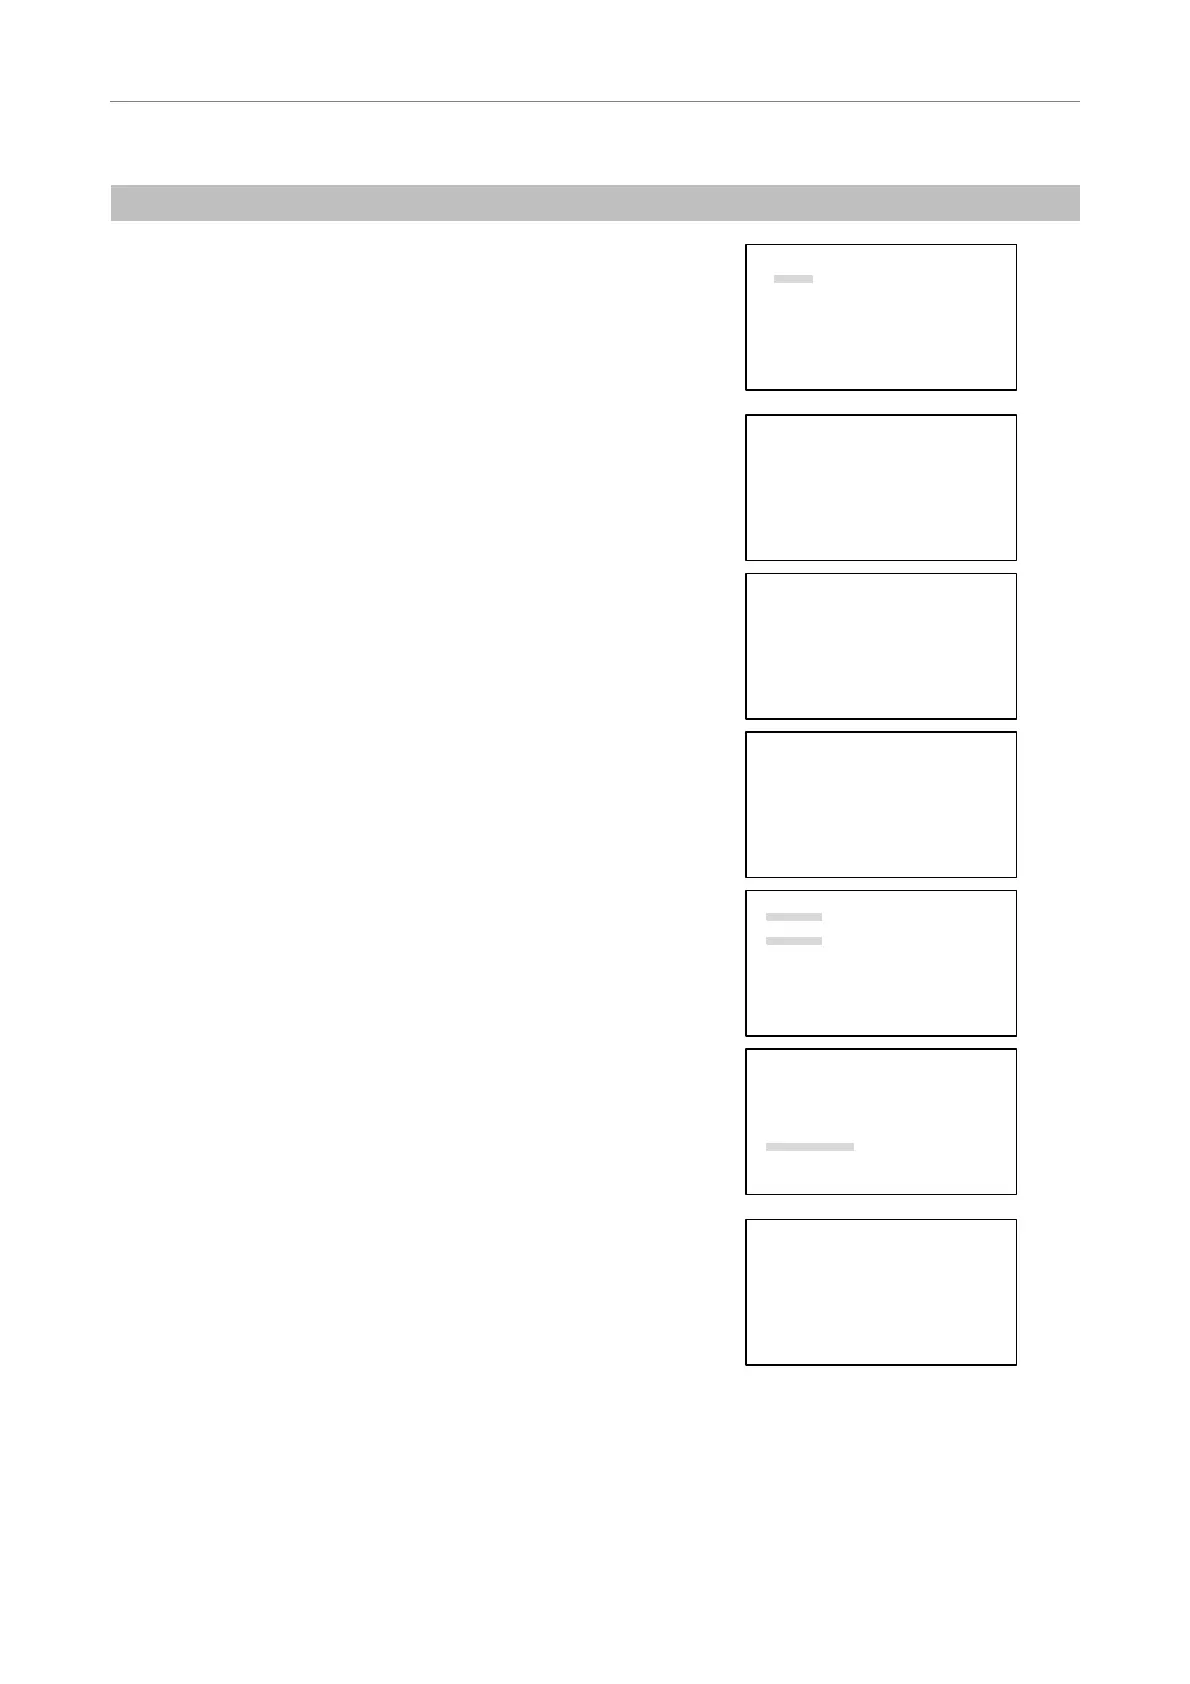
(2) Individual Test Mode
1
Turn on the power to the HUB controller while holding
down the MODE key.
After the MAINTENANCE MENU screen appears, release
the MODE key.
Select “TEST 1” using the
S key or the T key and press
the [
] key.
MAINTENANCE MENU
1.Version
2.
TEST1
3.TEST2
4.PAD Data
5.HUB Data
6.Control Data
a.All Control Data
b.Revoiving Nosepiece
c.Condenser Cassette
d.Light Path
e.Filter Block
f.Exciter Filter
g.Barrier Filter
h.AUX Filter
2
Move “→” using the S key or the T key to select an
electrical component to test.
Press the [
] key.
The test of the selected component begins.
If a component is not connected to the HUB controller, you
cannot select the component.
TEST1 1/5
ALL TEST
→ OBJECTIVE
1 [ ]
2 [ ]
3 [ ]
4 [ ]
5 [ ]
6 [ ]
・・・・・・・・・・・・・・・・・・・・・・・・・・・・・・・・
Running ALL TEST...
Press enter to pause.
TEST1 2/5
EPI-FILTER
1 [ ]
2 [ ]
3 [ ]
4 [ ]
5 [ ]
6 [ ]
・・・・・・・・・・・・・・・・・・・・・・・・・・・・・・・・
Running ALL TEST...
Press enter to pause.
TEST1 3/5
LIGHT PATH
1 [ ]
2 [ ]
3 [ ]
4 [ ]
5 [ ]
CONDENSER
Right [ ]
Left [ ]
・・・・・・・・・・・・・・・・・・・・・・・・・・・・・・・・
Running ALL TEST...
Press enter to pause.
TEST1 4/5
EXCITER
Right [ ]
Left [ ]
BARRIER
Right [ ]
Left [ ]
ANALYZER [ ]
・・・・・・・・・・・・・・・・・・・・・・・・・・・・・・・・
Running ALL TEST...
Press enter to pause.
TEST1 5/5
DIA LAMP
REMOTE [ ]
ON/OFF [ ]
ADJ-up [ ]
ADJ-down [ ]
Shutter
A [ ]
B [ ]
CAMERA EXP. [ ]
・・・・・・・・・・・・・・・・・・・・・・・・・・・・・・・・
Running ALL TEST...
Press enter to pause.
3
When the test is completed, “Complete!” appears and
remains displayed for about one second.
TEST1 1/5
ALL TEST
→ OBJECTIVE
1 [OK]
2 [OK]
3 [OK]
4 [OK]
5 [OK]
6 [OK]
・・・・・・・・・・・・・・・・・・・・・・・・・・・・・・・・
Complete!
4
Press the MODE key to return to the OPERATION screen.
How to check test results again
Move “
→” using the S key or the T key to change screens.
 Loading...