12.7
ELECTRICAL
12
Engine hours are logged anytime the engine is running. Total
hours are not re-settable.
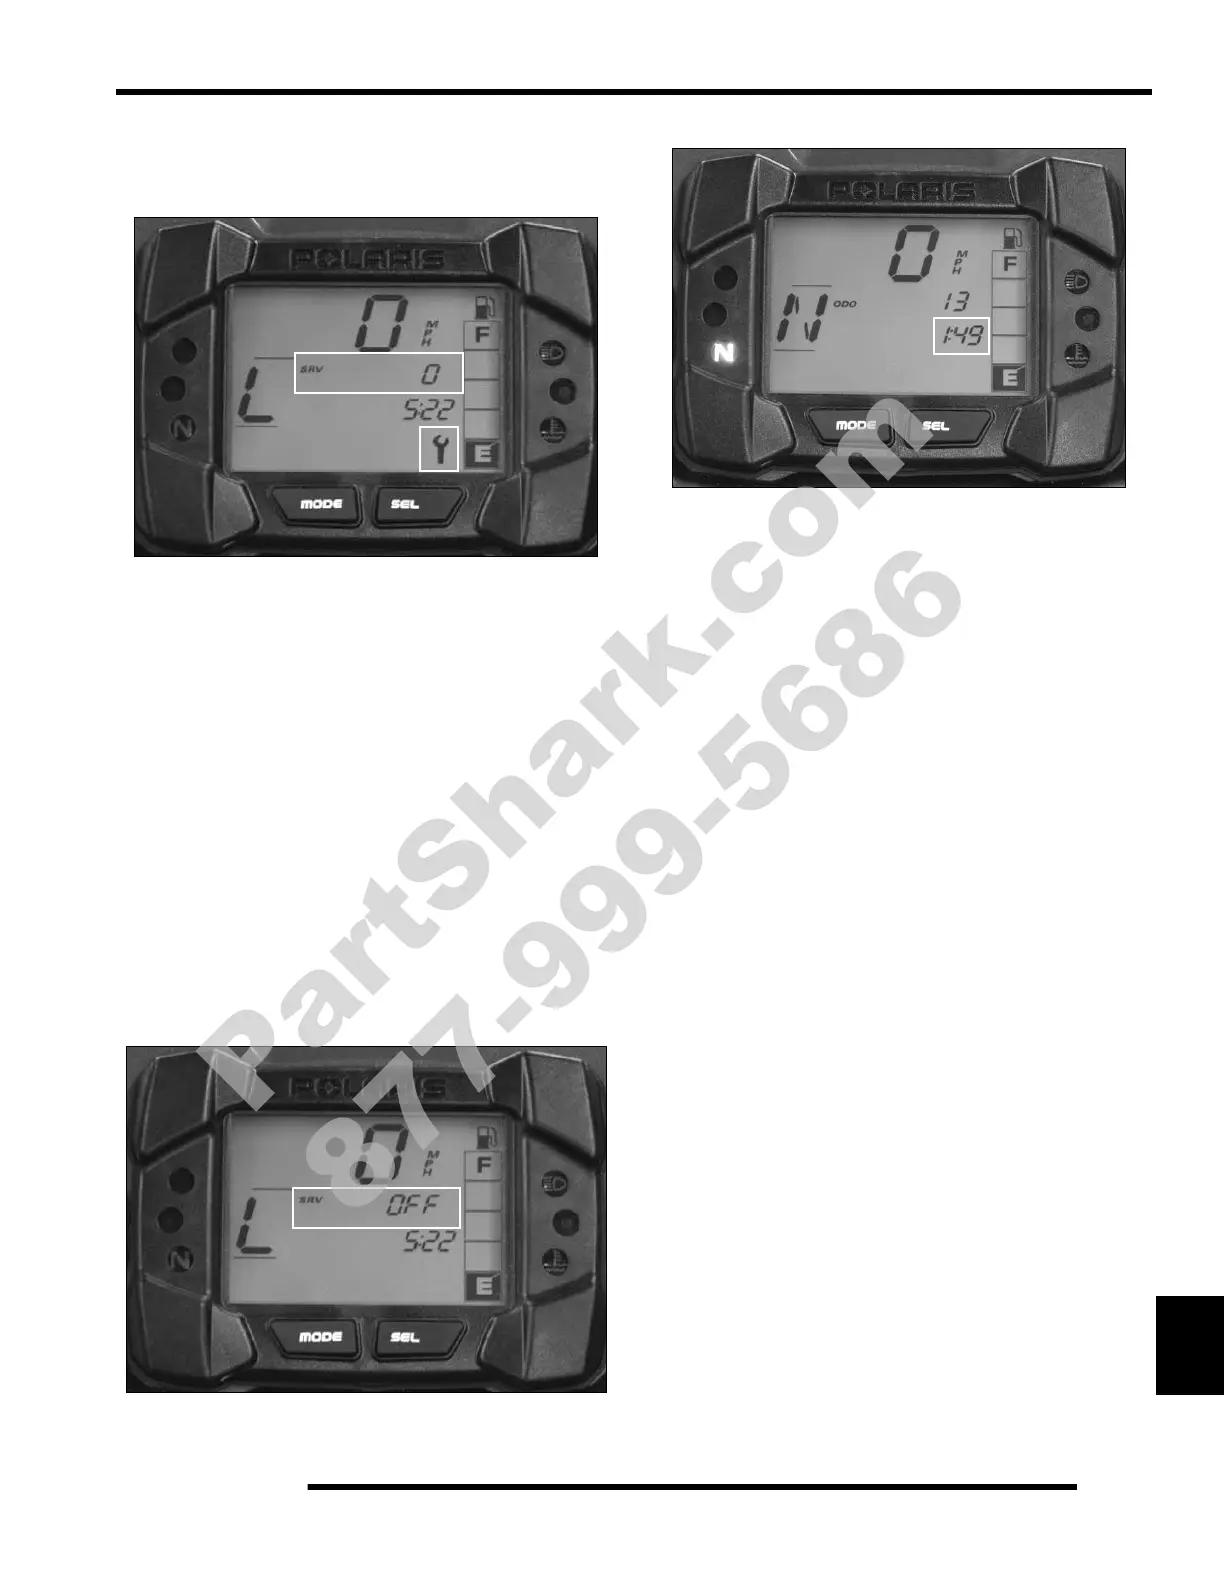
Programmed Service Interval
The initial factory service interval setting is 50 hours. Each time
the engine is started, the engine hours are subtracted from the
service interval hours. When the service interval reaches 0, the
LCD wrench icon will illuminate for approximately 10 seconds
each time the engine is started.
To change the hour setting or reset the function, follow these
steps:
1. Toggle the SELECT button until SRV is displayed in the
information area.
2. Press and hold the MODE button until the information
display area begins to flash.
3. Toggle the SELECT button to increase the service interval
hours in 5 hour increments to a maximum of 100 hours.
4. To turn off the service interval function, toggle the
SELECT button until “OFF” is displayed.
Clock
The clock displays the time in a 12-hour or 24-hour format
depending on whether the instrument cluster units are set to
Standard or Metric on early-build vehicles.
On later build vehicles, change between 12-hour and 24-hour
formats by performing the following procedure:
1. Press and hold the MODE button until RPM is displayed.
2. Toggle the SELECT button until the odometer is displayed.
3. Press and hold the MODE button until the clock displays
the new hour format.
To view the clock when the key is out of the ignition switch,
press the MODE button. The current time will be displayed for
approximately 10 seconds.
There are two methods for setting the clock.
Method 1
1. Toggle the SELECT button until engine hours is
displayed.
2. Press and hold the MODE button until the clock begins to
flash.
3. Press and release the SELECT button to change the hours.
4. Press and release the MODE button to move to the next
position. The minutes are set in the same manner.
5. When the time is no longer flashing, the clock has been set.
PartShark.com
877-999-5686

 Loading...