7.9
CLUTCHING (PVT)
7
DRIVE BELT
Belt Removal
1. Position the vehicle on a level surface and place the
transmission in Park.
2. Elevate and safely support the rear of the vehicle.
3. Remove the left rear wheel from the vehicle.
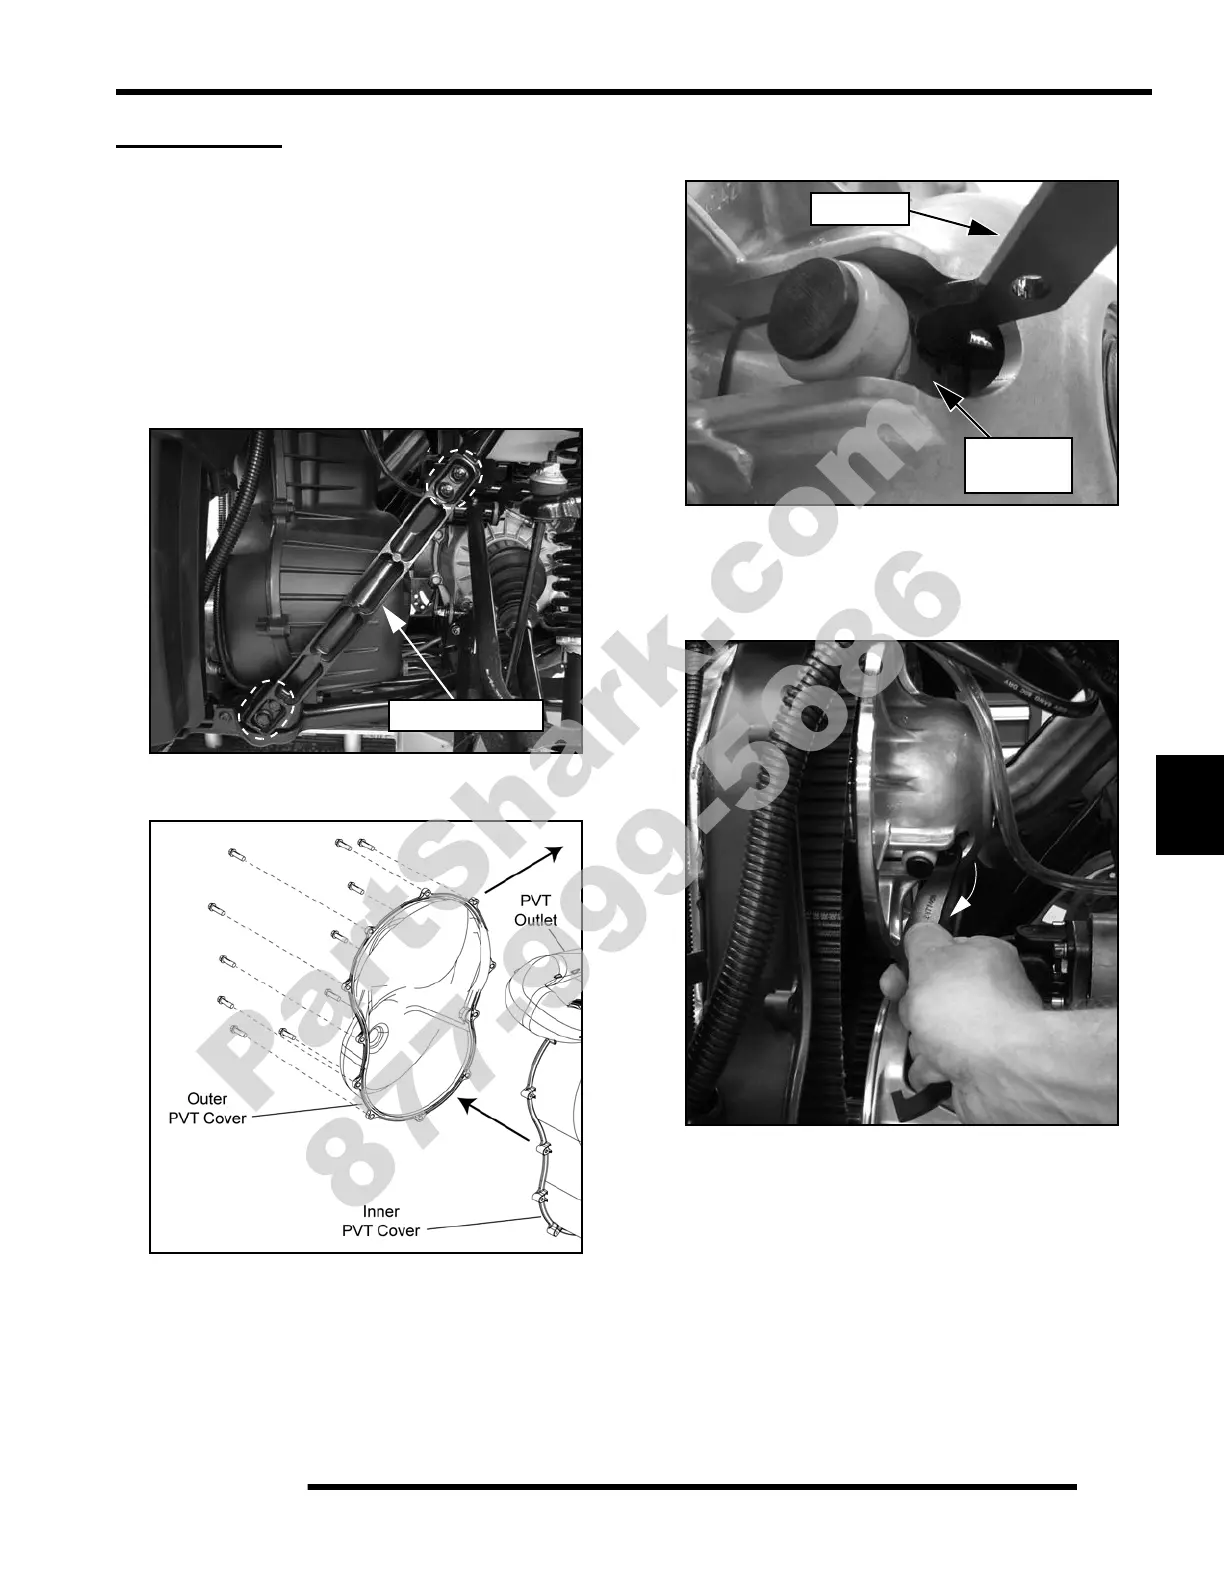
4. Remove the (4) bolts retaining the lower left-hand frame
support and remove it from the frame.
5. Remove the (11) screws retaining the PVT cover.
6. Using care, pull the PVT cover out the left-hand wheel well.
7. Mark the drive belt direction of rotation so that it can be
installed in the same direction.
8. Insert the belt removal tool PN 2877408 into the driven
clutch as shown (tool included with vehicle’s tool kit).
NOTE: Make sure the tool is square with the
moveable sheave surface of the driven clutch.
9. Rotate the tool towards the clutch to open the sheaves.
10. Walk the belt out of the driven clutch and drive clutch, and
remove it from the vehicle.
IMPORTANT: Leave the Belt Removal Tool installed
for belt installation.
Frame Support
2877408
Moveable
Sheave
PartShark.com
877-999-5686

 Loading...