8.46
9929375 R02 - 2016-2019 GENERAL / GENERAL 4 Service Manual
© Copyright Polaris Industries Inc.
LOWER CONTROL ARM
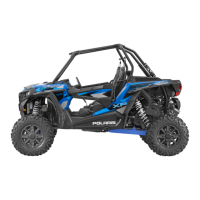
1. Remove lower ball joint pinch bolt from bearing
carrier.
2. Using a soft face hammer, tap on bearing carrier to
loosen the lower control arm ball joint end while
pushing downward on the lower control arm.
Completely remove the ball joint end from the bearing
carrier.
3. Loosen and remove the lower control arm through-
bolt fasteners
q
.
NOTICE
2019 models have M10 hardware.
2016–2018 models have M12 hardware.
4. Remove ball joint from control arm. Refer to “Ball
Joint Removal”page 8.56 procedure.
5. Examine control arm bushings and pivot tube.
Replace if worn. Discard hardware.
6. If not replacing the control arm, thoroughly clean the
control arm and pivot tube.
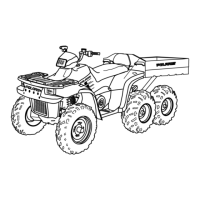
CONTROL ARM INSTALLATION - FRONT
UPPER CONTROL ARM
1. Install NEW ball joint into control arm. Refer to “Ball
Joint Installation”page 8.56 procedure.
2. Insert NEW pivot caps
q
, control arm bushings
w
,
and pivot tube
e
into new control arm.
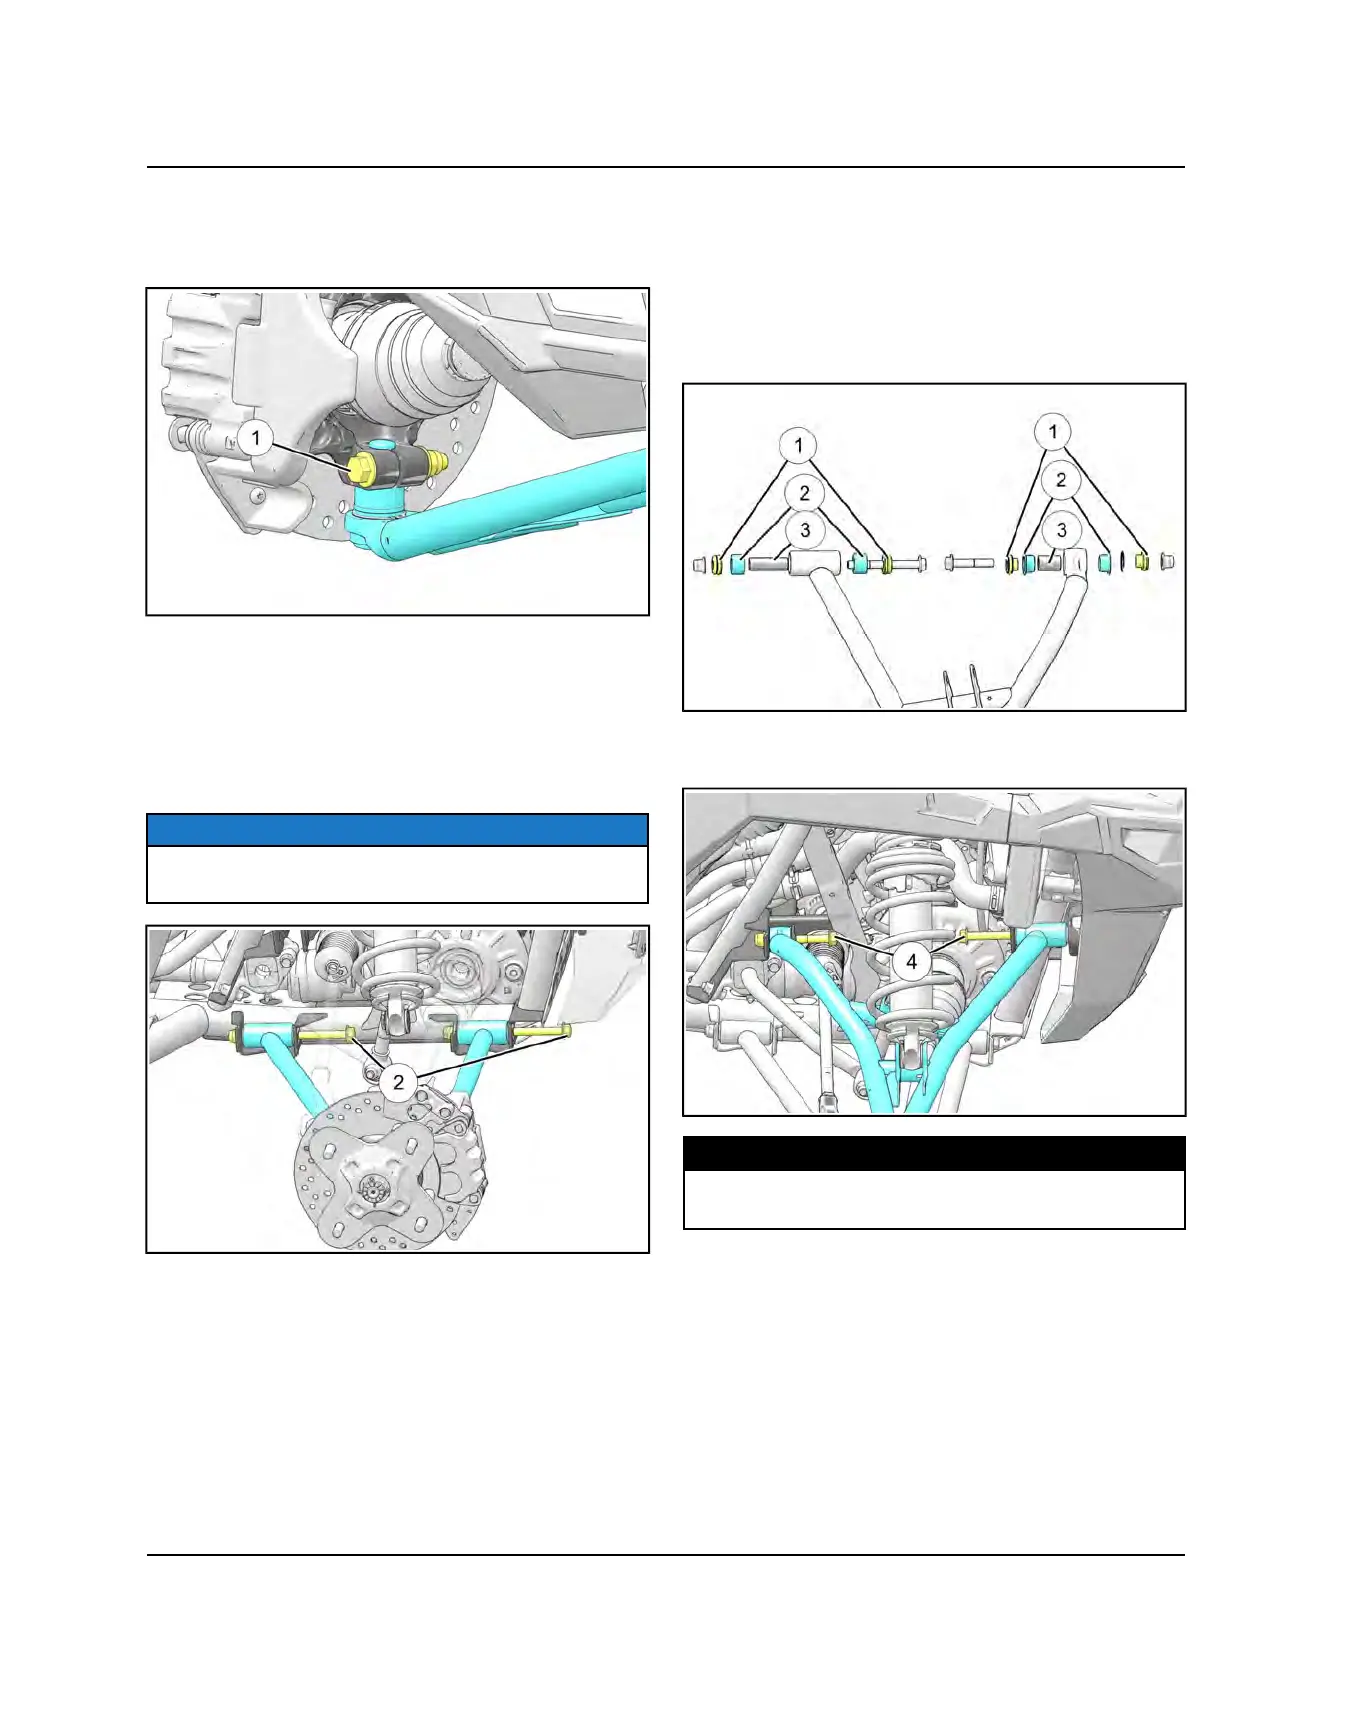
3. Install upper control arm assembly onto vehicle
frame. Torque NEW fasteners
r
to specification.
TORQUE
Front Control Arm Fasteners:
42 lb-ft (57 Nm)
STEERING / SUSPENSION

 Loading...