CLUTCH
6.21
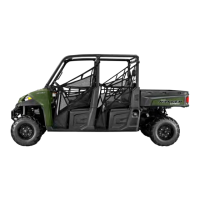
3. Remove ramp buttons from moveable sheave.
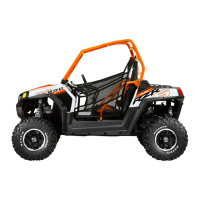
4. Using a hand held propane torch, apply heat
directly on bushing until tiny smoke tailings
appear.
CAUTION:
Clutch components will be hot! In order to avoid
serious burns, wear heat resistant insulated gloves for
the rest of the removal process.
Clutch Bushing
Removal Tool (#5)
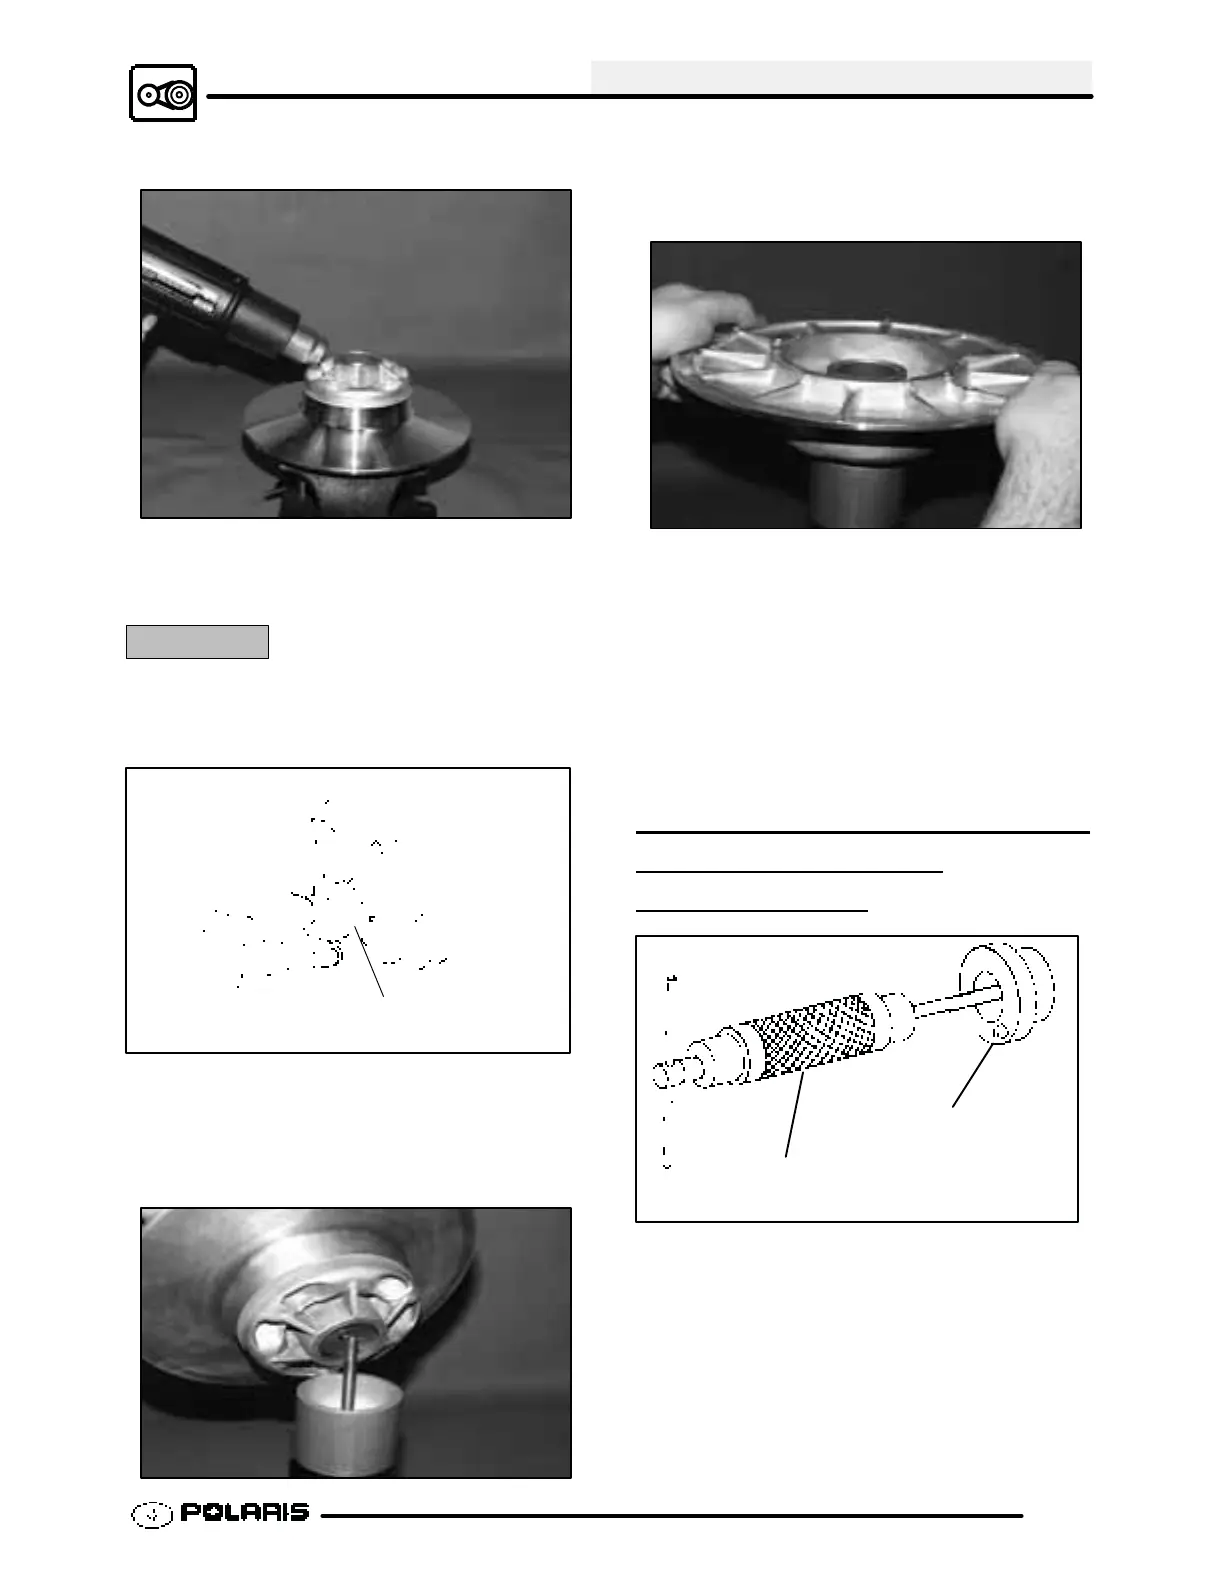
5. Working from the top, install Driven Clutch
Bushing Removal Tool (#5) (PN 5020631) into the
center of clutch sheave with smaller diameter
toward bushing to be removed. See illustration.
6. Install sheave onto puller.
7. Install nut onto puller rod and tighten by hand.
T urn puller barrel for further tension if needed.
8. T urn clutch sheave counterclockwise until
bushing is removed. Repeat Steps 5 - 8 for other
bushing.
9. Remove nut from puller rod and set aside.
10. Remove adapters from puller.
11. Remove bushing and removal tool from adapters.
Discard bushing.
DRIVEN CLUTCH MOVEABLE
SHEAVE -
BUSHING
INSTALLA
TION
Number Two Puller
Adapter (#10)
Piston Pin Puller
(PN 2870386)
1. Working from the top, insert Number Two Puller
Adapter (#10) (PN 5020633) onto the puller. See
illustration at above.
 Loading...