Polycom, Inc. 12
Deploying Polycom Phones with Skype for
Business
Complete four major tasks to register your phones with Skype for Business. If you are using Polycom phones
shipped with Skype for Business-qualified UC Software and want to keep default settings with no change, you need only
configure the network. If you want to customize default settings, complete the following tasks
:
● Power the Polycom Trio System
● Configure the Network
● Set Up Polycom UC Software
● Provisioning the Phones
Power the Polycom Trio System
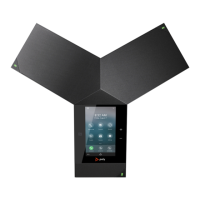
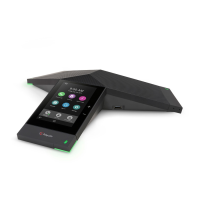
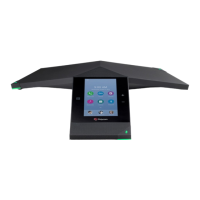
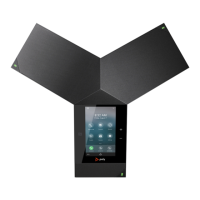
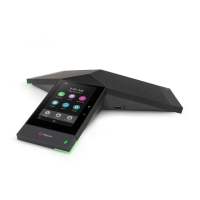
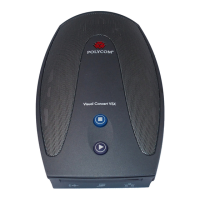
For instructions on powering the Polycom Trio 8800 and 8500 systems, and the Polycom Trio Visual+
system, refer to Hardware and Accessories.
Configure the Network
Configure the following network settings to register Polycom devices with Skype for Business.
To configure the network:
1 Set up or verify Domain Name System (DNS) service (SRV) records to allow the devices to discover
Skype for Business server automatically. For information on creating and verifying DNS SRV
records, see Required DNS Records for Automatic Client Sign-In on Microsoft TechNet.
2 (Optional) If you are setting Microsoft Call Admission Control (CAC) refer to Microsoft Plan for call
admission control in Skype for Business Server 2015 for required bandwidth guidelines.
3 Obtain a root certificate authority (CA) security certificate using one of the following methods:
Note: Polycom phones ordered with the Skype or Lync Base Profile are shipped with Skype for
Business-qualified software that enables you to start up the phone and register with Skype for
Business Server with default settings. If you are using Polycom phones shipped with Skype for
Business-qualified UC Software and want to keep default settings with no change, you need only
complete the task Set Up the Network. If you want to customize default settings, complete all four
tasks.

 Loading...

