100
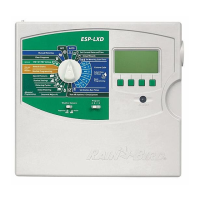
ESP-LXME Controller
B
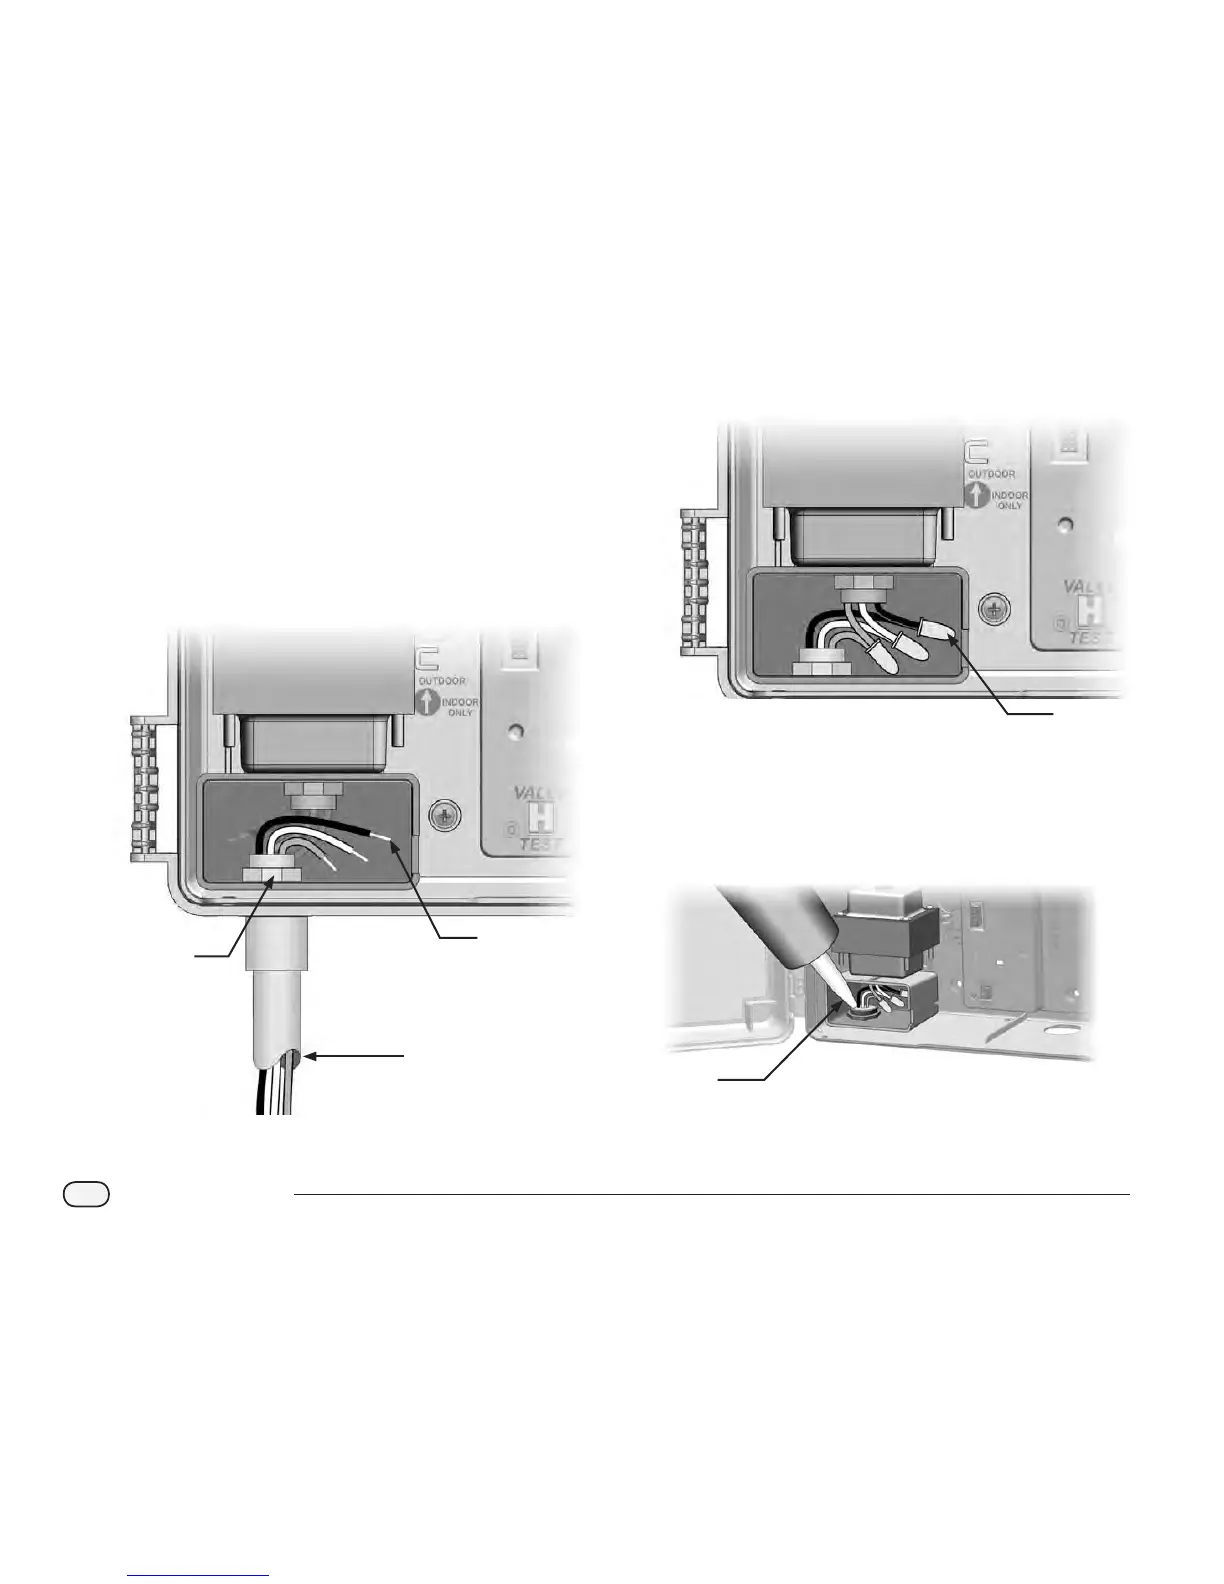
Strip the insulation from the three incoming wires to expose
approximately 1/2 in (13 mm) of bare wire.
C
Remove the knockout on the bottom of the cabinet below the
transformer and attach a 1/2 in (13 mm) conduit tting to the
bottom entrance of the wiring compartment.
NOTE: 240 VAC (Australian) units do not require a conduit
because the power supply cable is already installed.
D
Feed the three supply wires from the power source through the
conduit into the wiring compartment.
3
4
2
3X
3 wires
E
Using the provided wire nuts, connect the wires accordingly.
5
3X
WARNING: The ground wire MUST be connected to provide
electrical surge protection. You will void the controller warranty if
you do not ground the controller.
F
Once wiring is completed, ll top of conduit with waterproof
caulking to prevent insect intrusion into the controller cabinet.
6
G
Verify that all connections are secure. Then replace the cover of
the transformer wiring compartment and secure it with the screw.

 Loading...