110
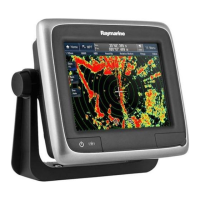
HSB Series Chartplotter
HSB Connection
You can connect any two HSB displays, using an HSB cable connected
between their HSB connectors on the rear of each display unit.
Note: The HSB cables are fitted with ferrite clamps at each end to
ensure EMC conformance.
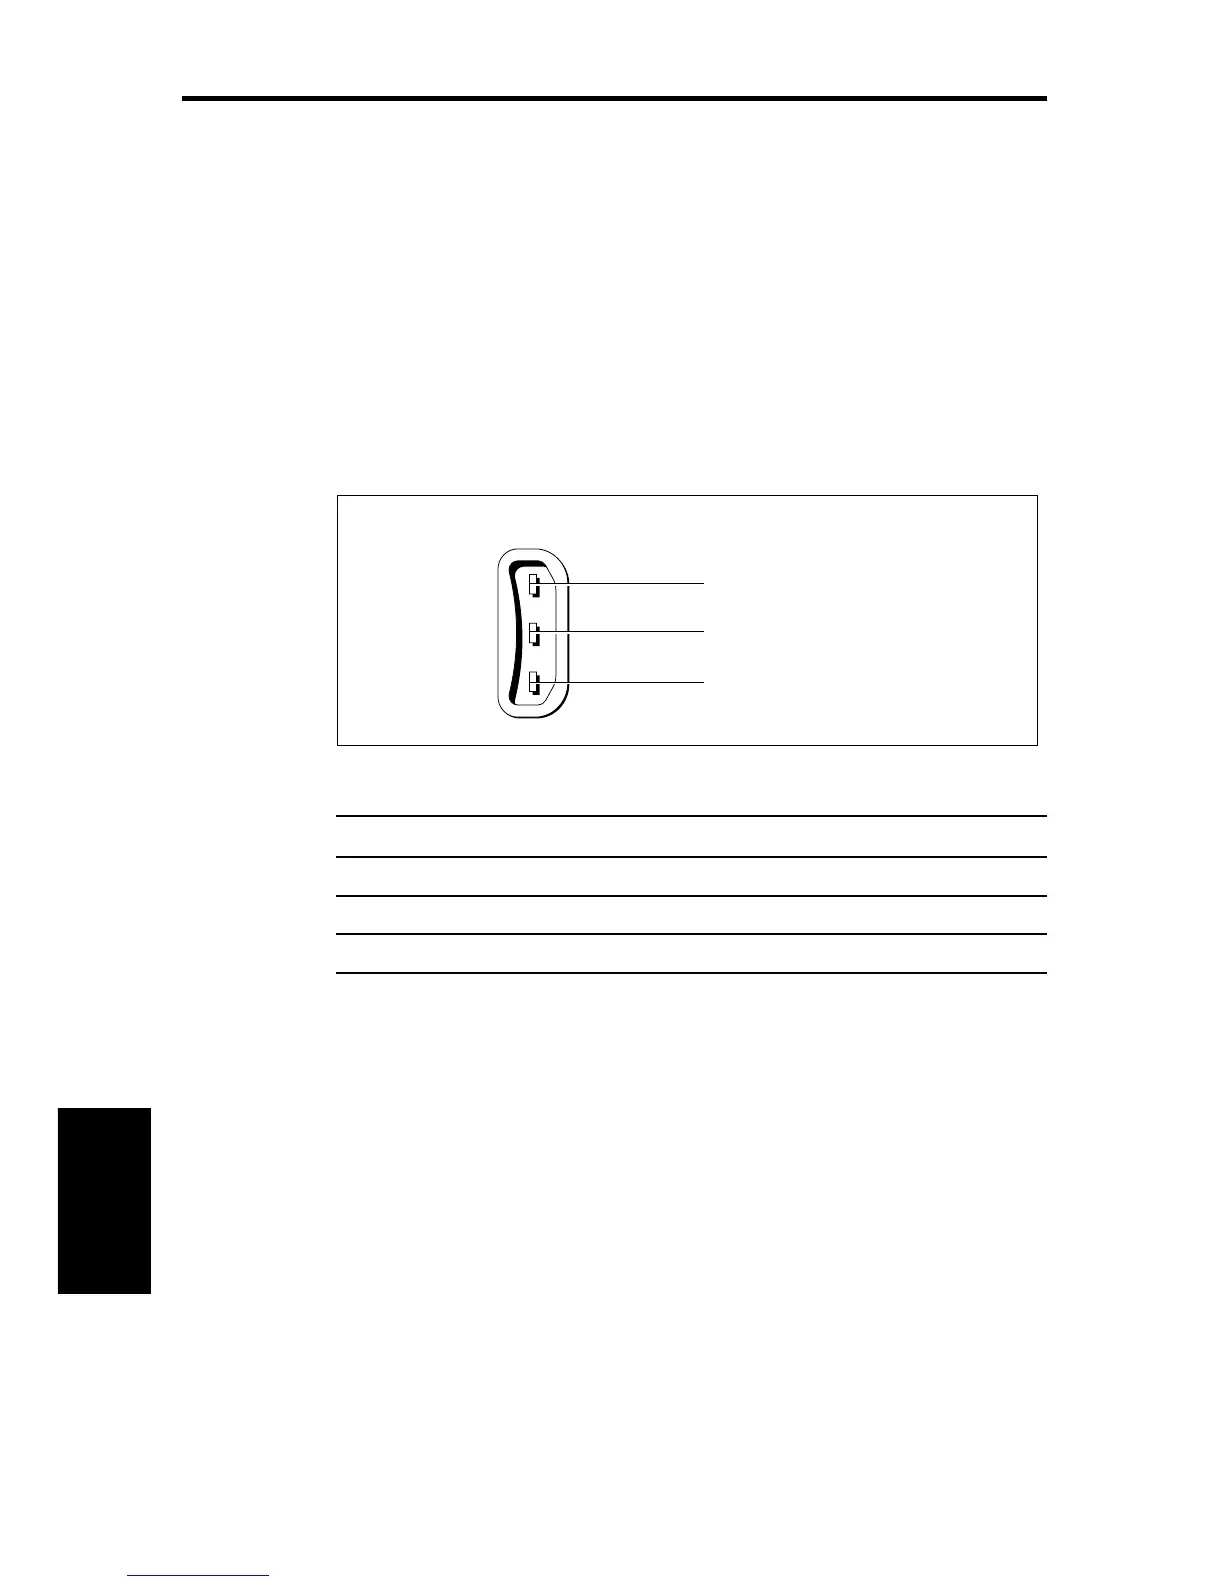
SeaTalk Connection
The SeaTalk input/output should be connected at the rear SeaTalk 3-pin
connector. This appears as follows, when viewed from outside:
1. Red (No internal connection)
2. Screen (0V)
3. Yellow (Data)
SeaTalk In/Out
D3232-3
The pin functions are as follows:
Pin No. Function Colour
1 +12V Red
2 0V Screen
3 Data Yellow
Note: If you use the SeaTalk connector, you must fit a ferrite (part
number R55007) to the cable for EMC CE conformance. The ferrite
must be clipped to the cable as close to the connector as possible.
Note: The display unit does not supply 12V via the SeaTalk
connector. A separate power connection to your SeaTalk unit is
required (except where SeaTalk is connected only between two
HSB displays).
SeaTalk data, if present, is the primary source for all navigational data
except the heading (see Section 6.4).
Note: If you are connecting an active compass to the chartplotter, you
should use an NMEA input channel (see
Power and NMEA Input
Connection
below) rather than the SeaTalk interface, unless the
compass is connected via a SeaTalk bus.
Display Unit
Connections
 Loading...