1.Replacement and Adjustment
3
1. Replacement and Adjustment
Smart Operation Panel
Operation Panel Unit
• Turn off the main power switch of the MFP and disconnect the power cord.
• After replacing, make sure that all disconnected harnesses are connected up again and secured in their
clamps.
1. Remove the operation panel unit from the MFP.
• For details about how to remove the operation panel unit, refer to the service manual for the MFP.
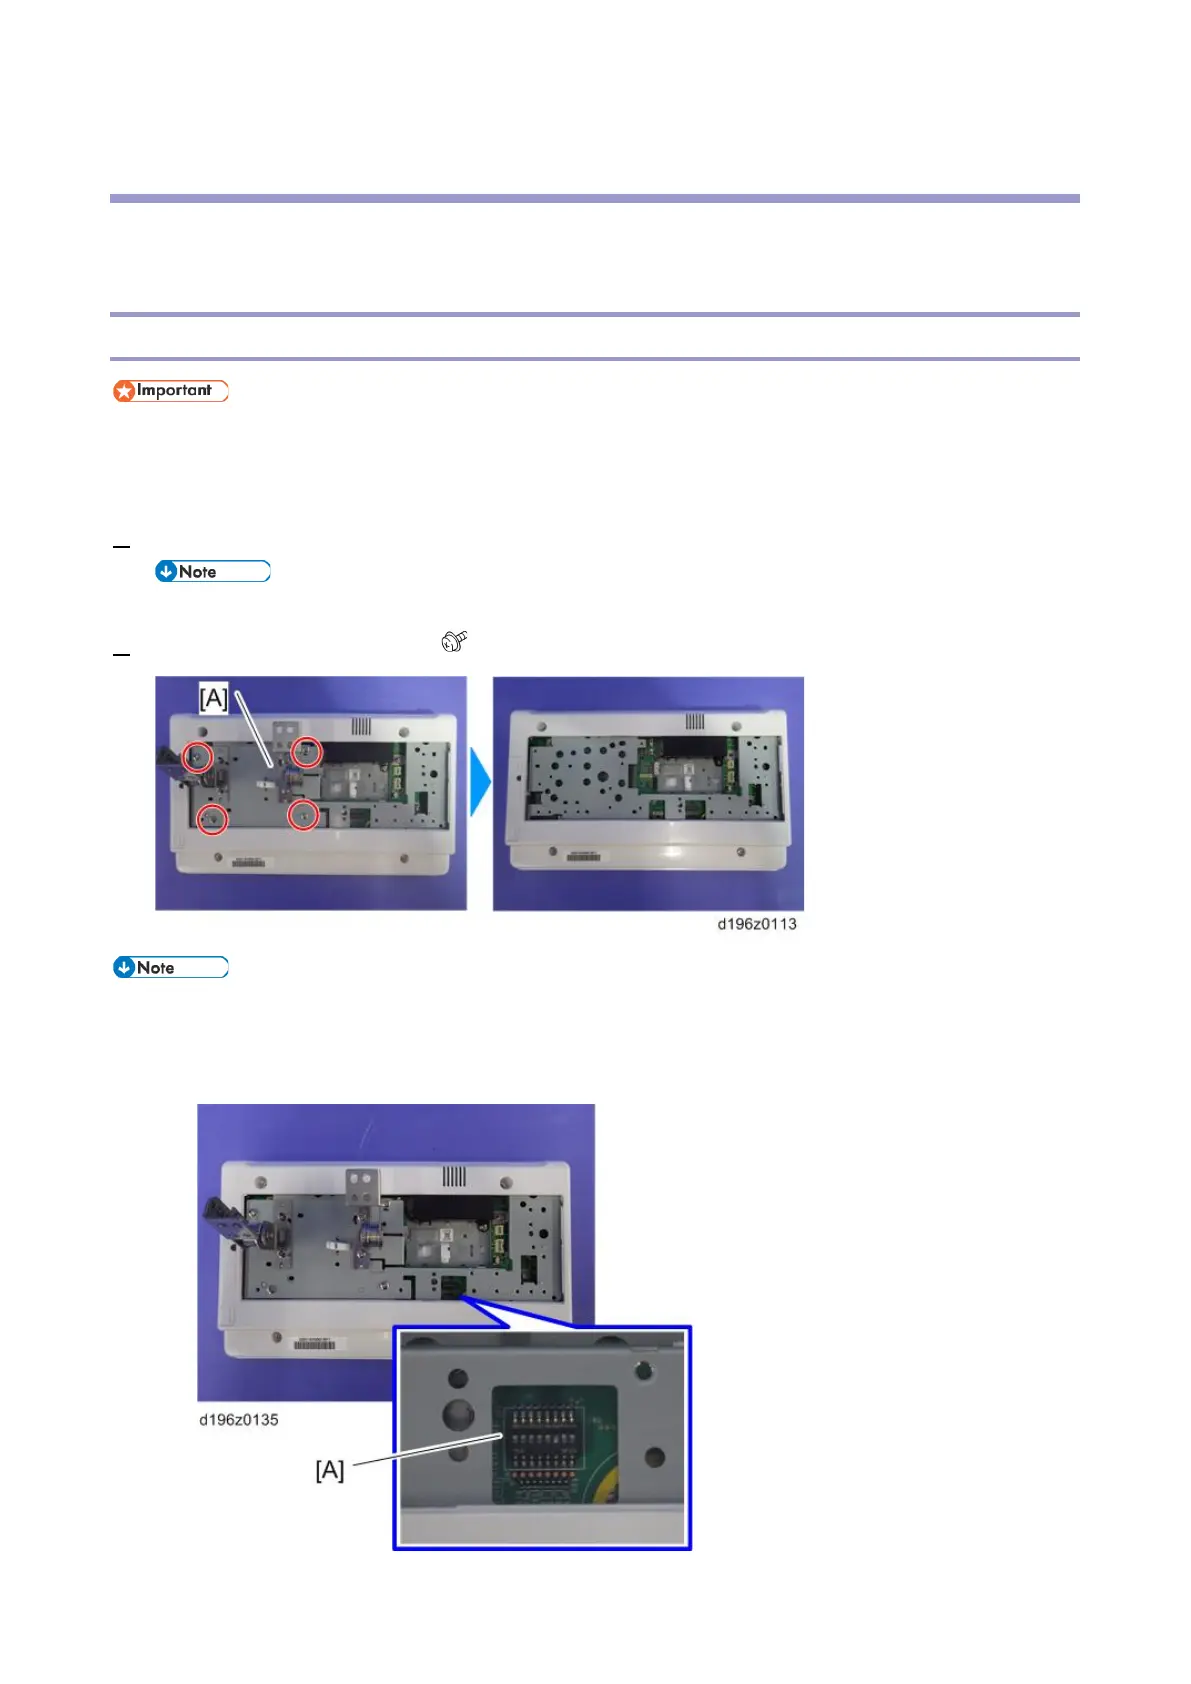
2. Operation panel arm bracket [A] ( ×4)
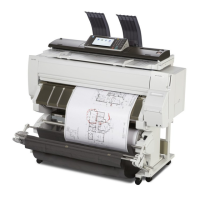
• By factory default, switches No.3 and No.7 of the DIP switch [A] on the micro computer board are set
to ON. When installing the operation panel unit, make sure that the DIP switch setting is correct for the
MFP on which you are installing the panel.