1.Replacement and Adjustment
8
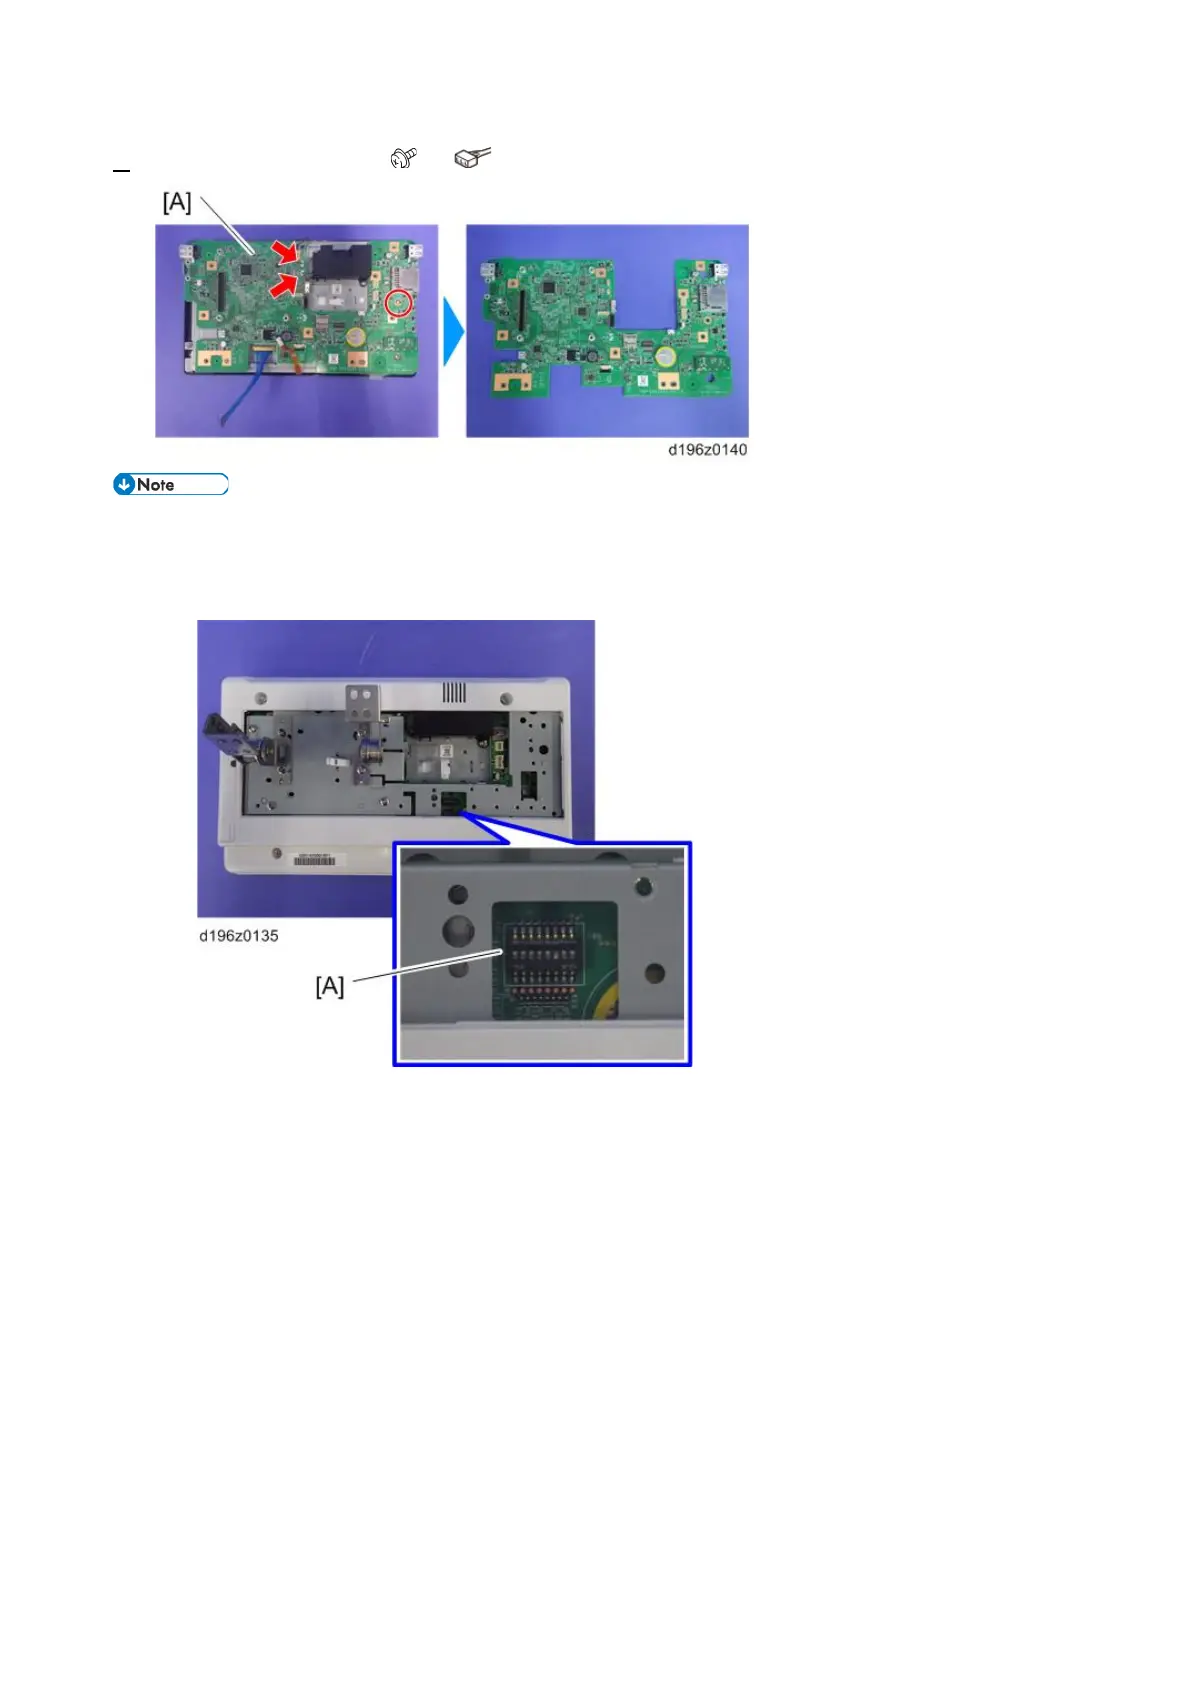
4. Micro computer board [A] ( ×1, ×2)
• By factory default, switches No.3 and No.7 of the DIP switch [A] on the micro computer board are set
to ON. When installing the operation panel unit, make sure that the DIP switch setting is correct for the
MFP on which you are installing the panel.
• The correct DIP switch setting depends on the MFP. Note the DIP switch settings of the old operation
panel unit before replacing, and apply the same settings to the new Smart Operation Panel. (Below are
two examples for DIP switch settings.)
• When No.3 and No.7 are set to ON
• This is the factory default setting of a service part
• For Type JX controllers
 Loading...