PN-L803C/80TC3 SERVICE MENU/VARIOUS SETTING TOOL OPERATING PROCEDURES 4- 3
2. AGING
1) Display SERVICE MENU 2.
2) Select "AGING" with [VOL + ()], [VOL - (↓)] keys. Press [ENTER] button.
3) Select “AGING1” or “AGING2” with [VOL + ()] [VOL - ()] buttons, and press [ENTER] button. The aging is started.
AGING1: Every time when [BRIGHT + ()] button is pressed, the whole screen color is changed.
AGING2: The whole screen color is changed every 2 sec.
4) When finishing AGING, set this to OFF.
・AGING1 can be directly executed by pressing the [SIZE] button for about 5 seconds (LED flashes and “F” mark is displayed in the upper
left corner of the screen.) and then pressing the button of [VOL + ()], [VOL - (↓)], [VOL + ()], [VOL - (↓)] sequentially.
・The power button of the remote controller or the machine cannot terminate aging.
・With the A model, the controller is shut down automatically after selecting the AGING. When the AGING is selected with other input
screen being displayed, it takes a time to start the AGING.
3. CALIBRATION
Make adjustment of GAIN and OFFSET of A/D converter with Input modes below:
・ ANALOG mode D-SUB1[RGB] terminal
・ COMPONENT mode D-SUB1[COMPONENT] terminal
・ VIDEO mode D-SUB1[VIDEO] terminal
1) Switch the Input mode to be adjusted with [INPUT] key.
2) Show the video signal for adjustment on the screen.
<CAUTION>
・ Be sure to make adjustment using the video signal in the table below:
Input Mode Signal Type
Input Signal Level
(Adjust to standard value)
Signal Timing Input Image
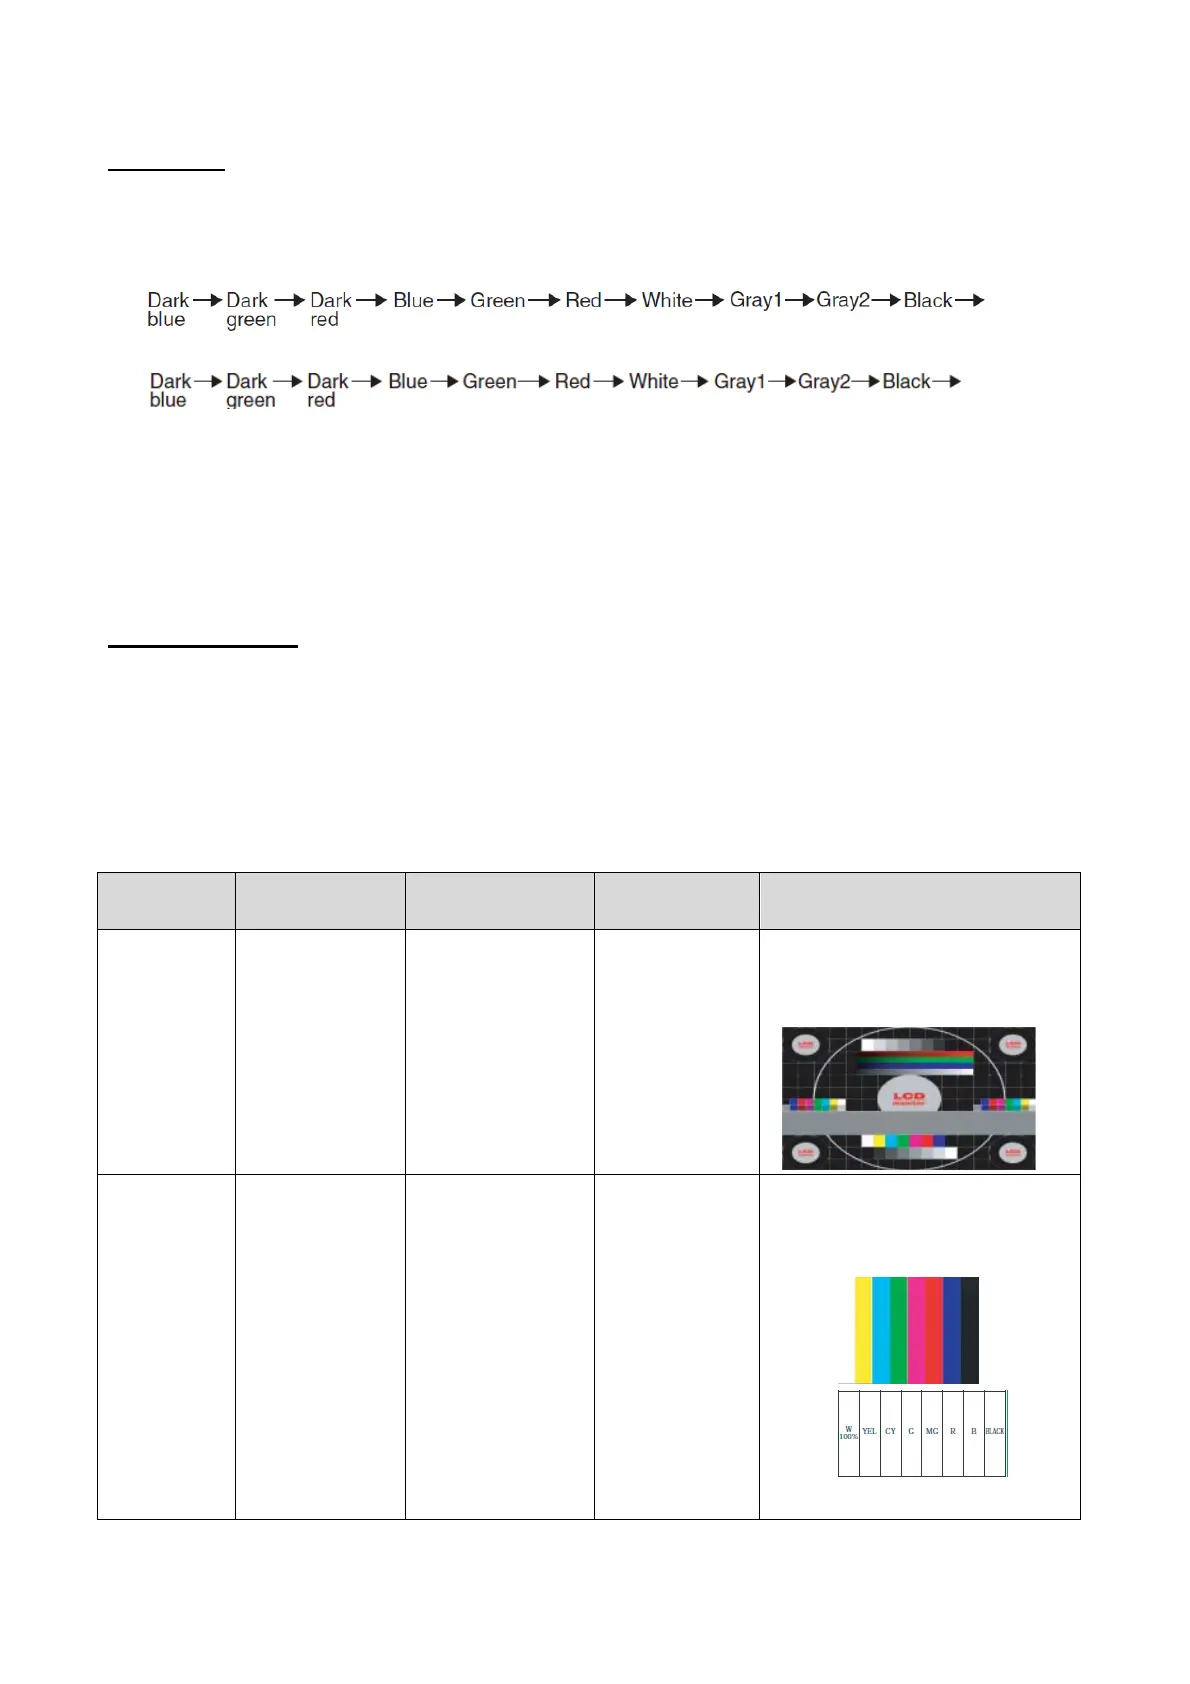
D-SUB1[RGB] PC ANALOG signal RGB level:0.7 Vp-p 1920×1080 60Hz
or XGA(1024x768)
60Hz
Adjustment image displayed by executing
Adj_uty.exe in CD-ROM supplied with the
product or the image with RGB WHITE
0~255 gradation being indicated.
D-SUB1
[COMPONENT]
COMPONENT
signal
Y level:0.7 Vp-p
(From Pedestal to
White)
Pb/Pr level:0.7 Vp-p
1080i 60Hz Full color bar (WHITE100%/ Degree of
Color saturation 100%)
*Recommended signal generator:
ASTRODESIGN Products VG-849,
VG-859
 Loading...