Installation, connecting up, commissioning
3.3 Connecting up the device
LOGO! CMR2020, LOGO! CMR2040
Operating Instructions, 10/2016, C79000-G8976-C356-03
39
To remove the CMR from a DIN rail, follow the steps below:
1. Using a screwdriver, pull down the spring catch on the rear of the device
③.
2. Remove the device from the DIN rail.
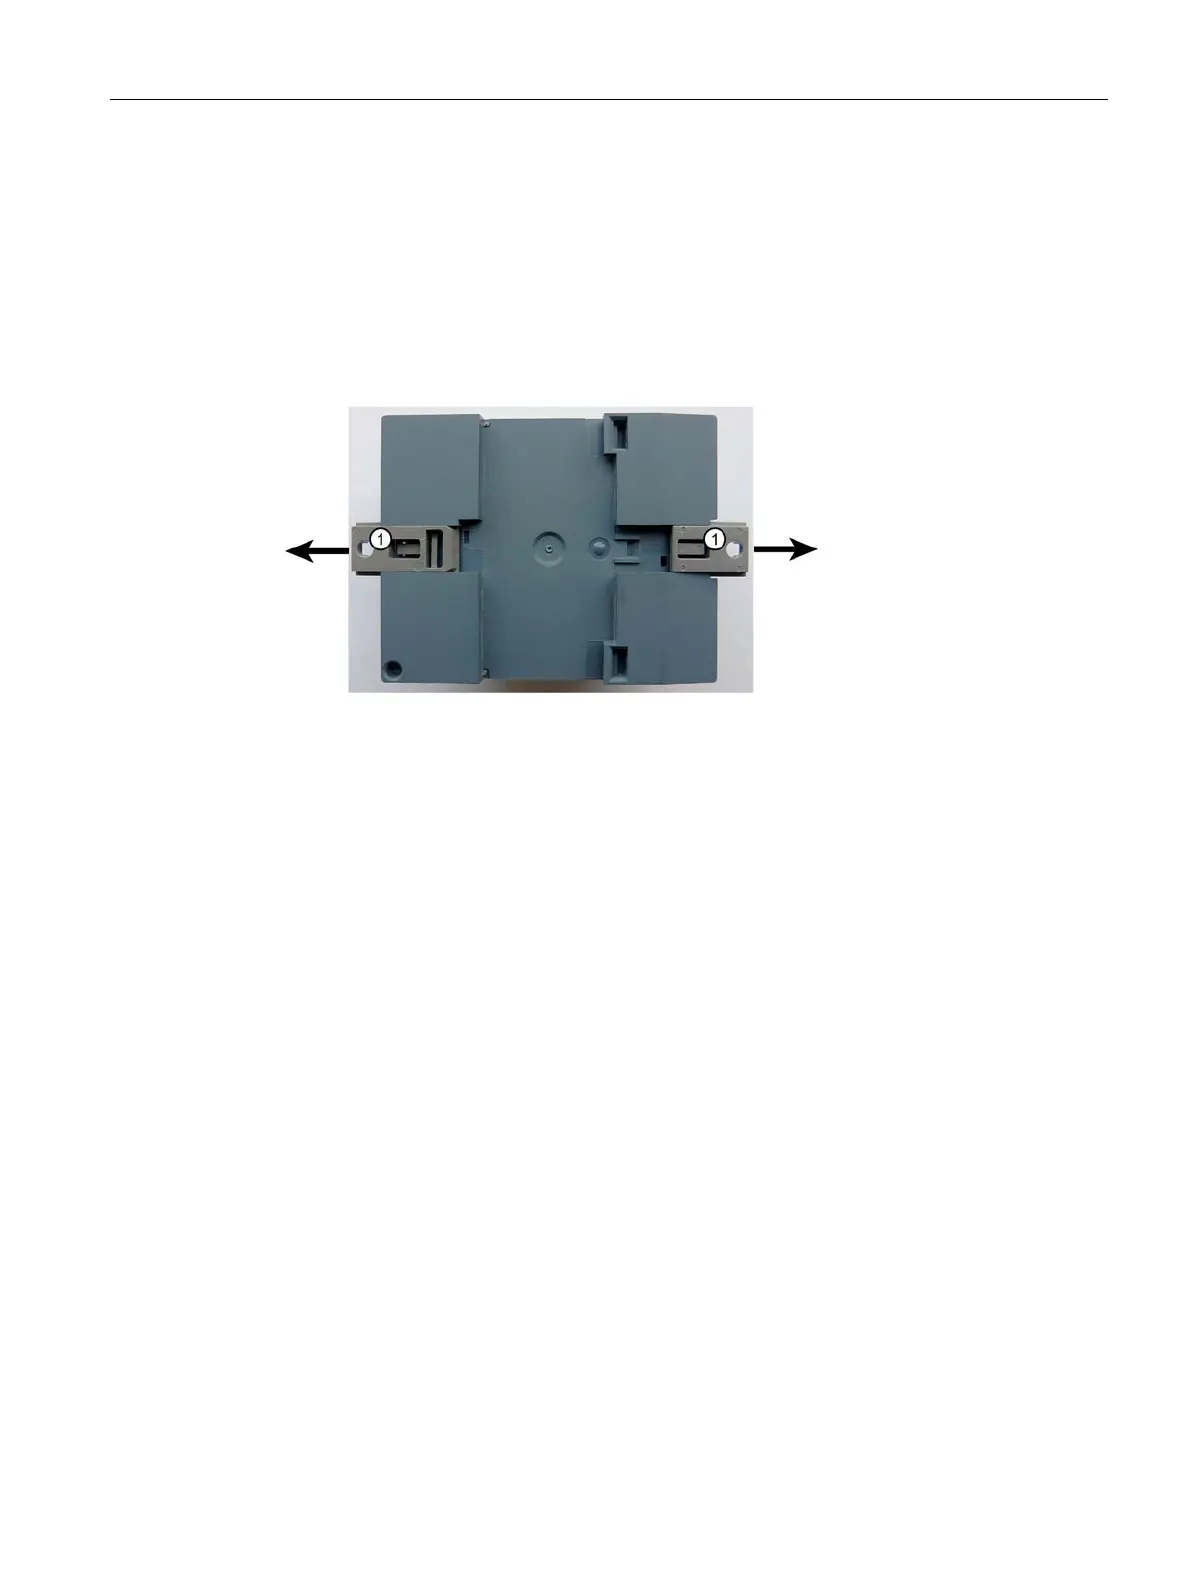
To mount the CMR on a wall, follow the steps below:
1. Using a screwdriver, pull the two spring catches
① on the rear of the device towards the
outside.
2. Feed the screws through the openings in the catches and secure the device to the wall.
Connecting up the device
3.3.1
X1P1 (LAN) interface
Connecting the X1P1 (LAN) interface
Connect your local area network, the PC or the BM to interface X1P1 (LAN connection) of
the CMR.
The interface supports autonegotiation and autocrossing. For the connection, use a patch
cable with an RJ-45 plug. For the requirements and for information on grounding see below.
You will find the properties of the X1P1 interface in the technical specifications.
 Loading...