Configuration in STEP 7
5.5 Configuring stations in STEP 7 / HW Config
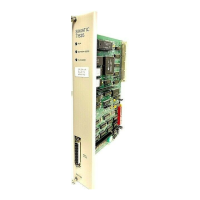
TIM DNP3
88 System Manual, 12/2015, C79000-G8976-C253-04
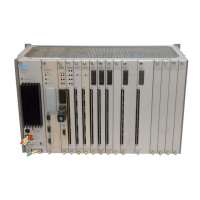
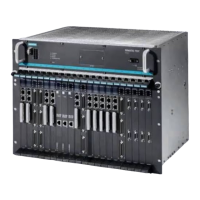
Installing racks and modules
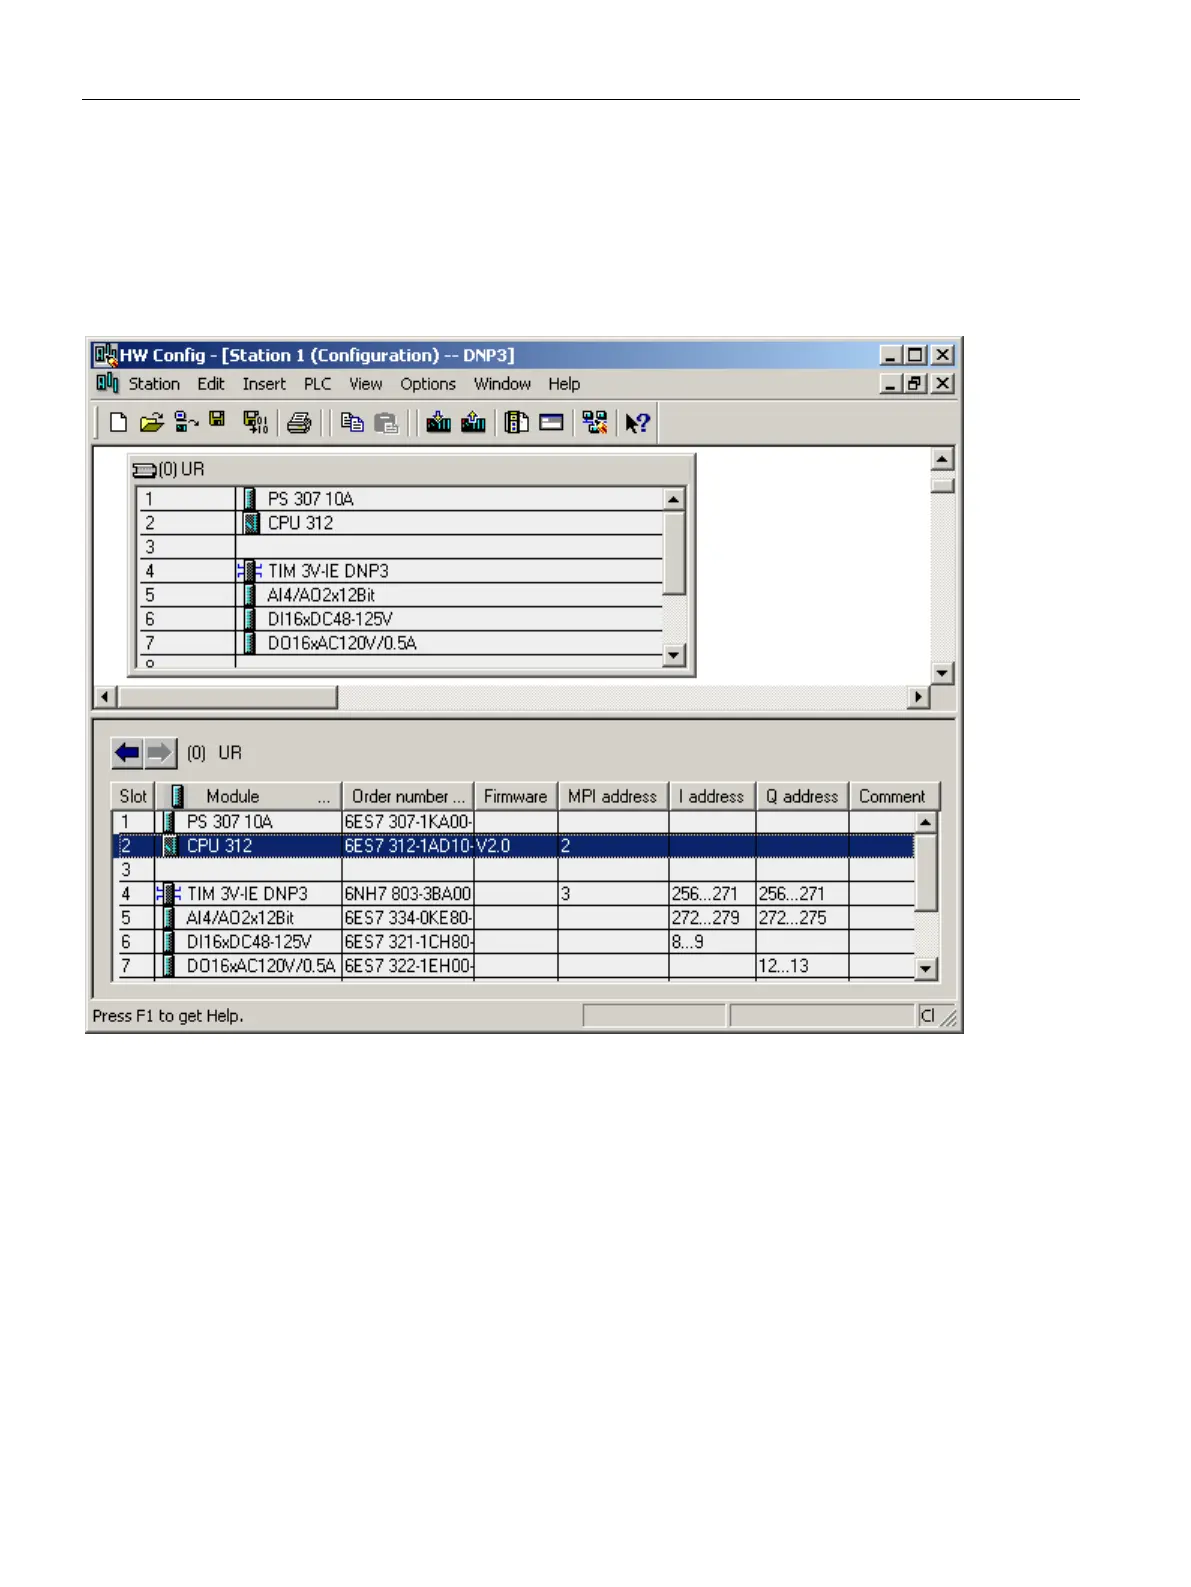
The editing window of hardware configuration is in two parts. In the upper part of the window,
you can see all the existing racks with the modules they contain. In the lower part of the
window, you will see a precise listing of the modules used in the current rack along with the
order number and the MPI or I/O addresses.
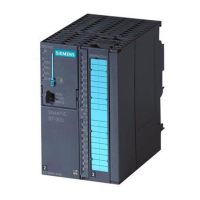
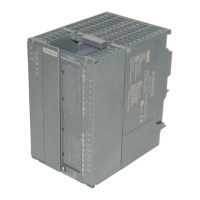
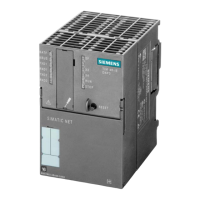
Image 5-8 The window of HW Config with a station configuration with one SIMATIC 300 rack and various modules
Racks are either created by double-clicking on a rack entry in the catalog or by dragging the
rack entry, for example a standard rail for S7-300, to the station window. Since the system
type SIMATIC 300 or SIMATIC 400 is already specified by the selection of the station, only
suitable racks can be installed.
Modules are installed in the rack in one of two alternative ways:
● Selecting a suitable slot in the station window and double-clicking on a catalog entry
or
● Dragging a catalog entry to the required slot in the station window
In both cases, the system checks immediately whether the module is permitted in the slot.
Modules can be moved to a new suitable slot at any time with the mouse.
 Loading...