13 Hood & Dashboard Service
Dashboard Removal
13 - 6
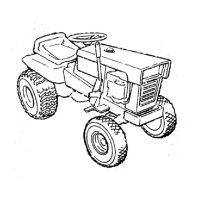
5. Using a 3/8" nut-driver remove the two whizlock cap-
screws and washers that secure the rear of the dash
to the lower dash (Figure 7).
Figure 7. Remove Rear Dash Mounting Screws
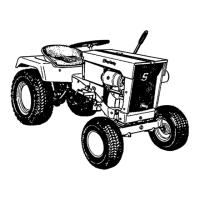
Figure 8. Disconnect Starter Cable At Solenoid
Solenoid
Figure 9. Gently Pry Connector Apart With
Screwdriver
6. Disconnect the starter cable from the solenoid
(Figure 8).
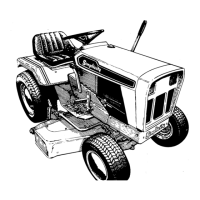
7. Label and disconnect all necessary wire harness con-
nectors (Figure 9).
NOTE: If the connector cannot be separated by using a
gentle flexing motion on each of the two halves, insert a
small, flat-blade screwdriver between the halves, and
use a gentle prying motion to separate the connector. It
may also be necessary to soften the connector with a
hair dryer.
 Loading...