2-3
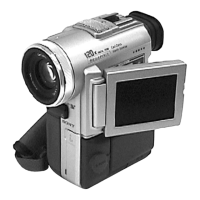
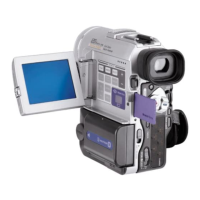
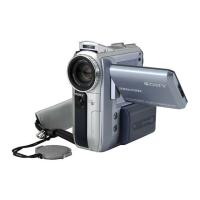
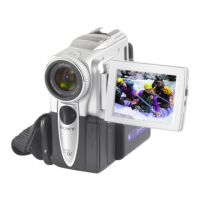
DCR-PC103E/PC104E/PC105/PC105E
2-2. CABINET (FRONT) ASSEMBLY
2-3. CABINET (G) ASSEMBLY
4
Open the cassette lid.
2
Open the jack cover
7
Cabinet (front) assembly
6
Two Claws
5
Screw
(M1.7
×
2.5),
lock ace, p2
3
Screw
(M1.7
×
2.5),
lock ace, p2
1
Screw (M1.7
×
4),
lock ace, p2 (black)
Flexible board
(from the lens device)
Flexible board
(from the NS-018 board)
Caution
Caution
When attaching the cabinet
(front) assembly, be careful
not to damage the claw.
When installing the cabinet
(front) assembly, install it while
pushing the flexible boards
(from the lens device and the
NS-018 board) in the direction
of the arrow.
Be careful not to drop the eject knob.
A
5
Float the cabinet (G) assembly
and remove the eject knob
from the hole of the Cabinet
(G) assembly.
7
Claw
Eject knob
8
Eject knob
3
Open the jack
cover (HP)
6
Remove the cabinet (G) assembly
in the direction of the arrow
A
.
1
Three screws
(M1.7
×
2.5),
lock ace, p2
2
Two screws
(M1.7
×
2.5),
lock ace, p2
4
Open the cassette lid.
Caution

 Loading...