EasyManuals Logo

Sungrow SG10RS User Manual

Sungrow SG10RS
123 pages
To Next Page IconTo Next Page
To Previous Page IconTo Previous Page
Page #38 background imageLoading...
Page #38 background image
28
Please ensure that the optimizer is installed facing the back of the module. Oth-
erwise, the clip may get damaged.
Do not forcibly bend the clips when installing the optimizer by clips. Otherwise,
the clip may be damaged.
Do not clamp the optimizer into holes in the module frame during installation.
Otherwise, the optimizer cannot be removed or the clips may be damaged.
It is recommended to install optimizers on the same side of modules.
Do not clamp and remove the optimizer multiple times. Otherwise, the clip may
become loose, affecting normal use.
- - End
4.8 Installing WiMeter-S(for SG5.0RS-ADA)
Step 1 Mount the WiMeter-S to a 35 mm DIN rail.
Step 2 Connect the antenna to the antenna interface on the WiMeter-S.
4 Mechanical Mounting User Manual

Table of Contents

Questions and Answers:

Question and Answer IconNeed help?

Do you have a question about the Sungrow SG10RS and is the answer not in the manual?
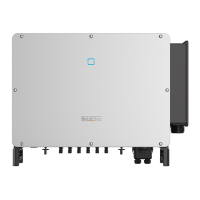
Sungrow SG10RS Specifications

General IconGeneral
Rated Power10 kW
Max. DC Voltage1100 V
Number of MPPTs2
Max. Efficiency98.6%
Protection RatingIP65
Start Voltage180 V
Rated AC Output Power10 kW
Max. AC Output Power11 kW
Rated Output Voltage230 V
Operating Temperature Range-25°C to 60°C
TopologyTransformerless
Cooling MethodNatural Convection
Maximum Power Output11 kW
Maximum Input Current25 A
MPPT Voltage Range160-1000 V
Max. DC Input Power15 kW
AC Voltage Range180-280 V
Humidity Range0-100%
CommunicationRS485

Related product manuals