Performance Verification
4-4
TLA5000 Series Service Manual
You will need to connect the test fixture to the logic analyzer and associated test
equipment before running any of the procedures. A complete list of test
equipment is listed in Table 4--1. Complete the following steps to connect the
test equipment to the logic analyzer:
1. Connect the RS-232 cable from the COM A connector of the logic analyzer
to the RS-232 connector on the test fixture.
NOTE. When using GPIB, make sure that you select unique GPIB addresses on
the individual instruments to avoid conflicts.
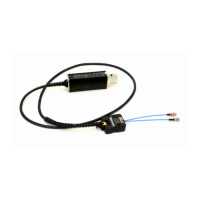
2. Connect the iView cable from the USB connector on the logic analyzer to the
GPIB connector on the DMM.
3. Connect the multimeter leads to the DMM test points on the test fixture.
4. Connect the power cord to the test fixture.
NOTE. The performance verification software will prompt you to make necessary
probe connections when you run the individual tests.
The performance verification software is a separate application that consists of
executable software files. The software must be installed on the hard disk before
you can use it. You must quit the logic analyzer application before starting the
performance verification software; you cannot run both applications at the same
time.
NOTE. If your logic analyzer already has the performance verification software
installed, verify that the performance verification software version matches that
of the logic analyzer application software. If the software versions do not match,
you must delete the performance analysis software from the hard disk drive and
install the matching version.
Complete the following steps to install the performance verification software:
1. Close all open applications.
2. Insert Disc 1 of the Tektronix Logic Analyzer Family application software
CD in the CD-ROM drive.
3. On the desktop select Start → Run to display the Run dialog.
Connecting the Test
Fixture
Installing the Performance
Verification and
Adjustment Software
 Loading...
