57
EN
Advanced operations
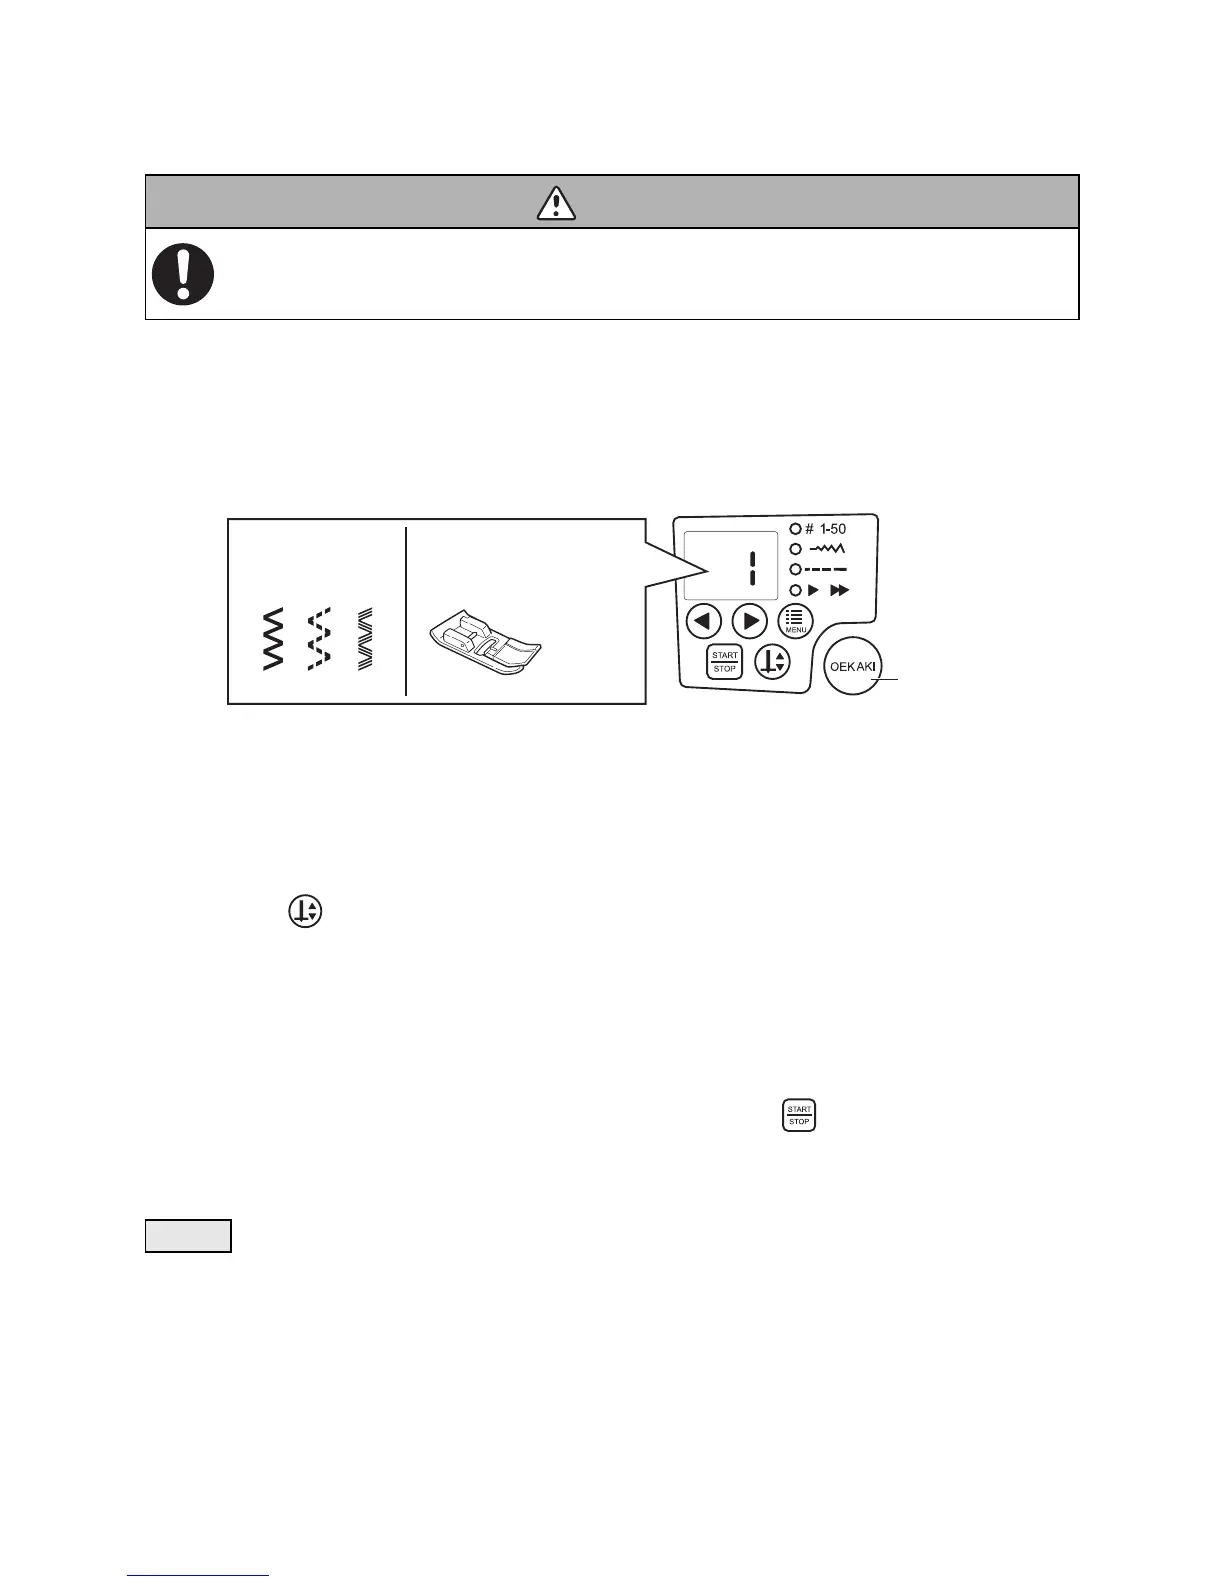
■ Zigzag sewing
1 Select the stitch in the operation panel.
* Check that the OEKAKI (free-motion embroidering) button is not lit.
* Refer to “Selecting the stitch” (page 44).
2 Select the stitch width and stitch length.
* Refer to “Selecting the stitch width” (page 45) and “Selecting the stitch length” (page 46).
3 Press the (needle up/down) button to raise the needle.
4 Position the fabric under the presser foot, and then lower the presser foot lever.
5 Lightly guide the fabric with your hands, and then press the (start/stop) button.
Otherwise, begin sewing by stepping on the foot controller.
* For details on changing the sewing speed, refer to “Selecting the sewing speed” (page 47).
• When the foot controller is connected, the sewing machine cannot be started by pressing the start/stop
button. At the end of sewing, the machine can be stopped by pressing the start/stop button.
Before changing the presser foot, use the main power switch to turn off the sewing
machine.
Not doing so could cause injuries.
Caution
 Loading...