EasyManuals Logo

Toyota OEKAKI 50 User Manual

Toyota OEKAKI 50
106 pages
To Next Page IconTo Next Page
To Previous Page IconTo Previous Page
Page #63 background imageLoading...
Page #63 background image
63
EN
Zipper insertion
For video tutorial, visit http://www.toyotaoekakisewing.com
With this method, the left side of the zipper is sewn first.
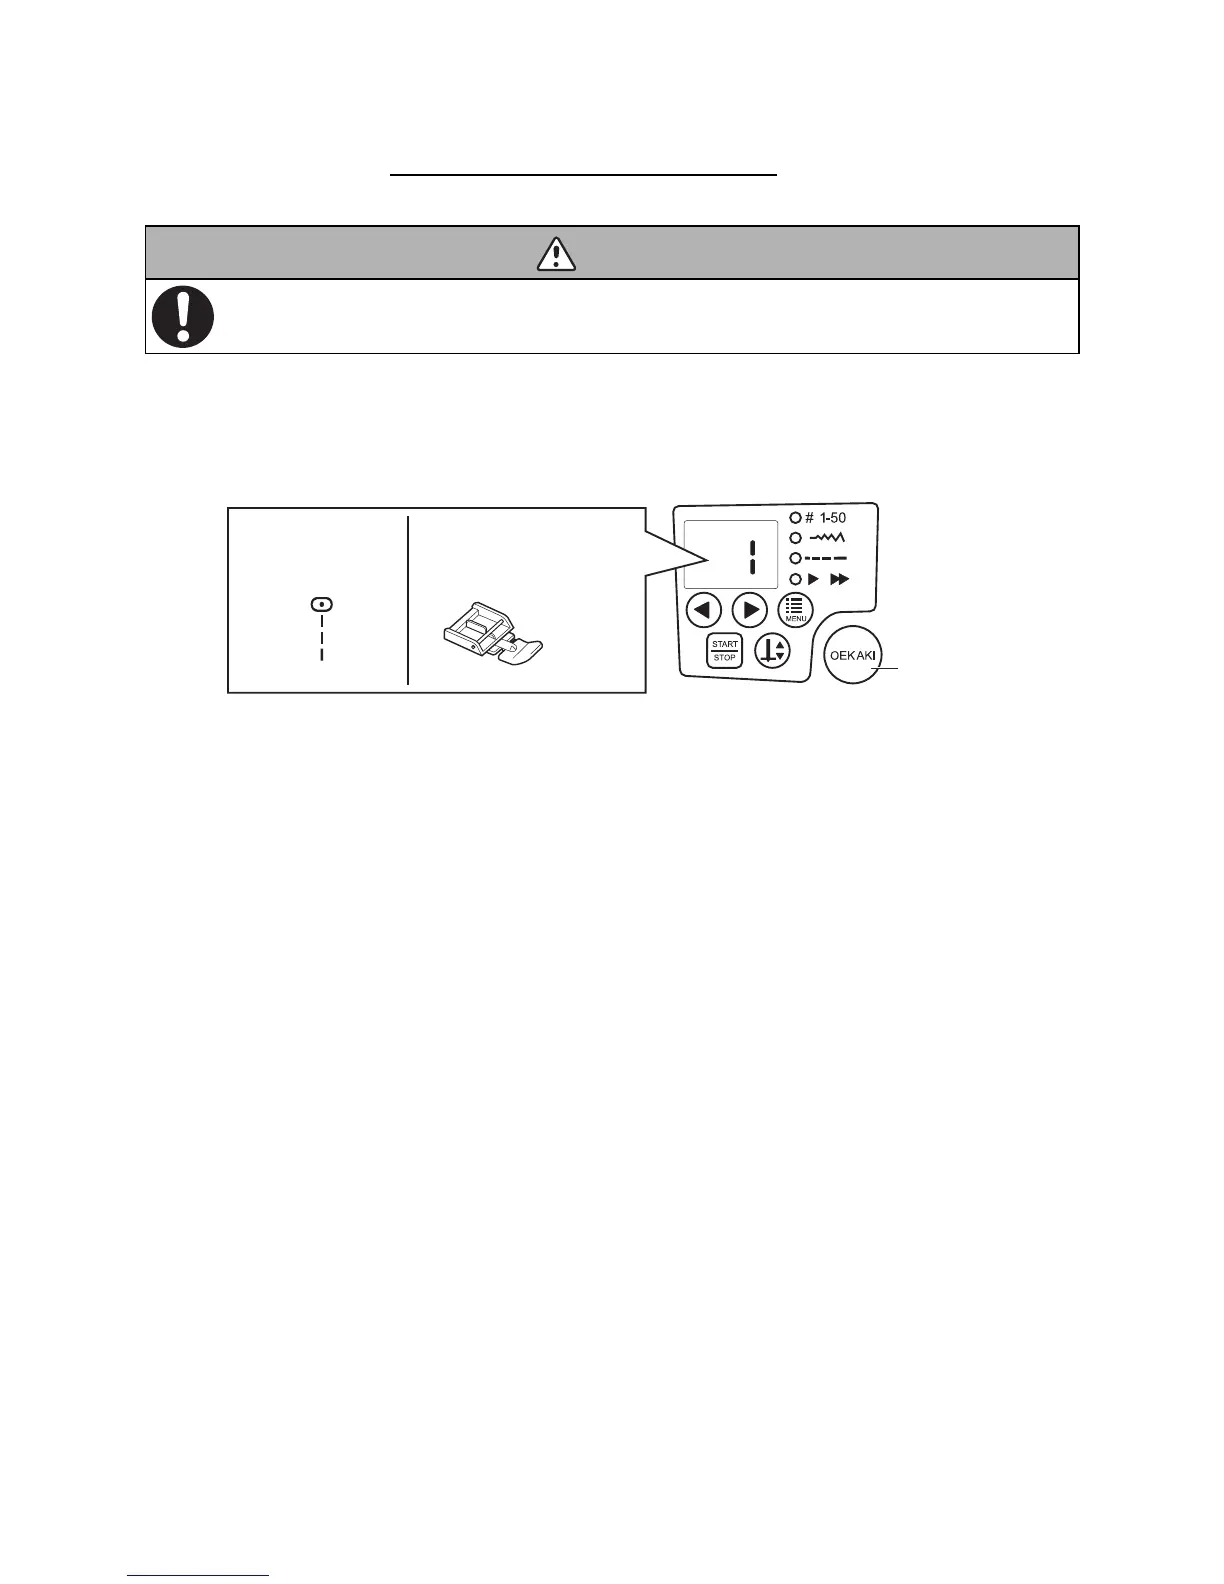
1 From the operation panel, select stitch number 1 (straight stitch (center)).
* Check that the OEKAKI (free-motion embroidering) button is not lit.
* Refer to “Selecting the stitch” (page 44).
2 Select the stitch length
* Refer to “Selecting the stitch length” (page 46).
While sewing, do not allow the needle to hit the zipper teeth.
Doing so could break the needle and cause injuries.
1
OEKAKI
button
not lit
Presser foot to be used
Zipper foot
Suitable stitch

Table of Contents

Questions and Answers:

Question and Answer IconNeed help?

Do you have a question about the Toyota OEKAKI 50 and is the answer not in the manual?

Toyota OEKAKI 50 Specifications

General IconGeneral
BrandToyota
ModelOEKAKI 50
CategorySewing Machine
LanguageEnglish

Related product manuals