68
■ Shortening jeans
For video tutorial, visit http://www.toyotaoekakisewing.com
Use the Gliding foot to sew fabric of varying thicknesses, especially when hemming jeans.
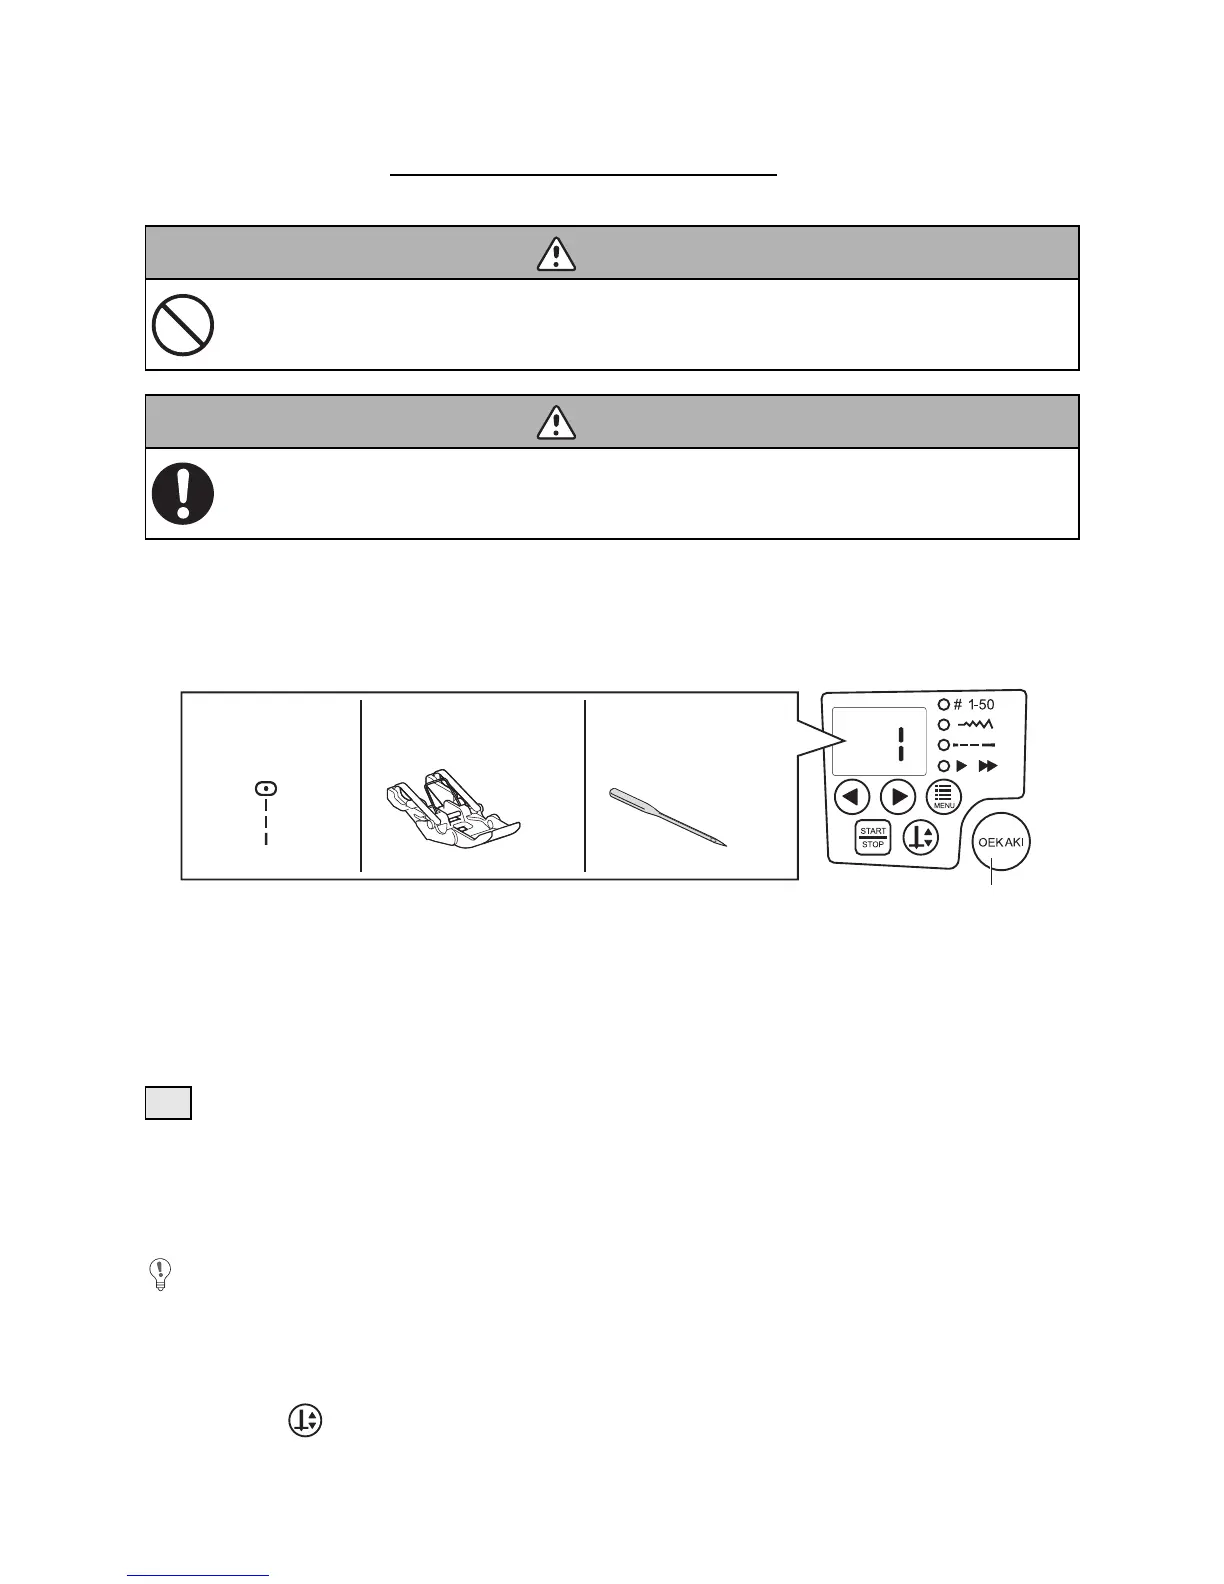
1 From the operation panel, select stitch number 1 (straight stitch (center)).
* Check that the OEKAKI (free-motion embroidering) button is not lit.
* Refer to “Selecting the stitch” (page 44).
2 Select a stitch length between “3.0” and “4.0” (recommended).
* Refer to “Selecting the stitch length” (page 46).
Maximum thickness of denim when sewing in the utility stitching mode
Up to 12 layers of soft denim (12 oz)
Up to 9 layers of soft denim (14 oz)
Up to 9 layers of hard denim (12 oz)
• Do not sew without placing fabric under the presser foot.
Doing so could damage the presser foot.
3 Press the (needle up/down) button to raise the needle.
The thickness of the layers must not exceed 8 mm. Do not force fabric layers under the
presser foot.
Doing so could break the needle and cause injuries.
Use this presser foot only with stitch number 1 (straight stitch (center)).
Not doing so could cause the needle to hit the presser foot and break, which may result in
injuries.
Tip
 Loading...