48 Installation and maintenance instructions 0020308118_05
9.15 Checking the heating mode
1. Ensure that there is a heat demand.
2. Navigate to MENU → SETTINGS → Installer level →
Data overview.
◁ If the product is working correctly, the display
shows S.004.
9.16 Checking the domestic hot water generation
1. Make sure that there is a domestic hot water demand.
Validity: Product with connected domestic hot water cylinder
▶ Navigate to MENU → SETTINGS → Installer level →
Data overview.
◁ If the domestic hot water cylinder is charged cor-
rectly, S.024 appears in the display.
◁ If the cylinder has a temperature sensor, check the
temperature in the cylinder DHW cylinder outlet
temp.
Validity: Product with integrated hot water generation
▶ Navigate to MENU → SETTINGS → Installer level →
Data overview.
◁ If domestic hot water is drawn off at a water tap,
S.014 appears in the display.
◁ Check the domestic hot water temperature Actual
DHW temperature
Condition: Control connected
▶ Set the target temperature for the connected domestic
hot water cylinder on the control (→ Operating and install-
ation instructions for the control).
◁ The boiler adopts the target temperature which is set
on the control.
9.17 Checking leak-tightness
▶
Check the gas-carrying components, the heating circuit
and the domestic hot water circuit for tightness.
▶ Check that the air/flue pipe has been installed correctly.
▶ Check whether the front panel is fitted.
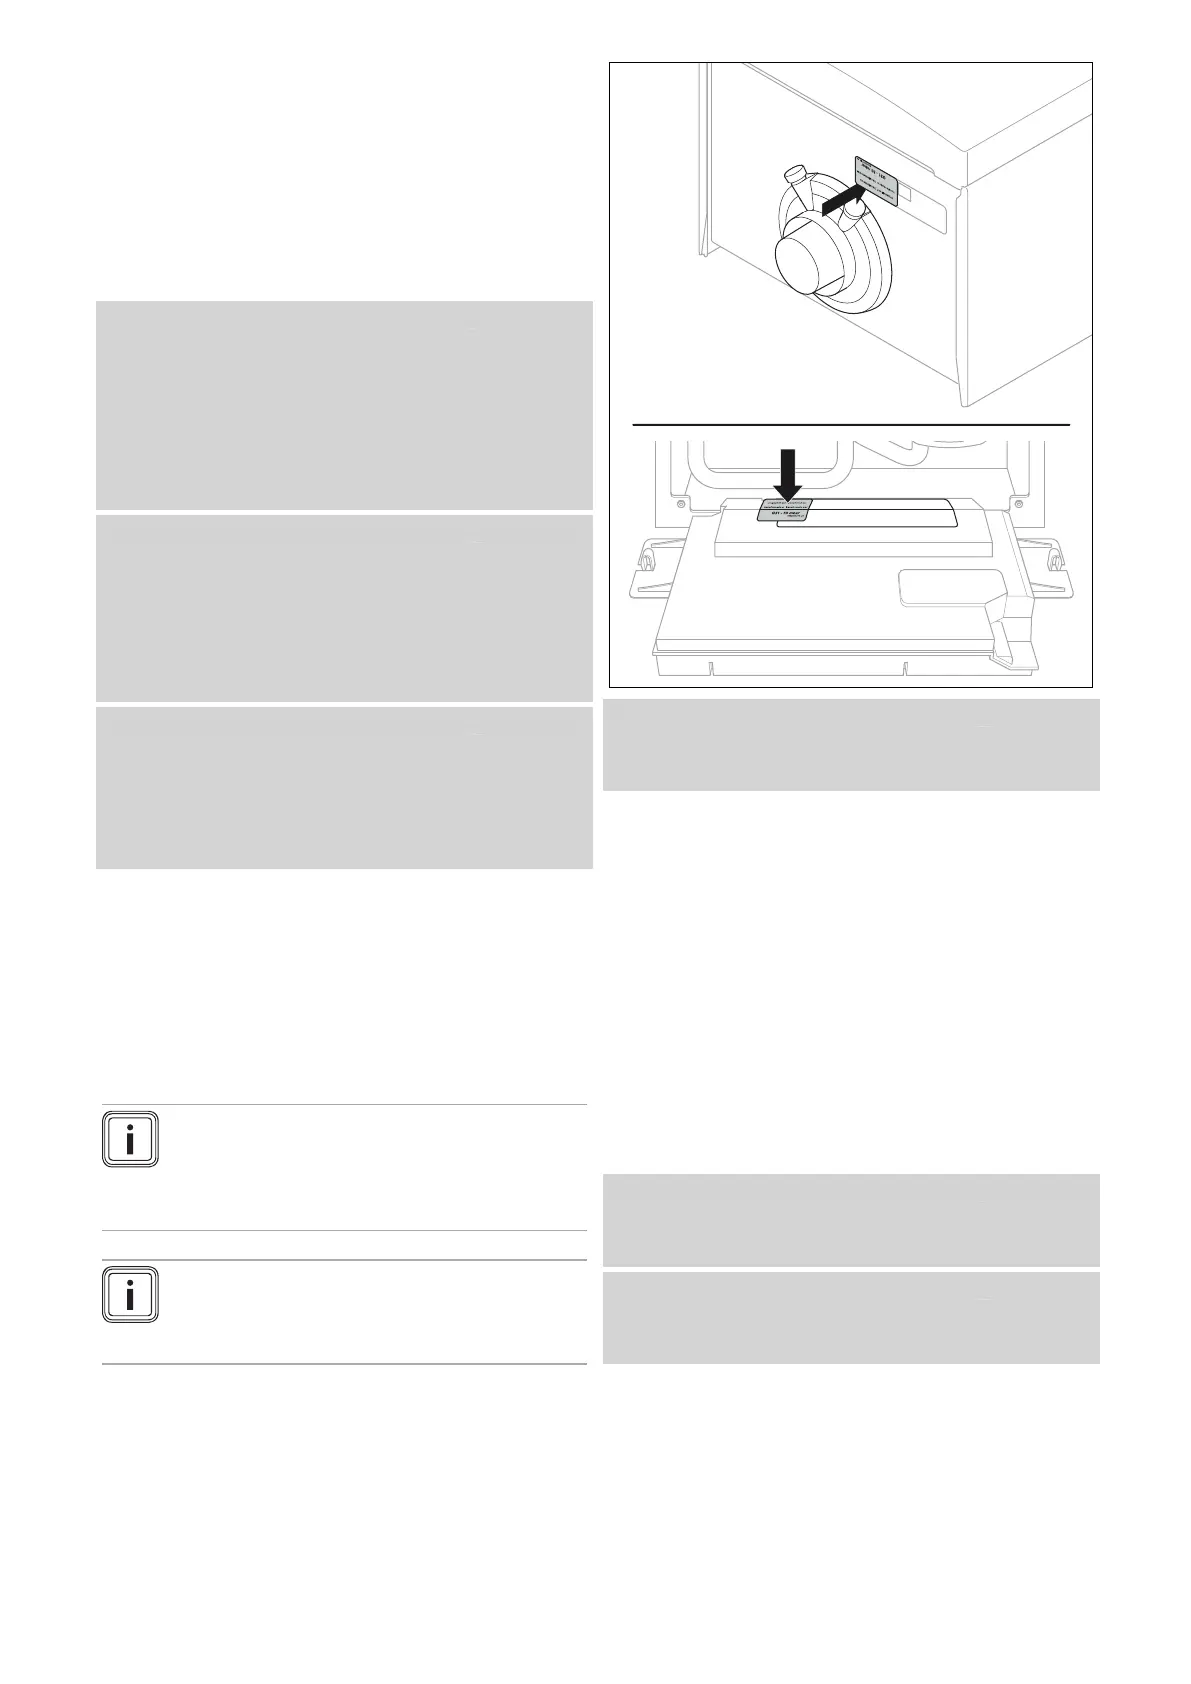
9.18 Converting the product to a different gas
type
Note
For initial start-up, the desired gas type is defined
when carrying out the installation assistant. If li-
quefied petroleum gas is selected, the supplied
sticker must be affixed.
Note
If the gas type is converted at a later date, a con-
version set is required (control electrode replace-
ment).
Condition: Converting the gas type at a later time
▶ Follow the instructions in the manual that is included with
the conversion set.
10 Adapting the unit to the installation
10.1 Setting parameters
▶ Navigate to the Appliance config. menu and set the
most important system parameters.
▶ Navigate to the Start inst. assistant menu and restart
the installation assistant.
▶ Navigate to the Diagnostics menu menu and set addi-
tional system parameters.
Diagnostics codes (→ Appendix D)
10.2 Activating an additional component for the
multi-functional module
Condition: Components connected to relay 1
▶ Select the parameter D.027 to assign a function to re-
lay 1. (→ Section 8.3)
Condition: Components connected to relay 2
▶ Select the parameter D.028 to assign a function to re-
lay 2. (→ Section 8.3)
 Loading...