MAINTENANCE
Maintenance Schedule
After First 5 Hours
• Change Engine Oil
Every 8 Hours or Daily
• Check Engine Oil Level
• Clean Muffler, Rewind Starter Finger Guard, and Controls
Every 25 Hours or Annually
• Clean Air Filter and Pre-Cleaner †
Every 50 Hours or Annually
• Change Engine Oil
• Clean/Inspect Muffler and Spark Arrester
Every 100 Hours or Annually
• Change 6:1 Gear Reduction Oil (If Equipped)
Annually
• Replace Air Filter and Pre-Cleaner
• Clean/Gap/Replace Spark Plug
• Clean/Replace In-Tank Fuel Filter
• Clean Carburetor Sediment Bowl
• Clean Air Cooling System †
• Check/Adjust Valve Clearance ‡
† Clean more often in dusty conditions or when airborne debris is
present.
‡ Not required unless engine performance problems are noted.
Change Engine Oil/Check Engine Oil Level
1. Place engine on a flat, level surface.
2. Remove spark plug wire from spark plug terminal.
Secure spark plug wire to prevent unintentional contact
with spark plug terminal.
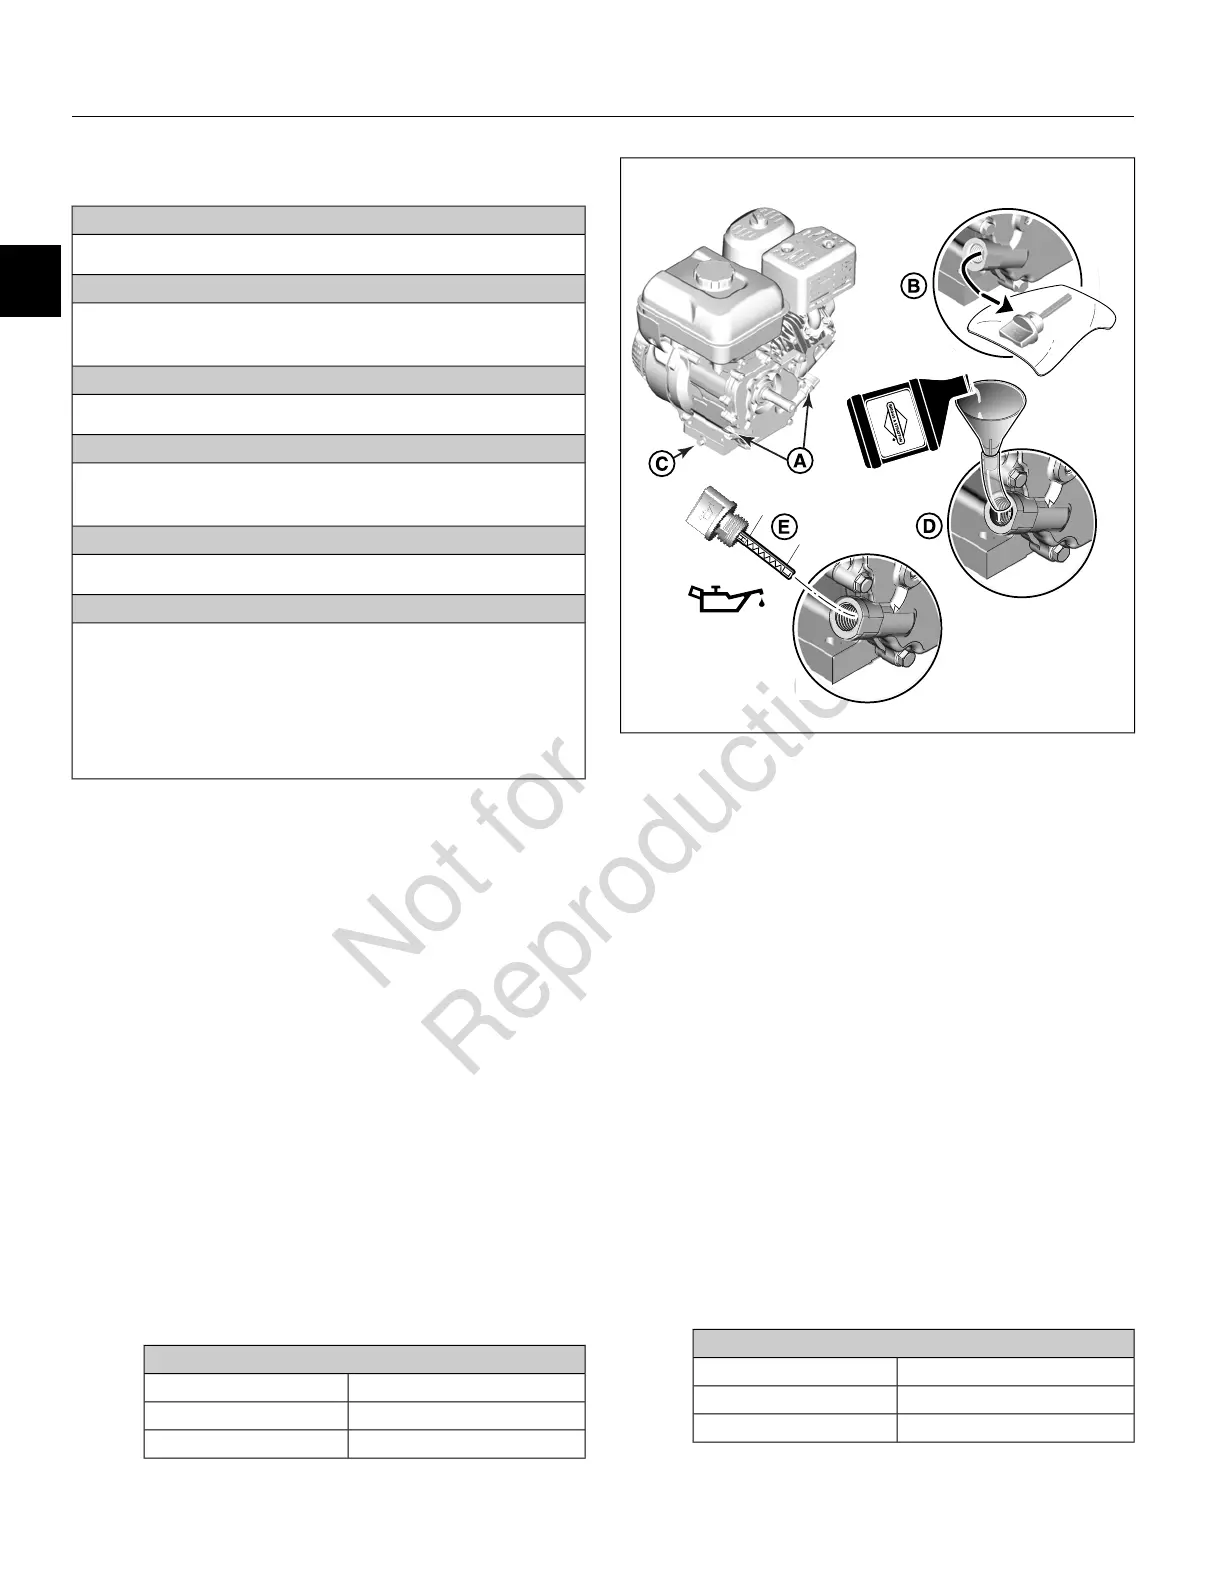
3. See Figure 2. Thoroughly clean area around dipstick
oil plug (A) of all dirt and debris.
4. Remove dipstick oil plug and wipe dipstick with a clean,
lint free cloth (B).
NOTE: Proceed to step 8 if only checking engine oil
level.
5. Remove oil drain plug(s) with sealing washer(s) at base
of engine (C) and drain oil into an approved container.
6. Install oil drain plug(s) with sealing washer(s) and
tighten as follows.
Oil Drain Plug
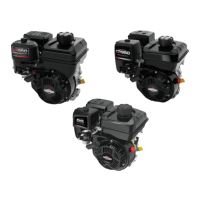
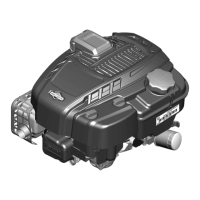
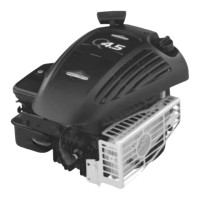
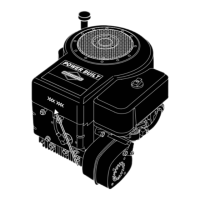
TorqueModels
140-200 lb-in (15.8-22.6 N-m)130G00, 131G00, 13R200
248-266 lb-in (28-30 N-m)13U100, 13U200
2
7. Using a funnel and a short length of plastic tubing,
slowly pour 19-22 ounces (550-650 ml) of the
recommended type of oil into the oil plug opening (D).
See
Section 1 - Safety and General Information,
General Information, Oil Recommendations.
DO NOT
overfill.
8. Slowly insert dipstick oil plug until lightly seated on
threads, but do not tighten.
NOTE: The most accurate oil level readings are
obtained when the engine is cold.
9. Allow a few seconds to elapse, and then slowly remove
dipstick oil plug.
10. Verify that oil level (E) is on the cross hatch pattern at
or near the H(igh) mark.
NOTE: Observe oil level on both sides of the dipstick.
The lower level of the two readings is the correct oil
level measurement.
11. Add oil as necessary until oil level is correct.
12. Install dipstick oil plug and tighten as follows.
Dipstick Oil Plug
TorqueModels
10-30 lb-in (1.1-3.4 N-m)130G00, 131G00, 13R200
18-27 lb-in (2-3 N-m)13U100, 13U200
10
2
 Loading...