WARNING
Be sure there is no fuel or fuel vapors present which,
if spark ignited, can cause a fire or explosion resulting
in death or serious injury.
12. Move throttle control lever to FAST.
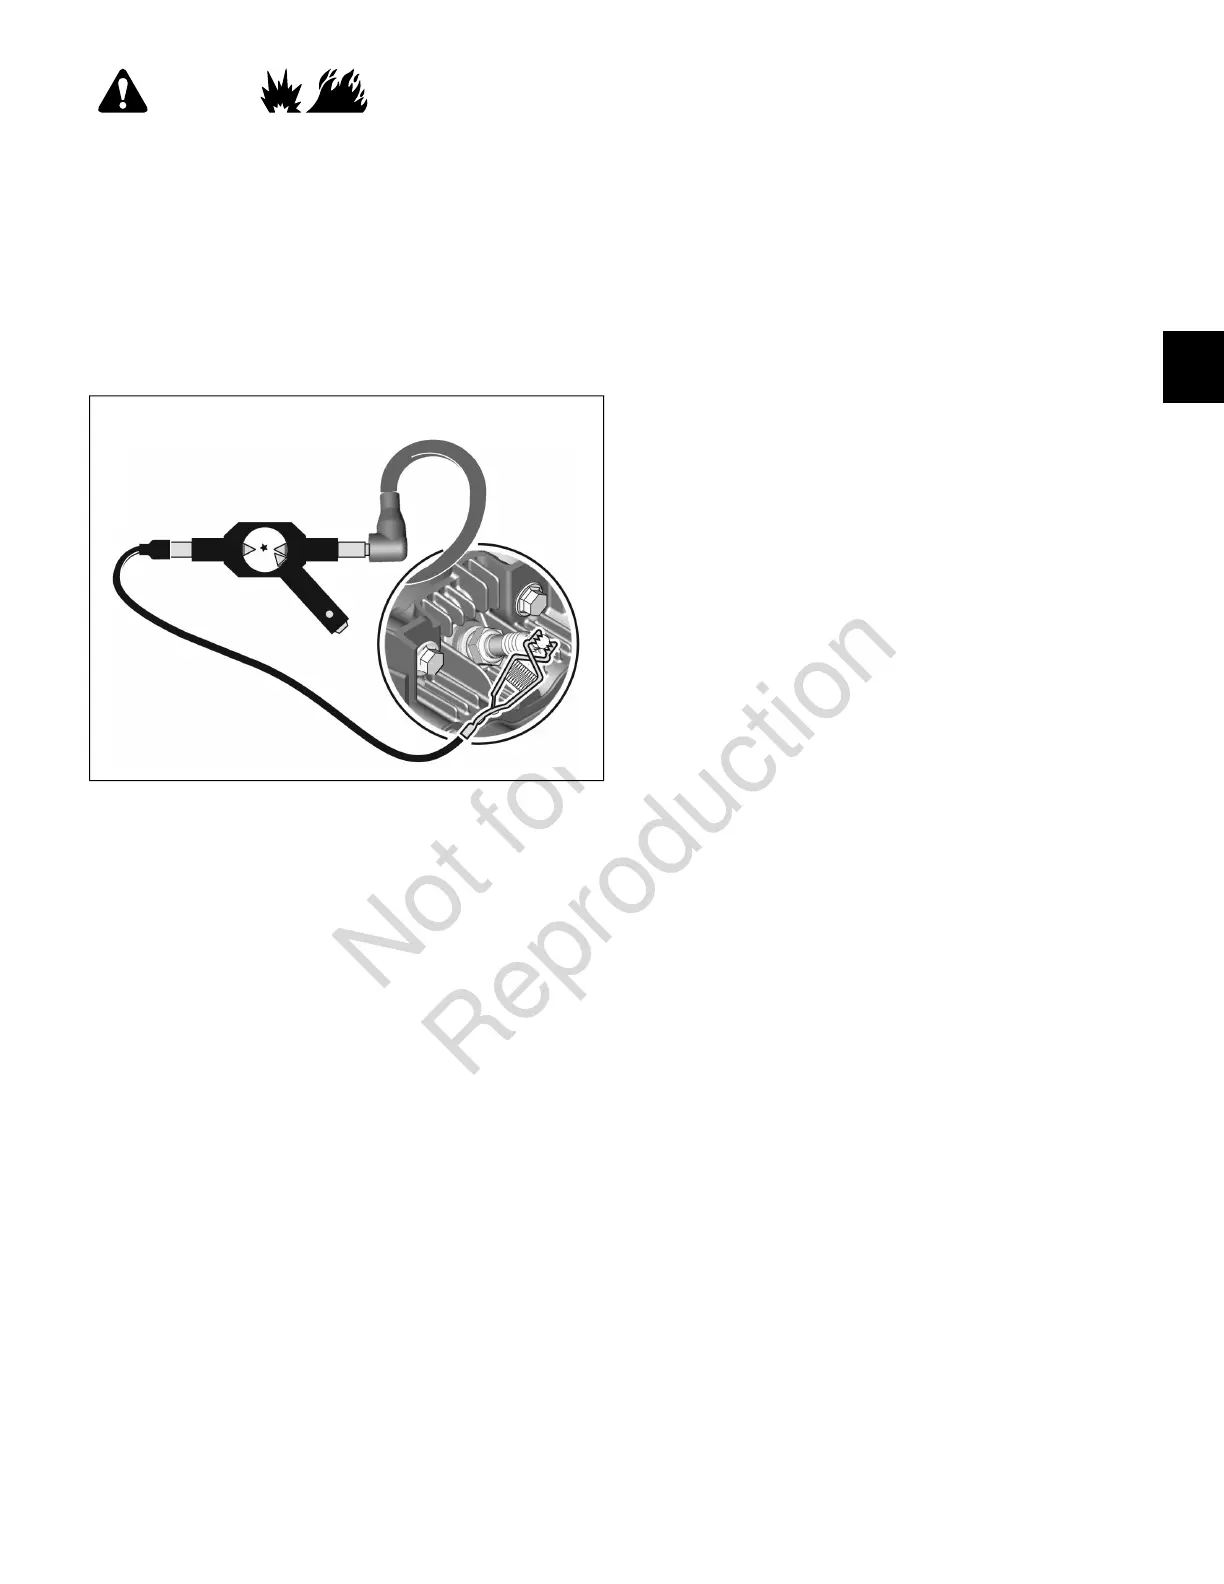
13. Pull rewind starter rope (or activate electric starter, if
equipped). If spark jumps the tester gap, install a new
spark plug.
14. If spark is not present, move to step 15.
16
15. If spark is not present, look for:
• Improperly operating low oil sensor system
• Shorted equipment or engine stop switch wire
• Incorrect armature air gap
• Armature failure
Check Carburetion
1. Verify that fuel tank has an ample supply of fresh, clean
gasoline.
2. Verify that fuel valve is positioned to ON, if equipped,
and that fuel flows freely through the fuel line. If fuel
flow is slow or fails to flow, check for plugged fuel cap
vent, fuel line restriction, or plugged fuel filter.
3. Verify that throttle and choke controls are clean and
properly adjusted.
4. If engine cranks, but will not start, remove and inspect
the spark plug.
5. A wet spark plug may indicate:
• Over choking
• Excessively rich fuel mixture
• Water in fuel
• Carburetor float needle valve stuck open
• Plugged air cleaner
• Fouled spark plug
6. A dry spark plug may indicate:
• Leaking carburetor or intake manifold gaskets
• Gummy or dirty carburetor, fuel filter, fuel lines, or
fuel tank
• Carburetor float needle valve stuck closed
NOTE: To determine if the fuel is getting to the
combustion chamber through the carburetor, remove
the spark plug and pour a small quantity of gasoline
through the spark plug hole. Install the spark plug and
crank the engine. If the engine fires a few times and
then stops, look for the same conditions as those listed
for a dry spark plug.
Check Compression
Engine Does Not Start
1. Obtain Leakdown Tester (Part No. 19545).
2. Follow the instructions provided with the tester to check
the sealing capabilities of compression components.
NOTE: Any air leaks at the tester connections and
fittings will adversely affect test results.
3. The sound of air flow:
• between the cylinder and cylinder head indicates
the cylinder head gasket is leaking.
• from the carburetor indicates air is leaking past the
intake valve and valve seat.
• from the exhaust system indicates air is leaking
past the exhaust valve and valve seat.
• from the breather tube or oil fill dipstick tube
indicates air is leaking past the piston rings.
4. The likely causes of poor compression are:
• Loose cylinder head screws
• Damaged cylinder head gasket
• Burned valves, burned valve seats, and/or loose
valve seats
• Insufficient tappet clearance
• Warped cylinder head
• Warped valve stems
• Worn cylinder bore and/or piston rings
• Broken connecting rod
23
3
 Loading...