Clip Operations
136
Displaying a Frame Index Screen of a Single Clip
You can display an index screen of a single clip broken down as frames at fixed intervals. This is useful when you
have a long clip or wish to play back a clip from a certain point. You can change how many thumbnails are
displayed. You can also perform other operations from this index screen, such as adding and deleting shot
marks.
1 Select the desired clip and then press SET to open the clip menu.
2 Select [Expand Clip] and then press SET.
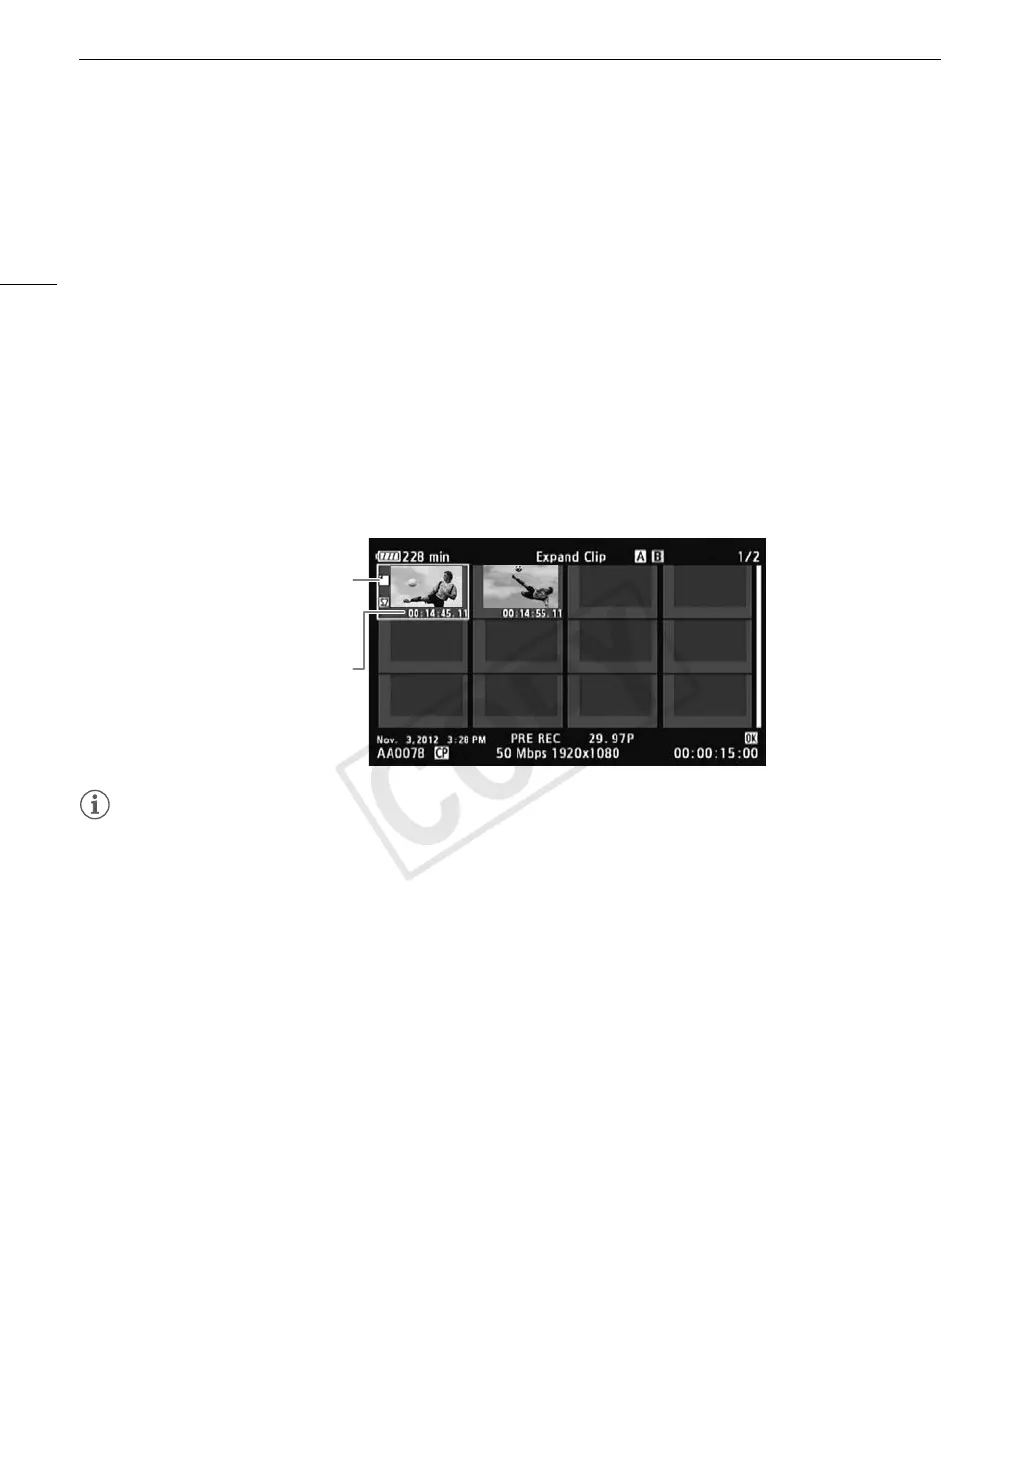
• The [Expand Clip] index screen appears, which shows thumbnails of frames taken from the clip at fixed
intervals. The time code under the thumbnail indicates the time code of the frame.
• You can change the fixed interval between frames by showing more or fewer thumbnails. To show more
thumbnails, open the clip menu and select [More Index Pics] and then press SET. To show fewer
thumbnails, select [Fewer Index Pics] and then press SET.
• Press the INDEX button or CANCEL button to return to the clip index screen.
NOTES
• After you finish playing back a clip from this index screen, the index screen that was open before the [Expand
Clip] index screen will appear.
Adding Shot Marks
You can add shot marks (", # or both) to shots in a clip you want to set apart. Later, you can display an index
screen that shows only the clips with a " mark, only the clips with a # mark, or only clips with either shot mark.
Adding Shot Marks during Playback
To add an " mark or # mark to a clip during playback or playback pause, you must first set an assignable
button to [Add Shot Mark 1] or [Add Shot Mark 2] in advance.
1 Set an assignable button to [Add Shot Mark 1] or [Add Shot Mark 2] (A 111).
2 During playback or playback pause, press the assignable button at the point in the clip to add the
shot mark.
• A message indicating the shot mark appears on the screen and the shot mark is added to the clip.
• Adding a shot mark to a clip during playback will pause the playback.
Adding Shot Marks from the Index Screen
1 Open the [Shot Mark] index screen or [Expand Clip] index screen.
2 Select the desired frame (thumbnail) and then press SET to open the clip menu.
Time code of the
displayed frame
Thumbnail icon:
Indicates the frame
used as the clip
thumbnail in the clip
index screen.
 Loading...