71
# Adjusting the Aperture
NOTES
• When using an EF lens with no lens contacts, such as a Canon Cinema lens, you cannot adjust the aperture
using the camcorder. Adjust the aperture using the lens.
• When using an EF lens that can correct the aperture value according to the position of the zoom, you can use
the [~ Camera Setup] > [Iris] > [Zoom-Iris Correct.] setting to activate this correction.
Momentary Automatic Aperture - Push Auto Iris
During manual aperture, you can use the push auto iris function to have the camcorder temporarily take control
and automatically adjust the aperture (f/stop) for an optimal exposure.
Using an Assignable Button
To use the push auto iris function, you must first set an assignable button to [PUSH AUTO IRIS] in advance.
1Set [~ Camera Setup] > [Iris] > [Mode] to [Manual] (A 70).
• This is only necessary when using a lens compatible with automatic aperture. For other lenses, [Manual] is
the default setting and cannot be changed.
2 Set an assignable button to [PUSH AUTO IRIS] (A 111).
3 Press and hold the assignable button.
• The camcorder will automatically adjust the aperture to obtain optimal exposure. As long as you hold the
assignable button pressed down, will appear on the screen next to the aperture value.
• When you release the assignable button, the selected f/stop will be set as the aperture value. Automatic
aperture mode will end and the icon next to the aperture value will disappear.
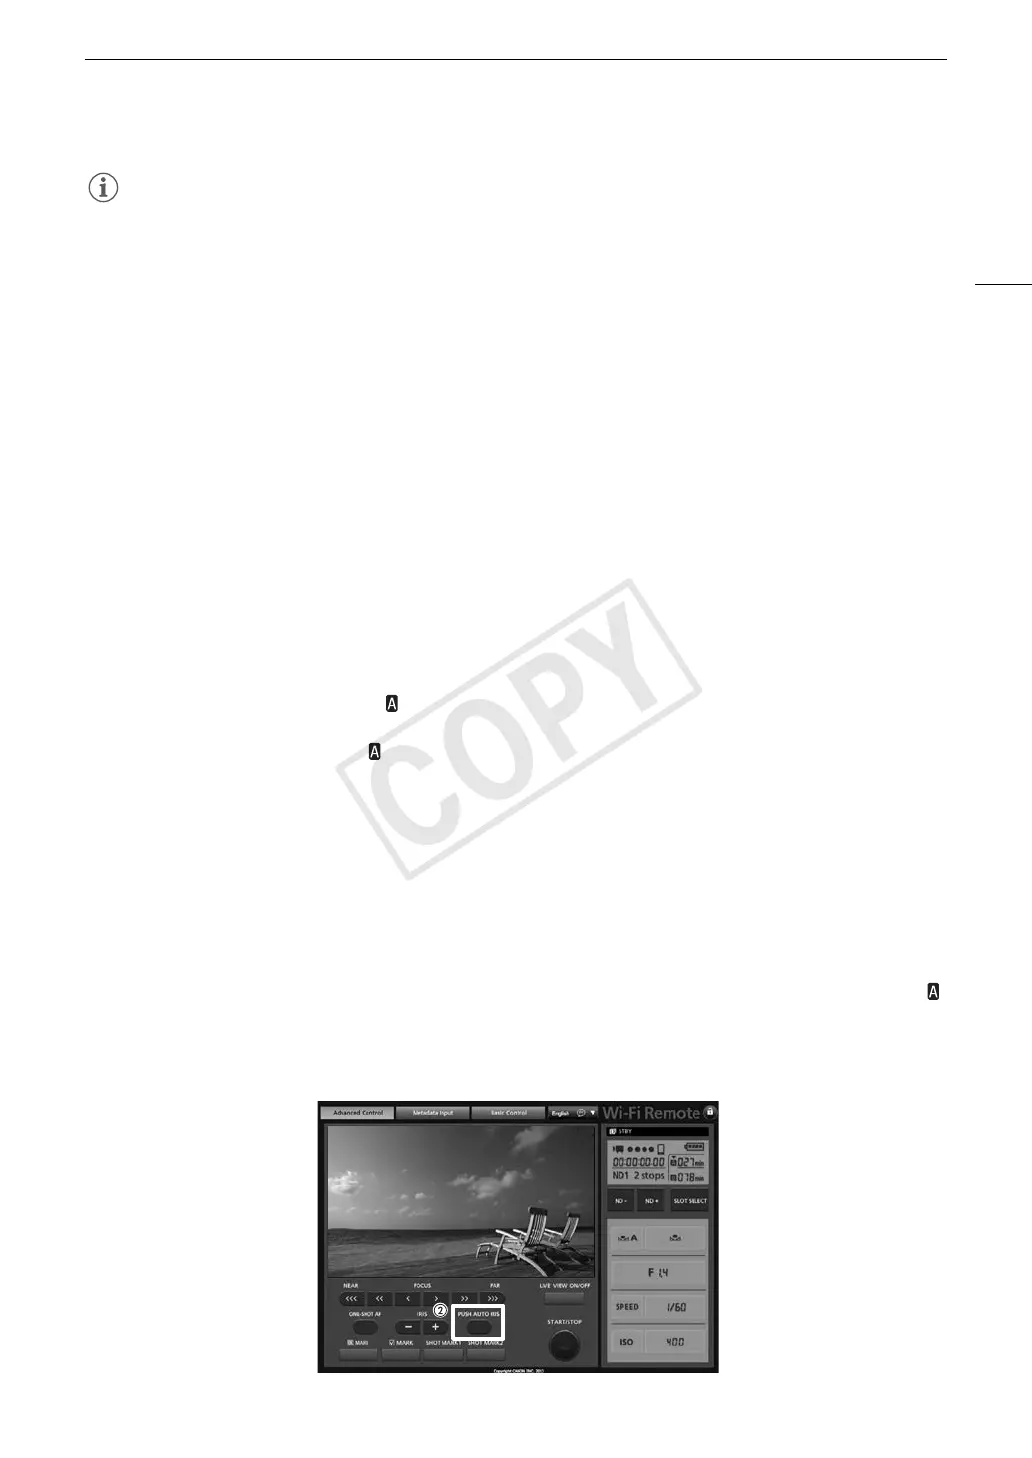
Remote Operation Using Wi-Fi Remote
After completing the necessary preparations (A 49), you can activate the push auto iris function remotely from
a Wi-Fi enabled device using the Wi-Fi Remote application.
1 On the camcorder, set [~ Camera Setup] > [Iris] > [Mode] to [Manual] (A 70).
• This is only necessary when using a lens compatible with automatic aperture. For other lenses, [Manual] is
the default setting and cannot be changed.
2 Press [PUSH AUTO IRIS].
• The camcorder will automatically adjust the aperture to obtain optimal exposure. During the adjustment,
will appear on the camcorder’s screen next to the aperture value.
• During the automatic adjustment, the aperture value on the Wi-Fi Remote screen will be grayed out. Once
the adjustment is finished, the aperture value will turn black and be available again.
 Loading...