Video
* liYD 2
seconds
when
using
the
wireless
controller.
CD
NOTES
•
When
the
LCD
panel
is
rotated toward
the lens,
we
recommend pushing the
joystick
(T)
to hide the joystick guide
and make the
0 icon appear
larger.
•
The
self timer will be canceled when any
of the following operations
are
performed.
- Pressing
i.Start/Stop]
(when
recording
movies) or
l?f::l9I9..1
(when taking
photos) once the countdown
has
begun
- Turning off the camcorder
- Changing the operating mode
- Setting the camcorder to standby
mode
Automatic
Backlight
Correction
and
Manual
Exposure
Adjustment
At times, backlit subjects may appear
too
dark (underexposed) or subjects
under very strong lights may appear
too
bright or glaring (overexposed).
To
correct this, you can manually adjust
the exposure
or
use the automatic
backlight correction.
~~-l
~.:~
i
(CD
25)
GrI
POINTS
TO
CHECK
Select a recording program other than
[IIFIREWORKS].
50
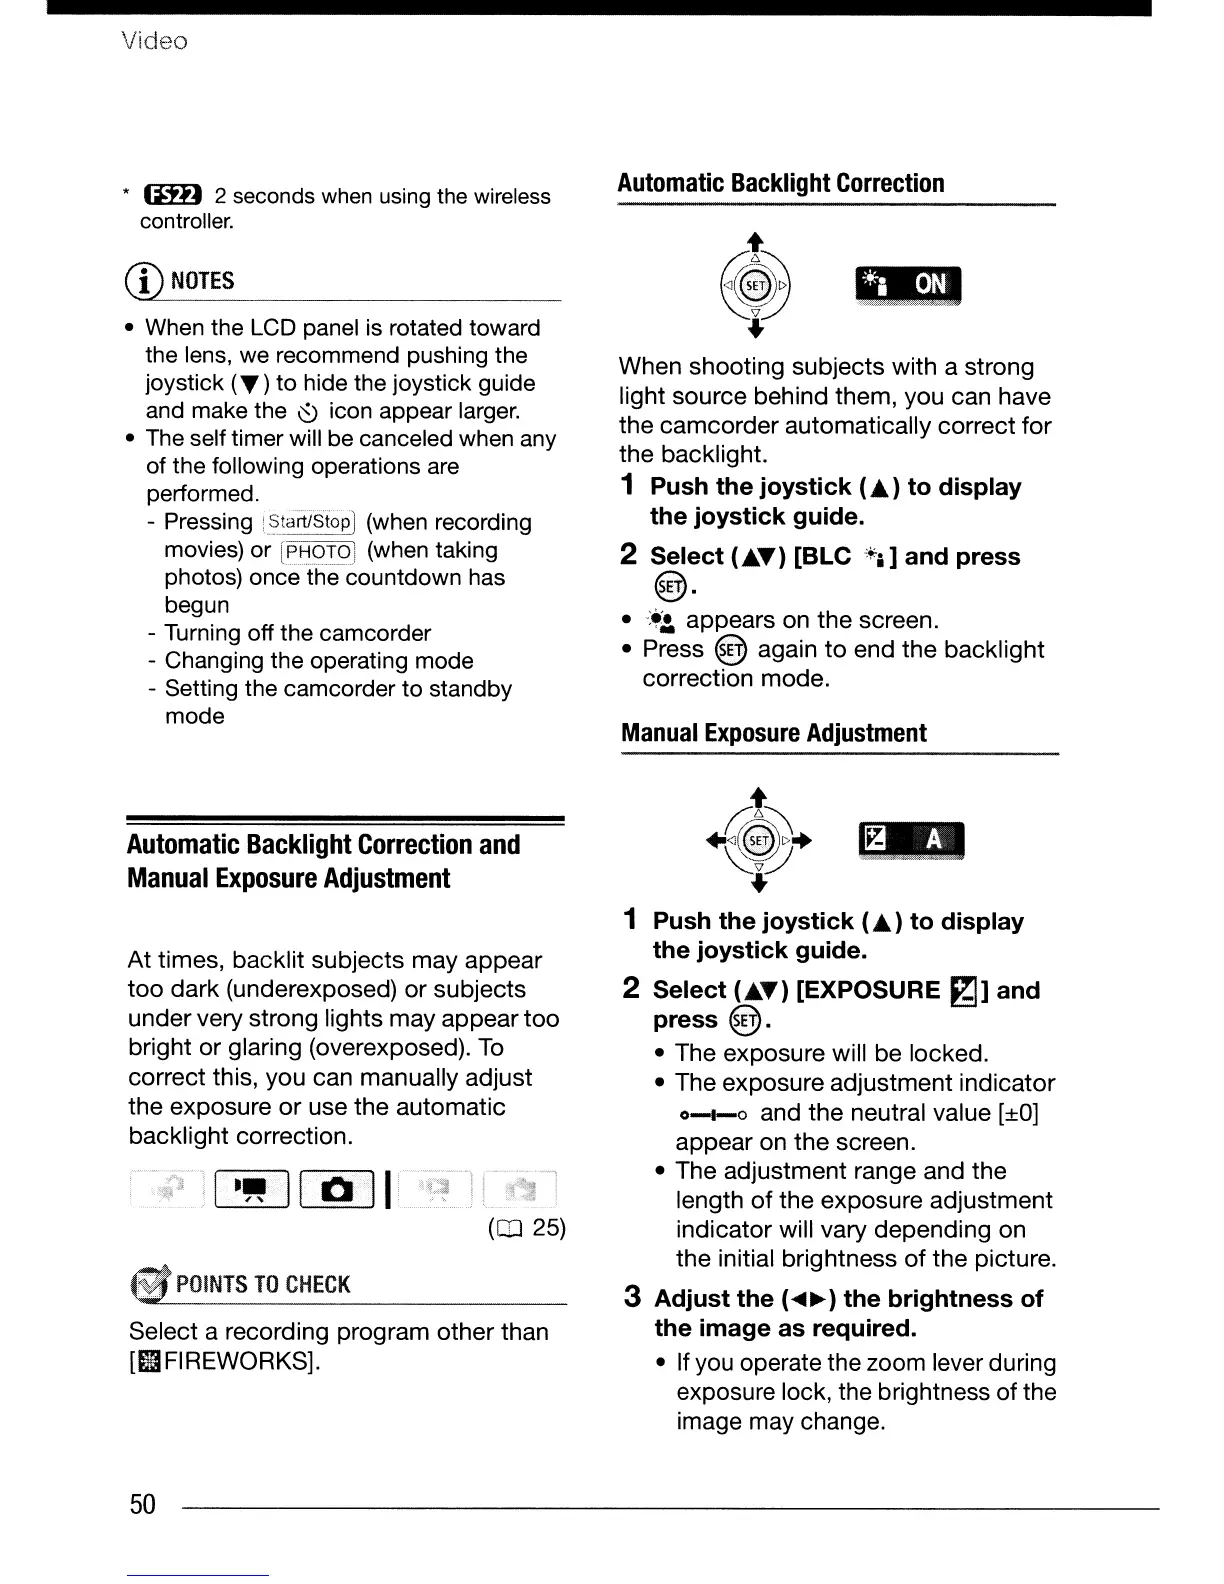
Automatic
Backlight
Correction
+
~
•
When shooting subjects with a strong
light source behind them, you can have
the camcorder automatically correct for
the backlight.
1 Push
the
joystick
(...)
to
display
the
joystick
guide.
2
Select
("'T)
[BLC
+i]
and
press
@.
•
':+'.:a
appears on the screen.
• Press
@ again
to
end the backlight
correction mode.
Manual
Exposure
Adjustment
+
r;/~
+i./~l>~
~
•
1 Push
the
joystick
(...)
to
display
the
joystick
guide.
2
Select
("'T)
[EXPOSURE
gj]
and
press
@.
• The exposure will be locked.
• The exposure adjustment indicator
0-1-0
and the neutral value
[±O]
appear on
the
screen.
• The adjustment range and the
length
of
the exposure adjustment
indicator will vary depending on
the initial brightness
of
the picture.
3
Adjust
the
(
..
~)
the
brightness
of
the
image
as
required.
• If you operate the zoom lever during
exposure lock, the brightness of the
image may change.
 Loading...