Preparations
2 Select
(.A.T,
~~)
the
1:::1
icon and
press
@ to open the setup
menus.
You
can also press !MENU) on the
wireless controller
((mJ
only) or
hold
[FUNC-:-J
pressed down for more
than 1 second
or
to
open directly the
setup menus screen.
3 Select
(.A.T)
the desired menu from
the left side column and press
@.
The title of the selected menu
appears
on
top
of the screen and
under it the list
of
settings.
4 Select
(.A.T)
the setting you
want
to change and press
@.
• The orange selection bar indicates
the menu setting currently
selected. Items not available
appear
in
black.
• Push the joystick (
....
)
to
return
to
the menu selection screen (step
3).
5 Select
(.A.T)
the desired option and
press
@ to save the setting.
6 Press [FUNC.].
You
can press
[FONc]
to close the
menu at any time.
28
First
Time
Settings
Setting
the
Date
and
Time
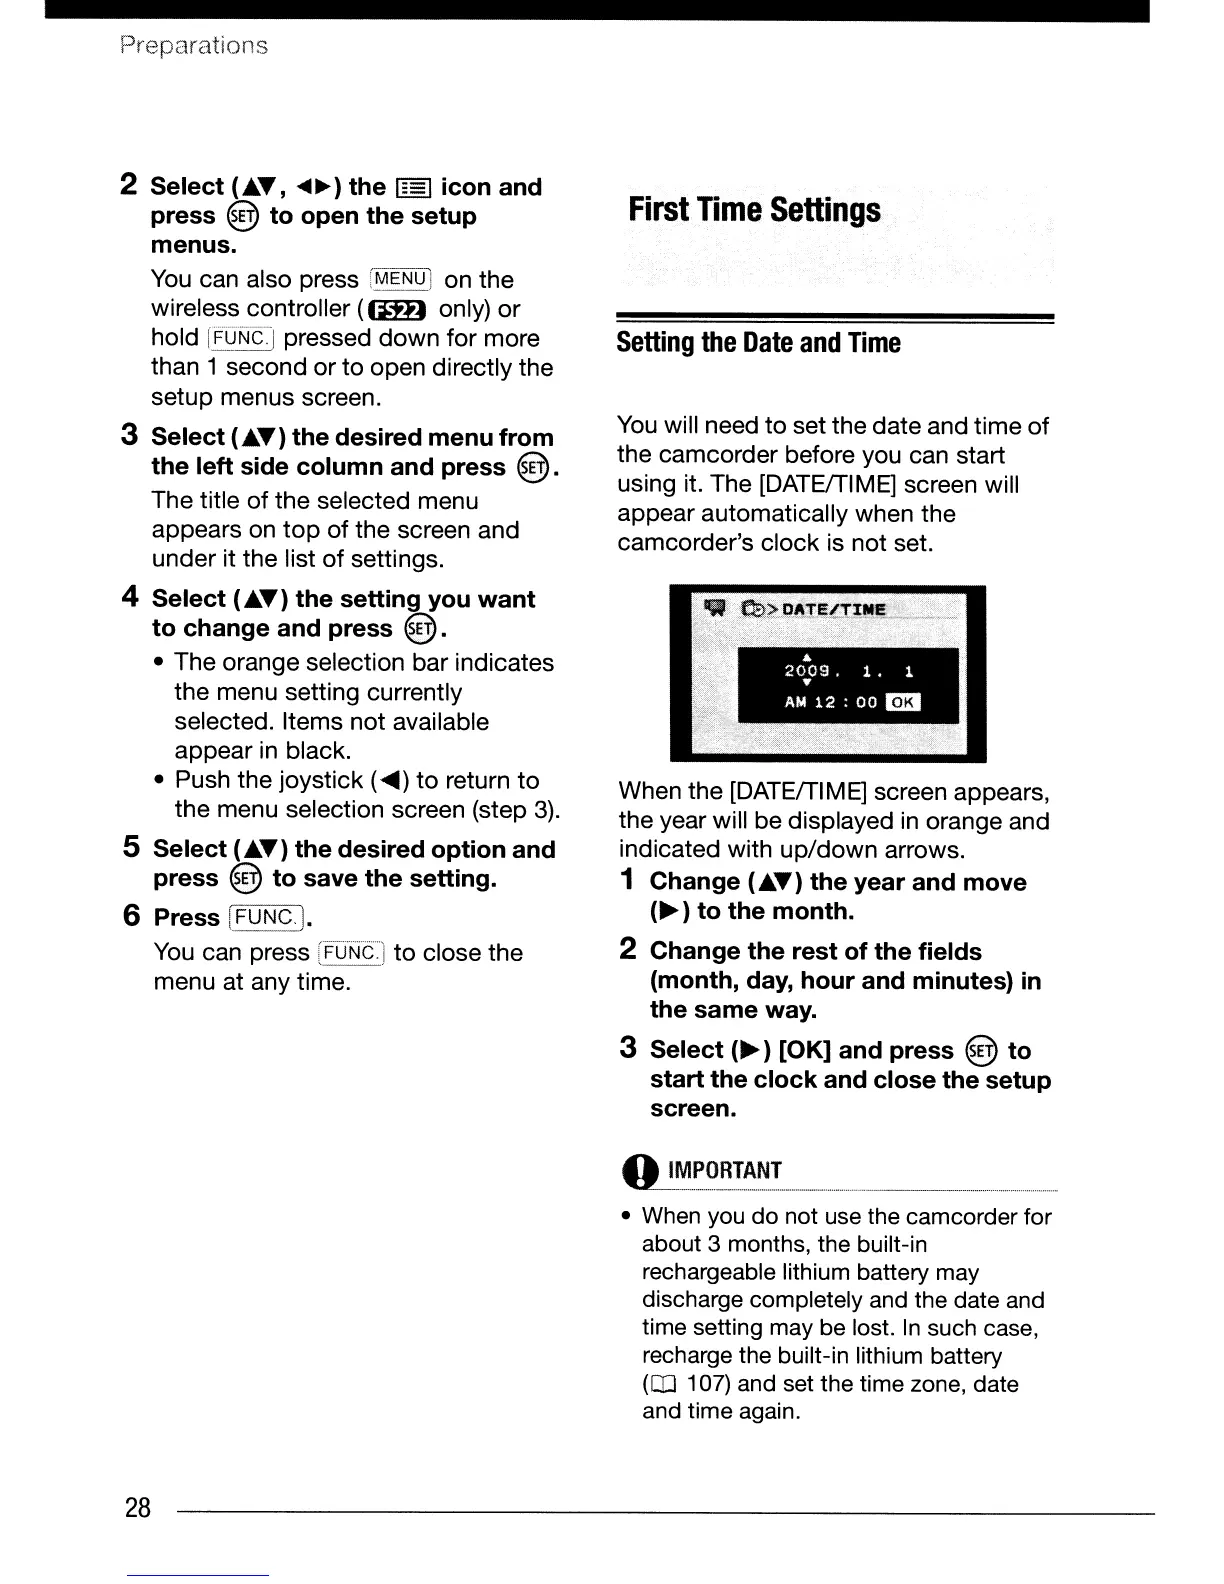
You
will need to set the date and time of
the camcorder before you can start
using it. The [DATEfTIME] screen will
appear automatically when the
camcorder's clock
is
not set.
When the [DATEfTl M
E]
screen appears,
the year will be displayed
in
orange and
indicated with up/down arrows.
1 Change
(.A.T)
the year and move
(~
) to the month.
2 Change the rest of the fields
(month, day, hour and minutes)
in
the same way.
3 Select
(~)
[OK] and press @ to
start the clock and close the setup
screen.
o_~_~~_~_~~~~!
_._
.
._
_
• When you
do
not use the camcorder for
about 3 months, the built-in
rechargeable lithium battery may
discharge completely and the date and
time setting may be lost.
In
such case,
recharge the built-in lithium battery
(OJ 107) and set the time zone, date
and time again.
 Loading...