,.\
CD
NOT_E_S
_
When
the camcorder is connected to the
computer and the photo selection screen
is
displayed, press
l~~~~J
to return to the
transfer menu.
4
Repeat
steps
2-3
to
mark
additional
photos
with
transfer
orders
or
press
[FUNC.]
twice
to
close
the
menu.
Setting
Transfer
Orders
from
the
Index
Screen
Options
Connect the camcorder
to
the
computer
and select
[80
TRANSFER
ORDERS]
in
the transfer menu (OJ 82).
To
TRANSFER
PHOTOS
MARKED
WITH
TRANSFER
ORDERS
·lREMO
Removes
all
the
transfer
orders.
[SELECl;ED
·PHOTpS
.
:('.,<
.'-%'.
'M:::i::.<:';-".$
Marks
all
the
photos
selected
in
advance
(marked
with
a
,/
checkmark)
with
a
transfer
order.
Refer
to
Pre-selecting
Recordings
from
the
Index
Screen
(OJ
42).
[iNDIViou,ijPH':
;,
,;;
,j:::';;/';;::::'::~'8;::':;::~,:>~;L';:;::--xt'
.
';7~::r-,
Opens
the
same
screen
described
in
Marking
Single
Photos
with
Transfer
Orders
(OJ
83).
Continue
from
step
3
of
that
procedure
to
set
the
transfer
order.
rF'DFJclO
[1;;3j
TRANSFER ORDER] 0
Desired option C [YES]
€)
[OK] 0
!"FUNC"J
1
Open
the
photo
selection
screen.
lf~_l':!~_:.J
0
[~
TRANSFER ORDER]
~D
appears on the screen.
2
Select
(<llIl~)
the
photo
you
want
to
mark
with
a
transfer
order.
3
Press
@
to
set
the
transfer
order.
A checkmark
,/
appears in the
box
next
to
the transfer order icon
I;;3j
.
Press @ again
to
cancel
the
transfer order.
Set the transfer orders before connecting
the camcorder to the computer.
1m)
I
~
11m)
Select in advance
the memory from which you want
to
transfer
photos
(OJ 40).
Marking
Single
Photos
with
Transfer
Orders
Selecting
Photos
to
Transfer
(Transfer
Order)
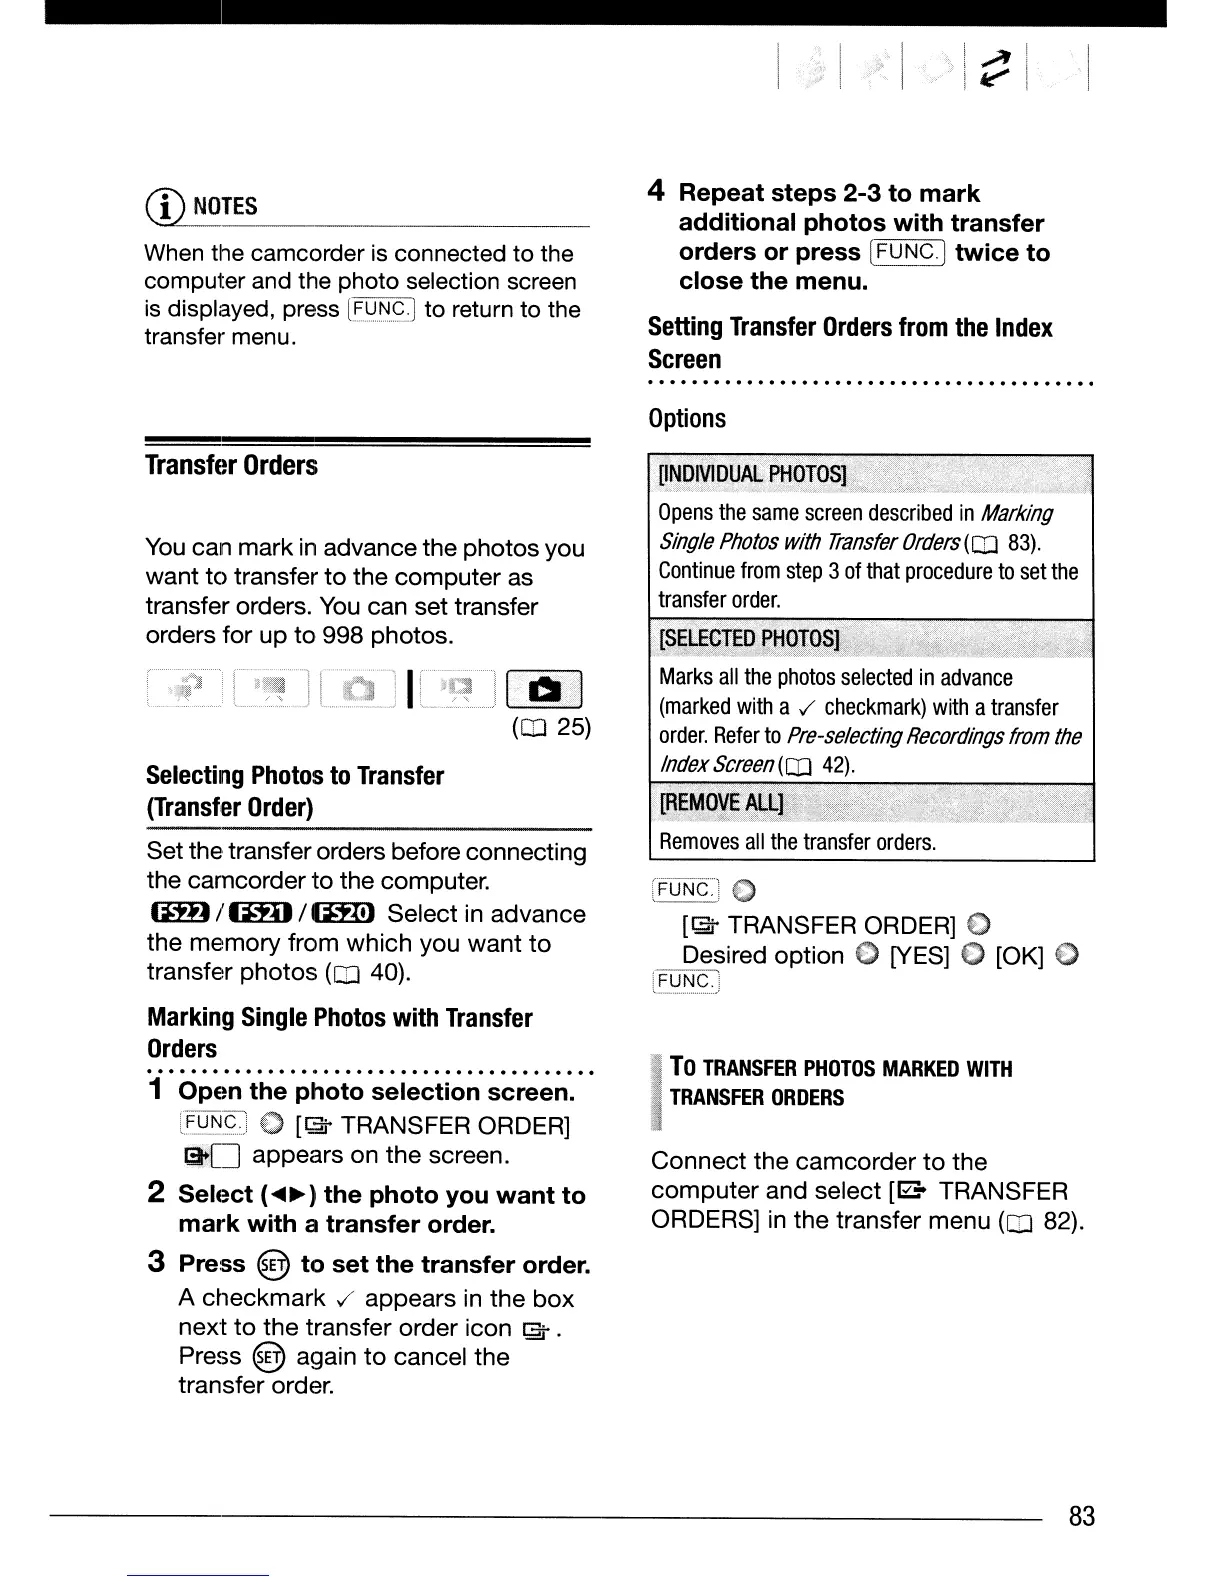
You
can mark
in
advance the photos you
want to transfer
to
the computer as
transfer orders.
You
can set transfer
orders for up
to
998 photos.
Transfer
Orders
83
 Loading...