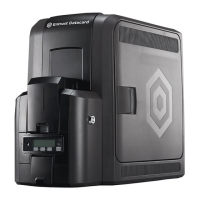
CR805 Retransfer Card Printer Installation and Administrator’s Guide 107
5. Select Clean Printer.
6. Click Run to start the cleaning process. Press the U
SER button on the printer when the
message “172: Insert cleaning card” displays on the LCD panel.
The printer picks the cleaning card and moves it through the printer several times, and ejects
it in the output hopper or places it in the card reject tray.
Refer to the printer’s User’s Guide for complete information about cleaning the printer.
7. Remove the used cleaning card.
8. Replace the supplies.
a. Place the cards in the input hopper.
b. Remove the ink ribbon cartridge (C1) from the printer
c. Install a new cleaning sleeve on the cleaning spindle and remove the protective cover.
Discard the used cleaning sleeve.
d. Replace the cleaning spindle in the printer.
e. Replace the ink ribbon and retransfer film cartridges and close the printer access door.
Lock the printer, if necessary.
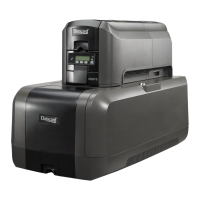
Clean the Laminator
1. Select Clean Laminator on the Maintenance > Cleaning page.
2. Click Run.
The printer LCD panel displays the message “172: Insert cleaning card.”
3. Insert the double-sided, adhesive-coated cleaning card into the card exit slot of the laminator
and press the U
SER button.
The laminator pulls the cleaning card from the card exit slot into the laminator and moves it
back and forth through the L1 and L2 cartridge areas and the card entry area several times.
Updates
The Updates option allows a WebAdmin access-level user to send an external settings file to the
printer.
To upload a settings file:
1. Click Browse and select the file to upload.
2. Click Upload File.
If you are cleaning a system with a laminator, the card moves into the laminator
after cleaning the printer.
 Loading...