A-10 CLM Laminator
Assemble the Printer and Laminator
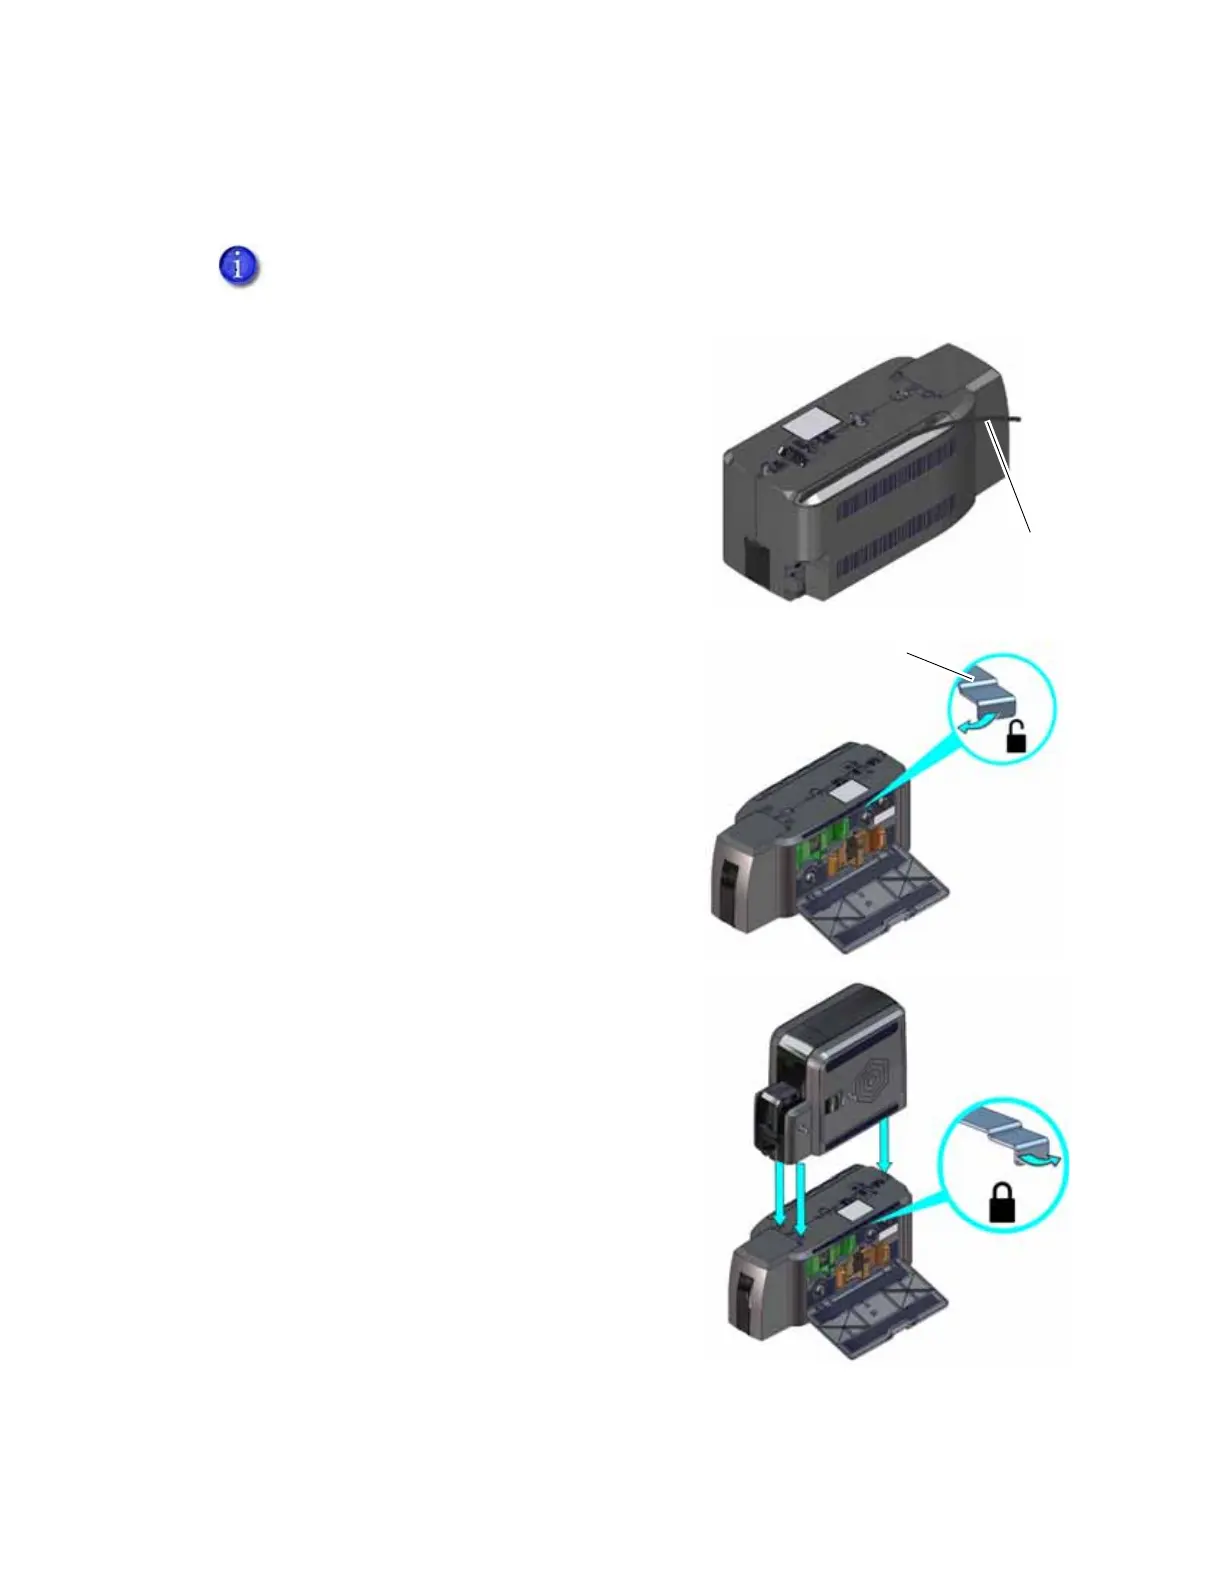
1. Locate the interconnect cable in the cable
routing area of the laminator and make sure
that it remains accessible.
2. Unlock and open the laminator access door.
3. Slide the printer locking lever in the laminator
to the left to move the mounting lock to the
unlocked position.
4. Lift the printer over the laminator and align the
pins on the laminator with the holes on the
underside of the printer.
5. Press down on the printer carefully, but firmly,
to position it.
6. Push the printer locking lever to the right to lock
the printer onto the laminator. Make sure that
the printer is securely locked to the laminator.
7. Close and lock the laminator access door.
If you have installed a large output hopper on the printer, you must remove it before
connecting the printer to the laminator.
 Loading...