Section 6: Using Your Legend System Quick
Setup
50
Artwork Setup
Create your job in the graphics software of your choice, (for example –
CorelDraw). There are two different modes of operation for the laser and the way
you setup your artwork will determine if you raster engrave or vector cut:
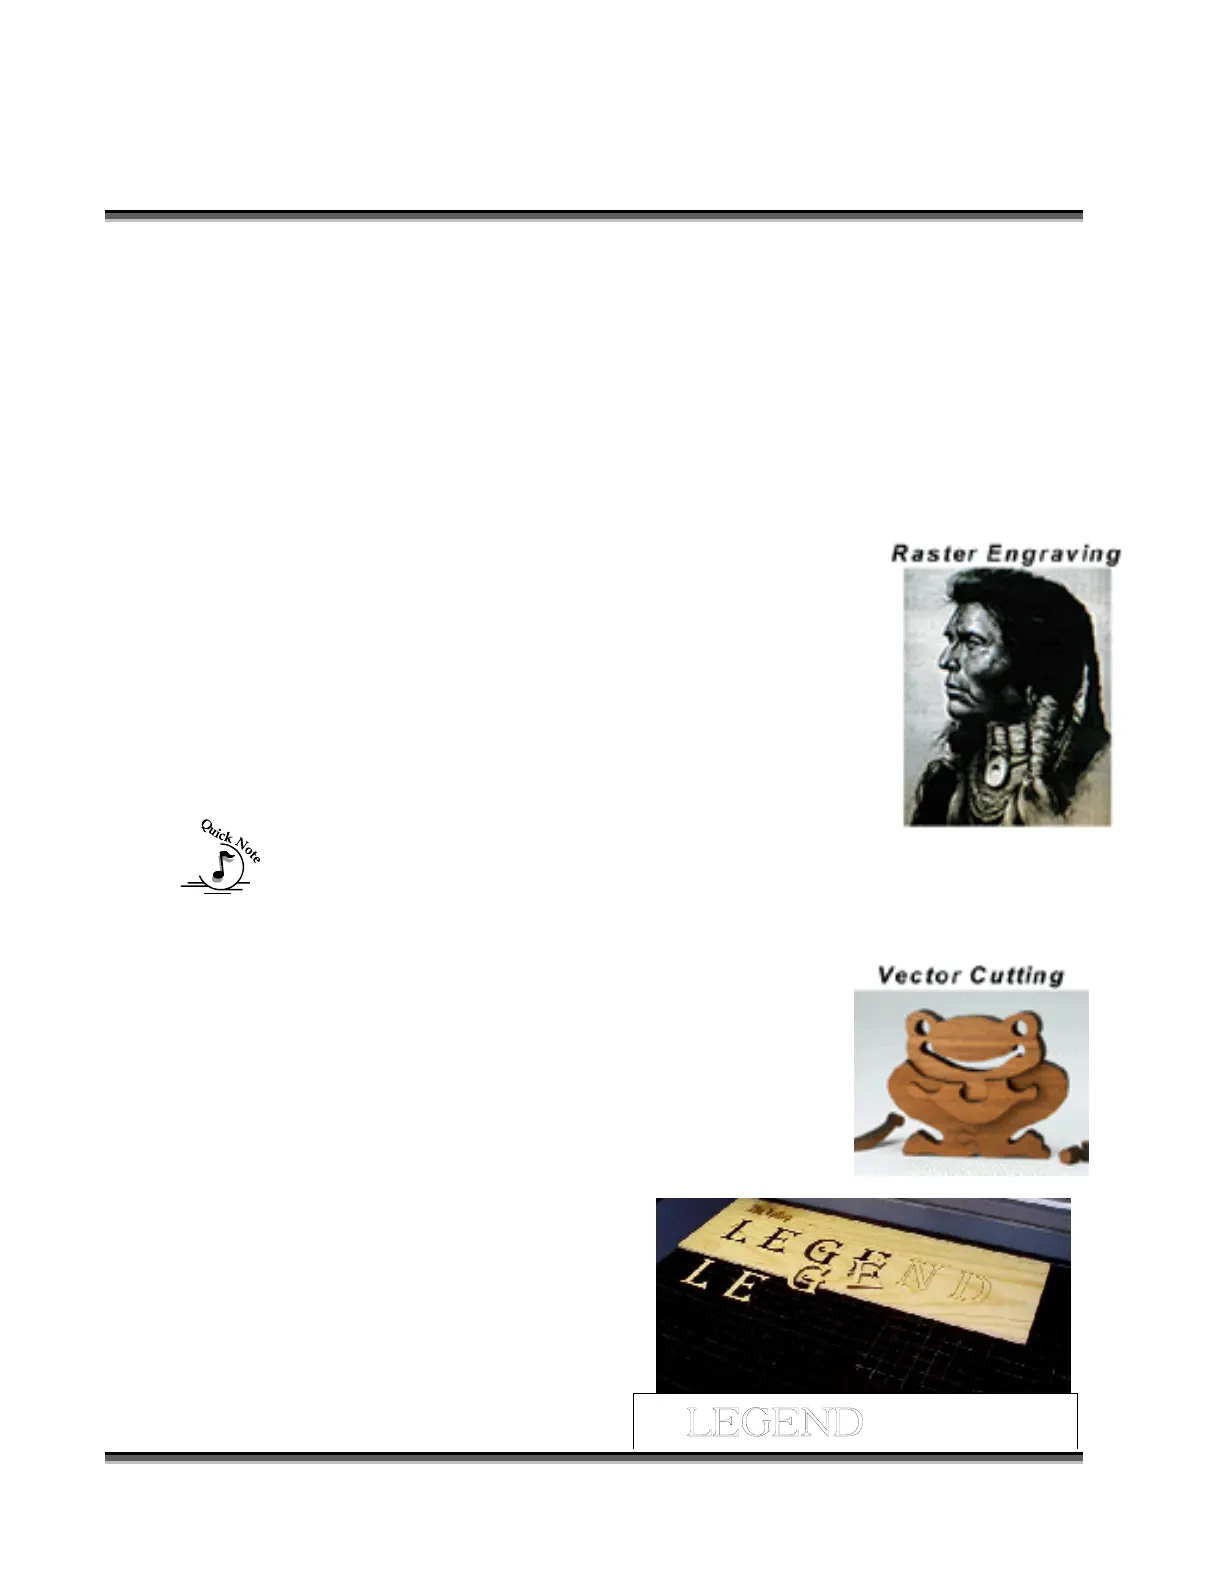
Raster engraving can best be described as very high
resolution dot matrix "printing." Used to create highly
detailed graphic images, the laser head scans back and forth,
left to right, engraving a series of dots one line at a time. As
the laser head moves down line by line, the dot pattern
forms the image that was printed from your computer. You
can raster engrave scanned images, text, clipart,
photographs, or line drawings. Use your imagination and
creativity.
Note: thin outlines in clip-art may vector cut rather than
raster if thin enough. If you only want to raster make sure you select Raster
mode in the Legend print driver.
Different from raster engraving, vector cutting is a continuous path that follows
the outline, or profile, of an image. Vector cutting is
normally used to cut completely through materials such
as wood, acrylic, paper, etc. It can also be used for quick
marking of characters and geometric patterns. You can
vector cut by setting objects and text to be unfilled and
drawn with a 0.001-inch outline. The thin outline will
produce a vector cut. When vectoring, cover your
engraving table with either a piece of sheet metal or a
Vector Grid to protect the table
from laser marking. For more
information on vectoring read
“Section 7, Using the Legend Print
Driver” of this manual.
“ ” – Vector Cut on
 Loading...


