114 Using the Projector on a Network
6. Highlight the
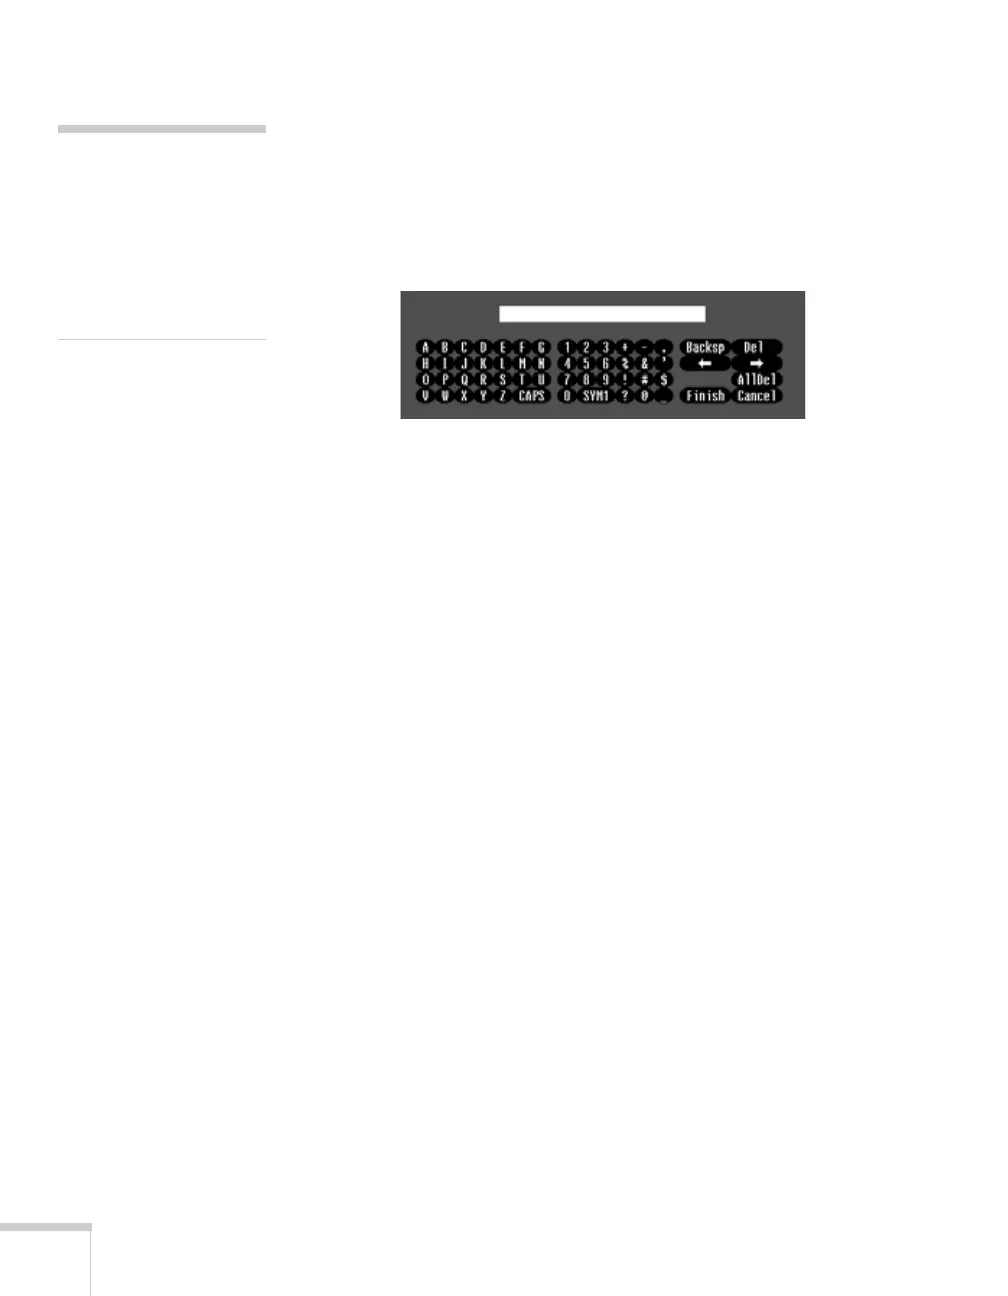
PSK (pre-shared key) and press Enter. Use the
arrow buttons to select individual letters; then press
Enter to
input a character. To navigate backward and forward through the
input text, highlight the arrows and press
Enter. To toggle
symbol settings or capital letters, highlight the option and press
Enter. When you’re done, highlight Finish and press Enter.
7. When you’re done making these settings, press
Esc. Choose
Complete
and press Enter, then choose Yes and press Enter to
save your settings.
Enabling Data Encryption from EasyMP
Network Projection
When using the EasyMP Network Projection software, follow these
steps to enable data encryption.
1. Click
Set options on the main screen.
2. Click the
General Settings tab.
3. Select the
Encrypt communications checkbox.
4. Click
OK.
For more information, see the EasyMP Network Projection Operation
Guide.
note
If the password is longer
than 32 characters, enter it
by accessing the projector
from a web browser. This
lets you enter up to 63
characters. See page 118 for
details.
 Loading...