Useful Functions
63
Loading the Lens Position
a
Press the button, and then select Load Lens Position.
The Load Lens Position screen is displayed.
b
Select the lens position name you want to load.
The zoom, focus, and lens shift are adjusted to the status you saved.
While adjustments are being performed, a message is displayed and the projector cannot be operated.
c
•
If you have saved to Memory1 or Memory2, you can load the settings by pressing the
or button on the remote control.
•
This does not guarantee that the saved status will be completely restored. Errors could occur.
Erasing the Lens Position
a
Press the button, and then select Erase Lens Position.
The Erase Lens Position screen is displayed.
b
Select the lens position name you want to erase.
A confirmation message is displayed. Select Yes to erase the content of the saved lens position.
c
If you want to erase all of the saved lens positions, go to Reset - Reset Lens Position on the
Configuration menu.
s
p.100
Renaming the Lens Position
You can change the lens position name using up to 12 characters. Giving the memory a name that is easy to
remember is useful when loading the memory.
a
Press the button, and then select Rename Lens Position.
The Rename Lens Position screen is displayed.
b
Select the lens position name you want to change.
c
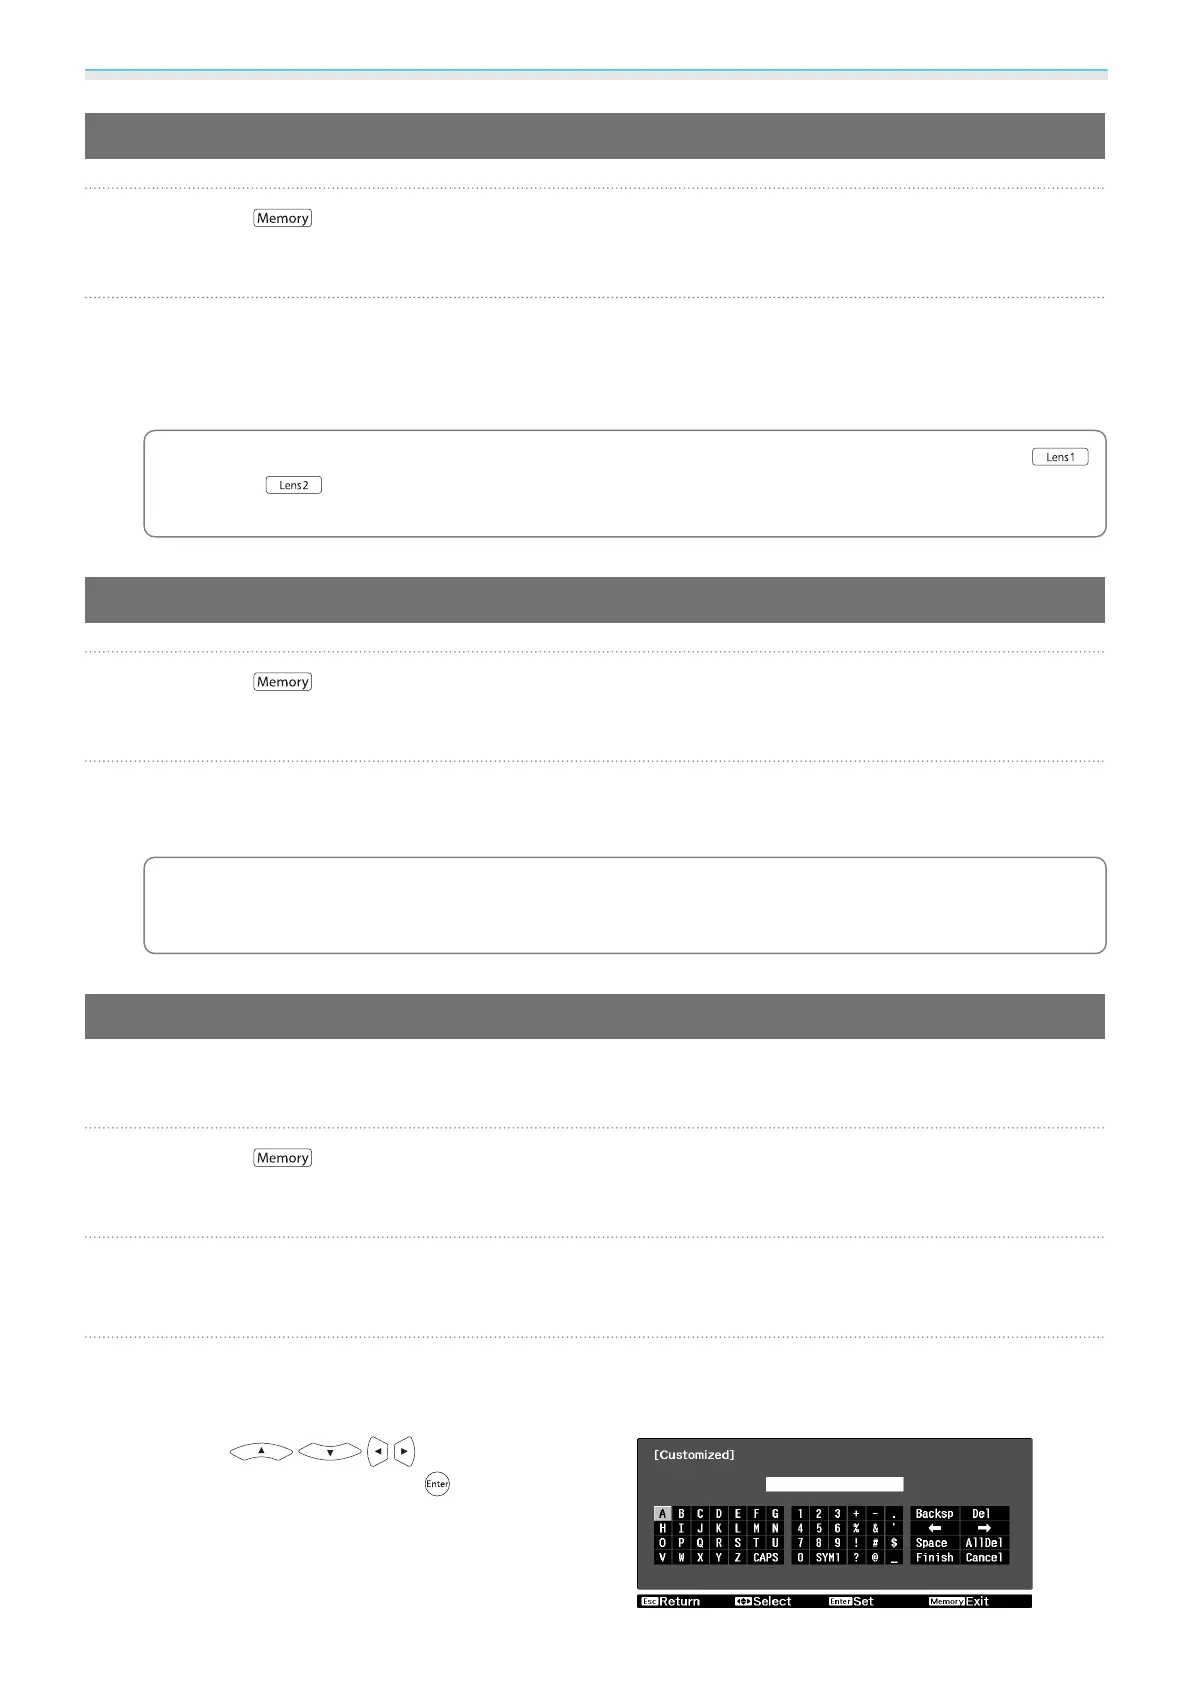
Enter a name.
The soft keyboard is displayed.
s
p.98
Use the buttons to select a
character, and then press the
button to con-
firm the selection. Enter up to 12 characters.
When you have finished, select Finish.
The lens position name is changed.
 Loading...