4. AIS OPERATION
4-6
4.4.2 How to enable/disable the AIS auto activate function
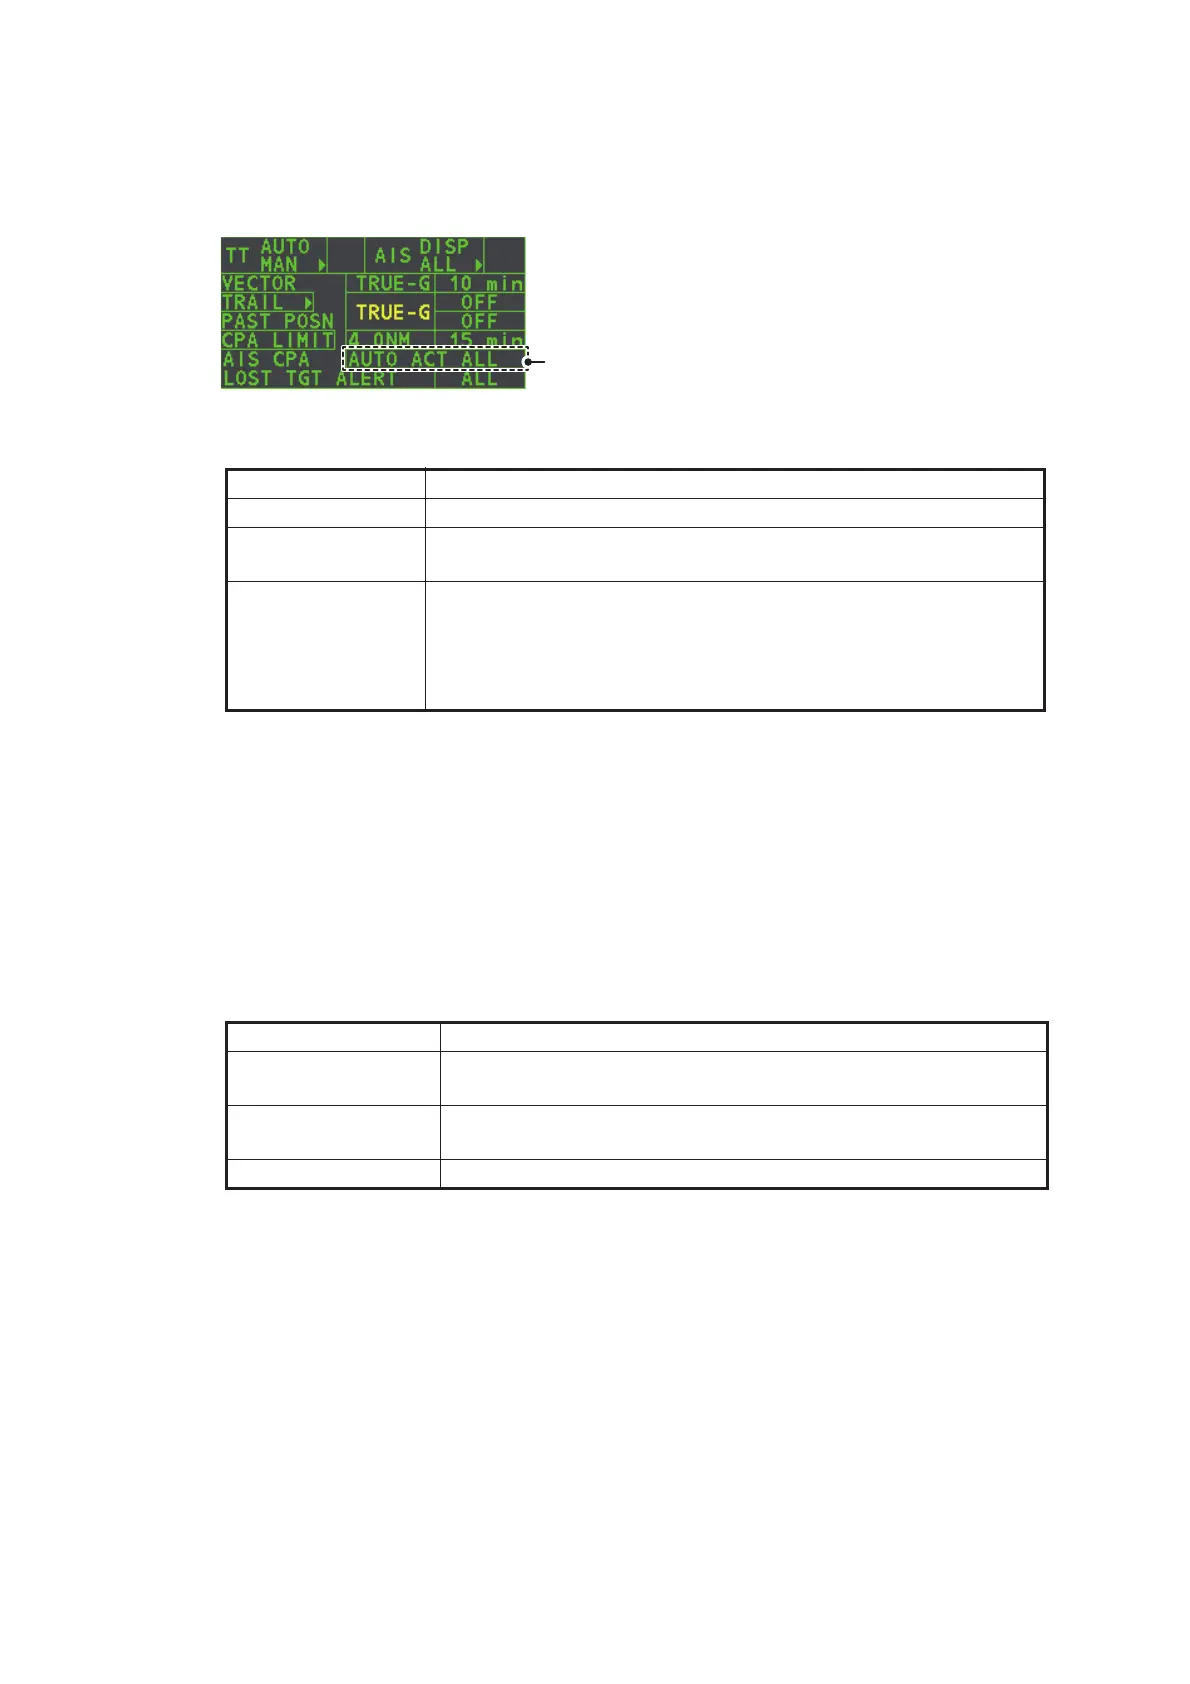
Use the [CPA AUTO ACTIVATE] box at the bottom right corner to enable or disable
the AIS auto activate function.
1. Place the cursor on the [CPA AUTO ACTIVATE] box, then press the left button
several times to display the desired auto activate function.
4.4.3 How to limit the functions of the AIS auto activate function
You can limit the function of the AIS auto activate function by distance from own ship,
ship's speed, ship class, and ship's length.
1. Open the [MAIN MENU].
2. Select [TT•AIS], then push the ADJUST knob.
3. Select [CPA AUTO ACTIVATE], then push the ADJUST knob.
4. Referring to the table below, select the appropriate filtering type, then push the
ADJUST knob.
5. Rotate the ADJUST knob to set the selected filter’s options, then push the AD-
JUST knob.
6. Close the menu.
Filter type Definition
[OFF] Disable the AIS auto activate function.
[AUTO ACT ALL] Activation against AIS targets whose CPA or TCPA is less than
set in section 3.14
[AUTO ACT FILT] Activation against AIS targets which meet the following criteria:
• AIS target that meets the criteria set with [CPA AUTO ACTI-
VATE] on the [TT•AIS] menu.
• CPA or TCPA of an AIS target is smaller than that set in section
section 3.14.
Filter type Definition
[MAX RANGE] Any AIS targets beyond the range set here will not be automat-
ically activated.
[MIN SHIP SPEED] Any AIS targets slower than this setting will not be automatically
activated.
[EXCEPT CLASS B] Select ON to prevent activation of AIS targets class B.
Select the AIS CPA box, then press the left
button to cycle through AIS display modes.
 Loading...