1. OPERATIONAL OVERVIEW
1-58
1.41.2 How to select the mark inscription position
You can select the location at which the marker is inscribed from the following:
1. Select the [MARK] box at the bottom of the screen, then press the right button to
open the [MARK] context menu.
2. Select [MARK POSITION], then push the ADJUST knob.
3. Referring to the table above, select the appropriate location, then push the AD-
JUST knob.
How to set the co-ordinates
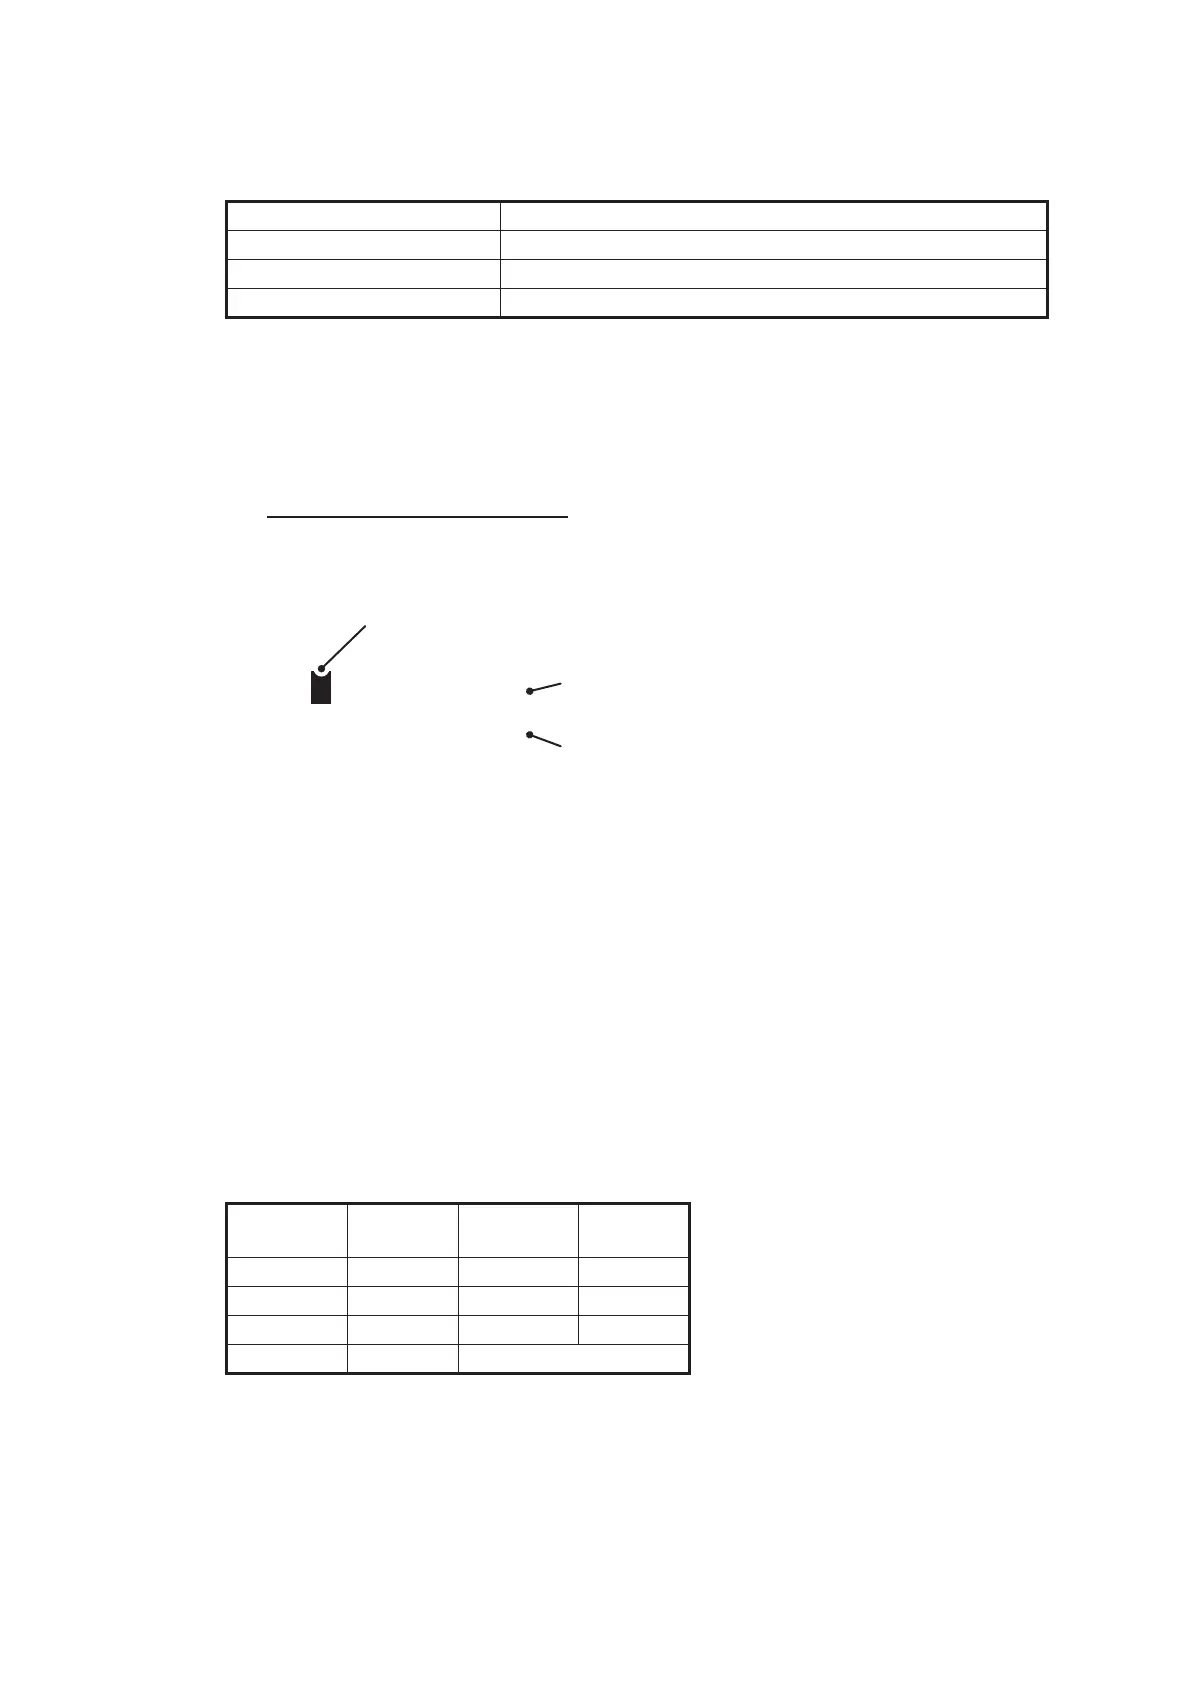
Where [MARK POSITION] is set to [L/L], the co-ordinates settings are displayed.
Co-ordinates can be set one digit at a time, as shown in the figure below.
1) Rotate the ADJUST knob to change the digit, then push the ADJUST knob to
move to the next digit.
2) Repeat step 1 to adjust the Latitude and Longitude as appropriate.
4. Close the menu.
1.41.3 How to select the mark color (non-IMO type only)
Non-IMO type radars of this series allow the change of mark colors. For IMO type ra-
dars, the color is fixed and cannot be changed.
1. Select the [MARK] box at the bottom of the screen, then press the right button to
open the [MARK] context menu.
2. Select [MARK COLOR], then push the ADJUST knob.
3. Select the appropriate color. Available options are shown in the table below.
Location Description
[CURSOR] You can select the location using the Touchpad.
[OWN SHIP] Marker is placed at own ship position.
[L/L] Marker is placed at the co-ordinates selected.
Menu
indication
Color
Menu
indication
Color
RED Red CYA Cyan
GRN Green MAG Magenta
BLU Blue WHT White
YEL Yellow
028º 00.200 S
153º 43.100 E
Currently selected digit is highlighted by the cursor.
Push the ADJUST knob to move to the next digit.
N - North (Latitude)
S - South (Latitude)
W - West (Longitude)
E - East (Longitude)
 Loading...