Performing an Exam
2-54 LOGIQ V2/LOGIQ V1 – User Guide
Direction 5610736-100
Rev. 9
Circumference and area (spline trace) measurement (continued)
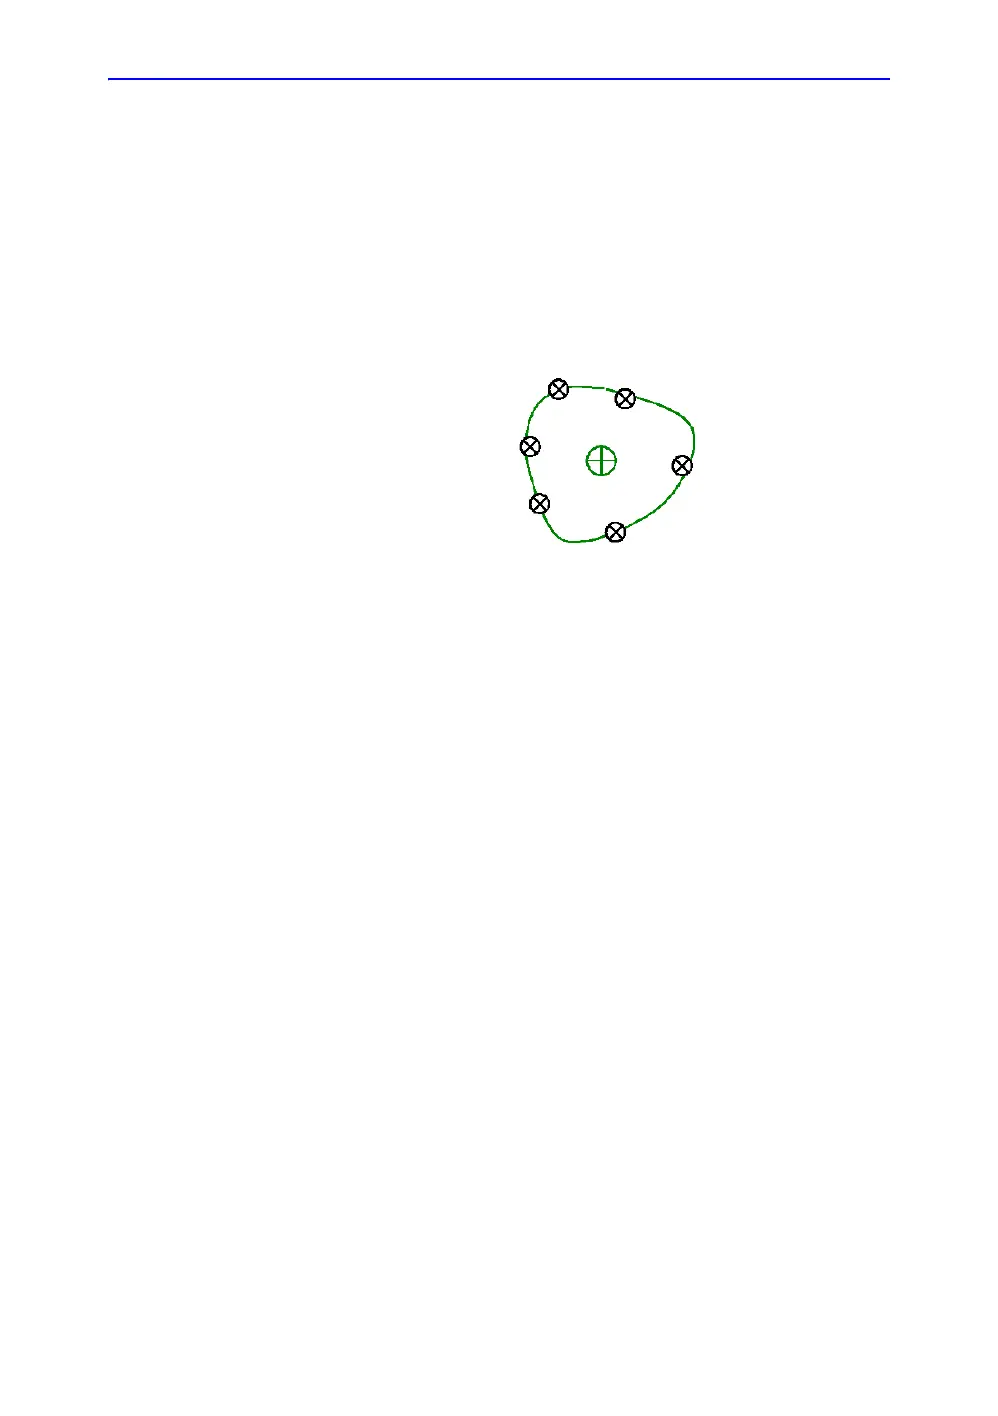
Edit the spline trace
1. Select Cursor Select. The spline trace changes to green
and all points appear on the trace as yellow.
A pick-caliper appears on the center of the image and the
message “Edit spline trace” displays at the bottom of the
screen.
NOTE: The pick-caliper is used to select and move the trace points.
Figure 2-29. Edit spline trace
Select Cursor Select again. The trace is deactivated
(changes to yellow) and all points, including the pick-caliper,
are removed.
If the previous/next fixed caliper exists on the image, it is
activated.
NOTE: Pressing Clear at this time removes all points and the trace
graphic.
2. Move the pick-caliper to the desired point and press Set.
The point is activated and turns green.
3. Move the point to the desired position and press Set. The
point is fixed and turns yellow. The pick-caliper appears on
the center of the image.
NOTE: The spline trace is updated at run time.
NOTE: To remove a point, press Clear while moving the point. The
trace turns green and the remaining points continue to be
shown as yellow. If there are less than three points, the
spline trace is removed.
4. Press Set again. All points are removed from the trace and
the trace is shown as yellow.
 Loading...


